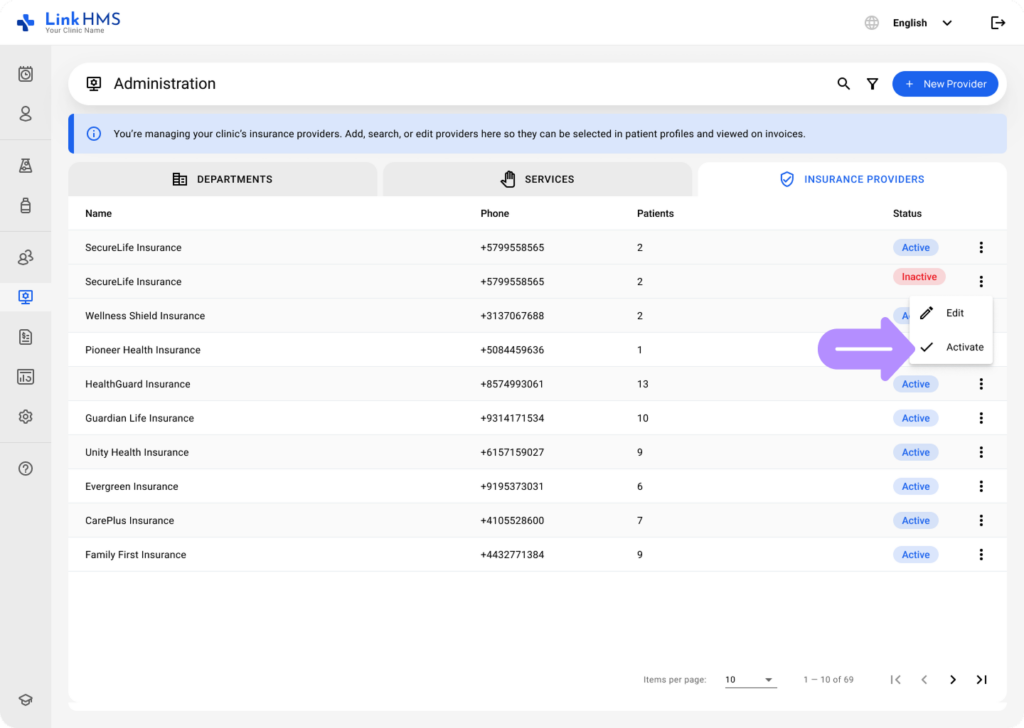
The Administration module also includes the Insurance Providers tab to easily manage insurer-related data, add new providers, and specify insurance prices and coverage plans for each insurer.
Creating a New Insurance Provider
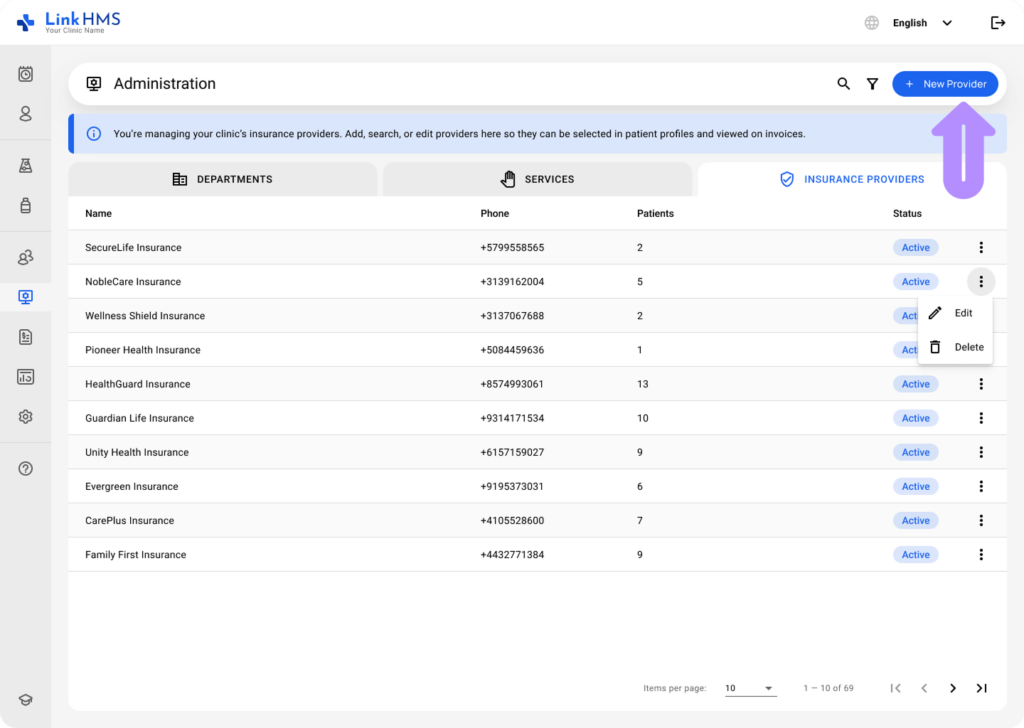
- Navigate to Administration from the left-side menu.
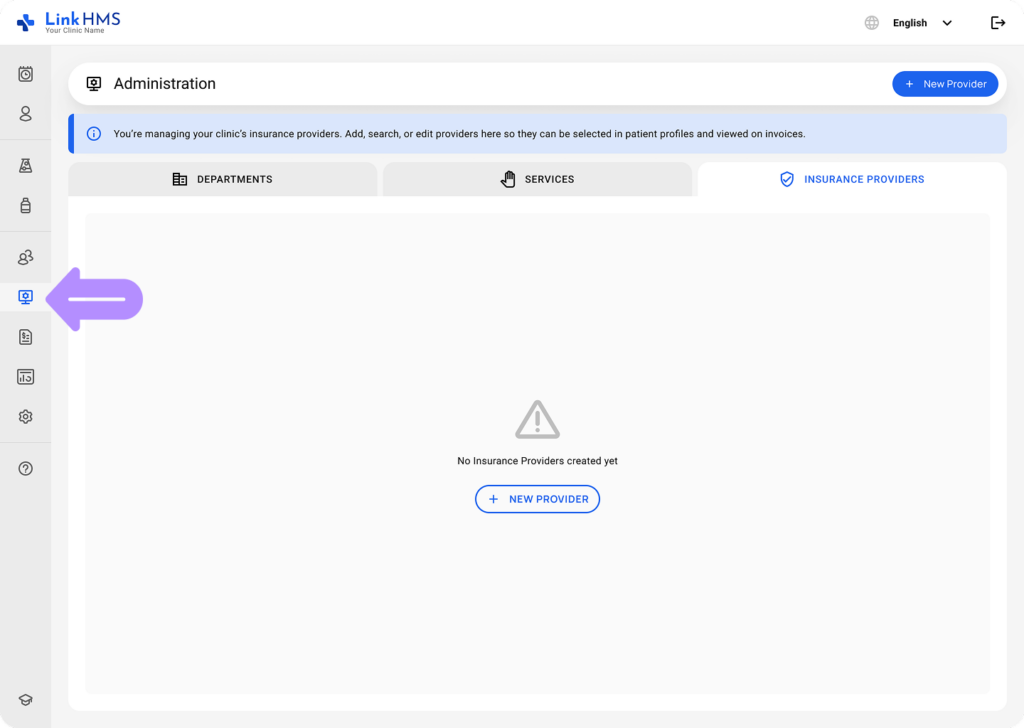
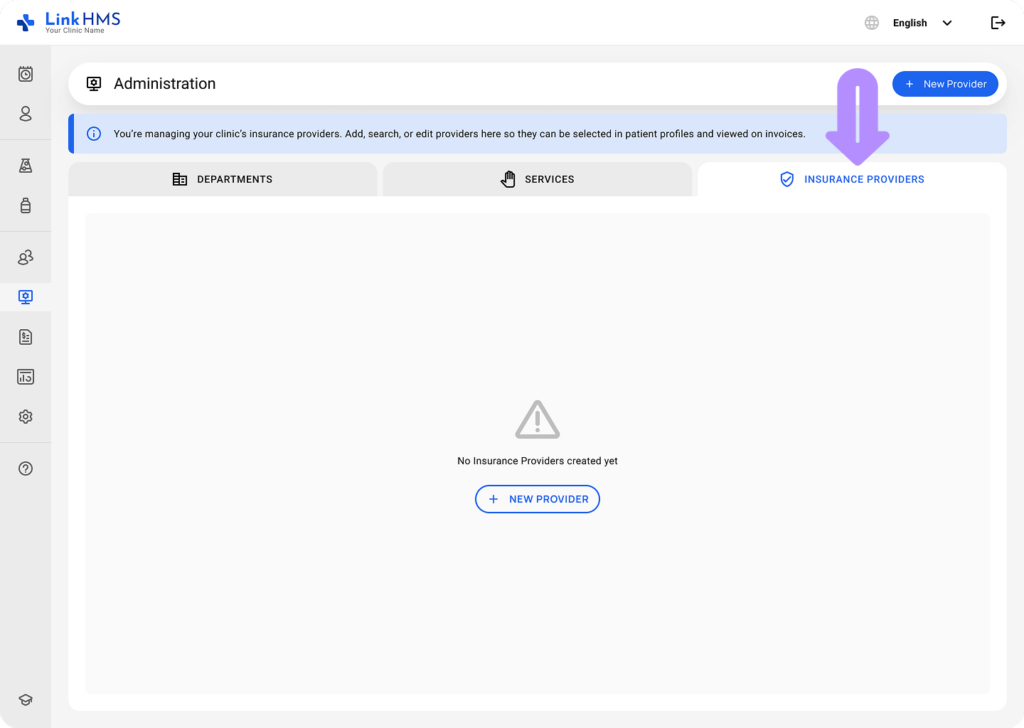
- Select the Insurance Providers tab in the Administration module.
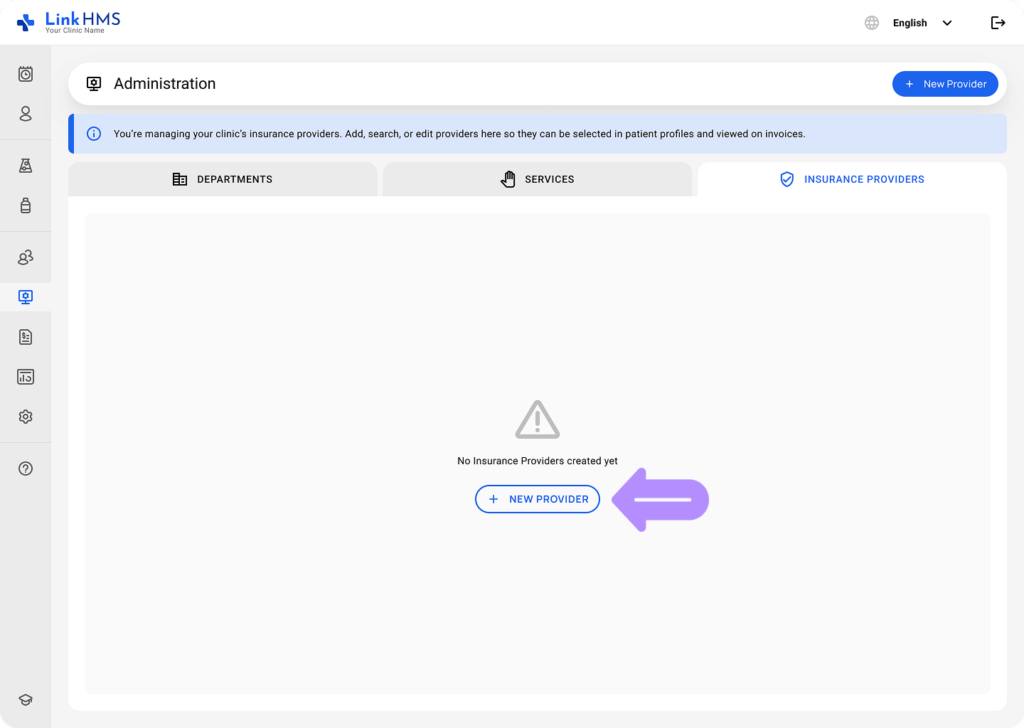
- If you need to create a new insurer, click the + New Provider button in the middle of the screen (if no insurance providers are created yet).
- Or use the + New Provider button in the top right corner to add more providers to the list.
- In the pop-up form titled New Provider, fill in the following fields:
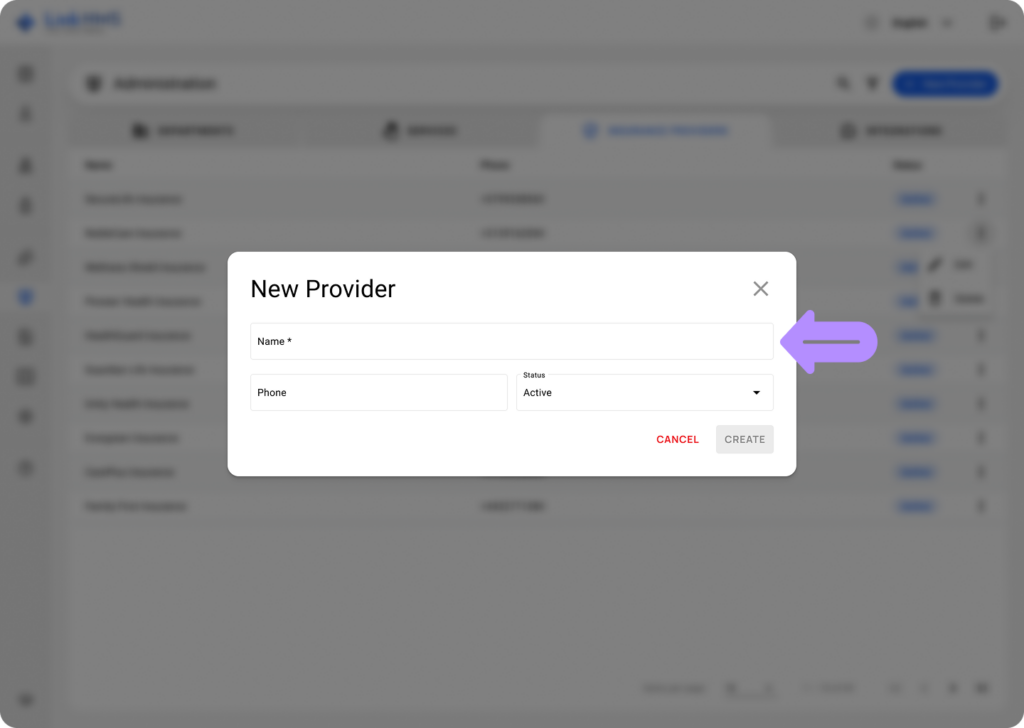
- Name (required): Enter the insurance provider name.
- Phone (required): Input the phone number.
- Status (required): Set the provider status as either Active or Inactive (Use the status options to enable or disable a required insurance provider).
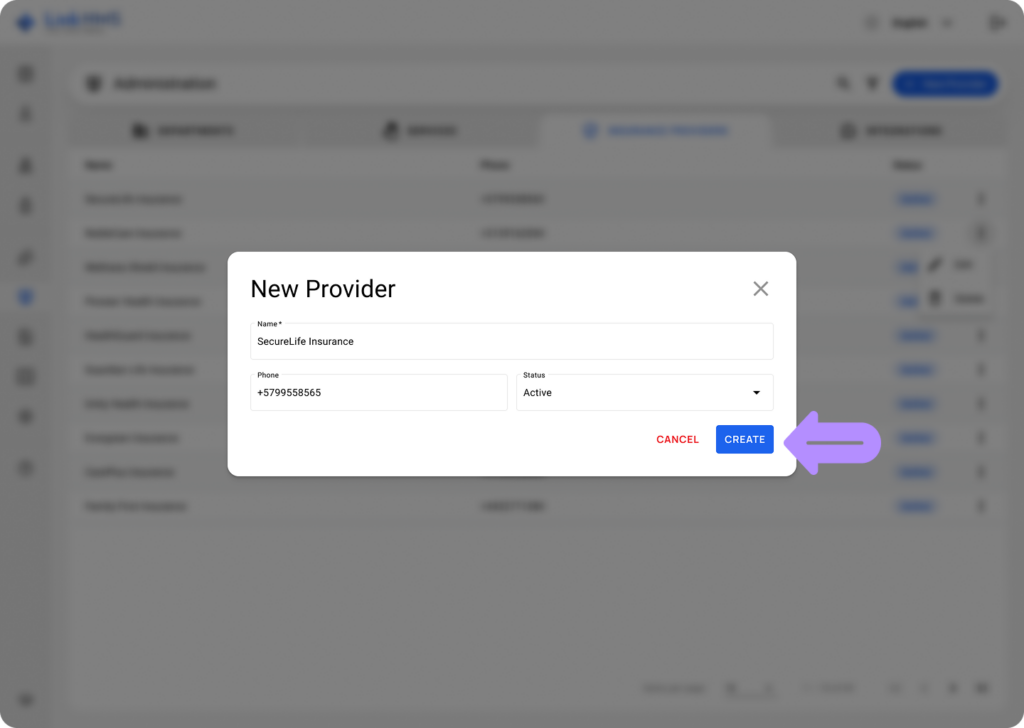
- Once all fields are completed, click Create to add the provider. If you need to cancel, click Cancel.
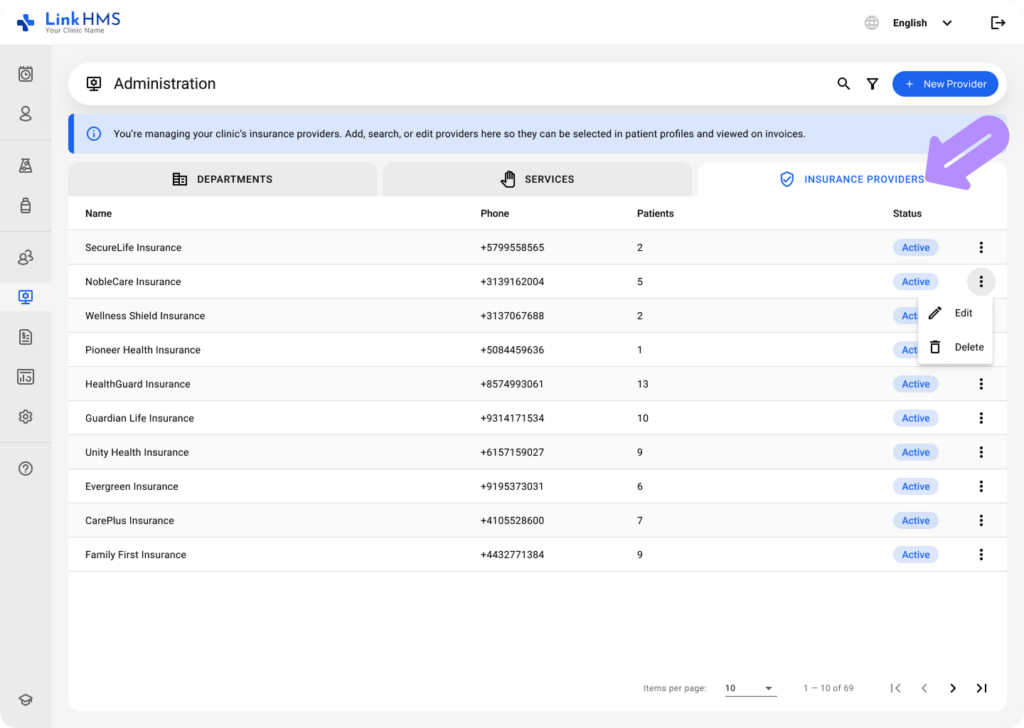
- After adding a new provider, you’ll find it listed in the Insurance Providers tab, displaying the name, phone, current status, and number of assigned patients.
💡Notes
Every patient can be assigned to a specific insurance provider to ensure proper coverage and claims management. Check the full guide on How to assign the patient to the insurance provider.
Editing the Insurance Provider Info
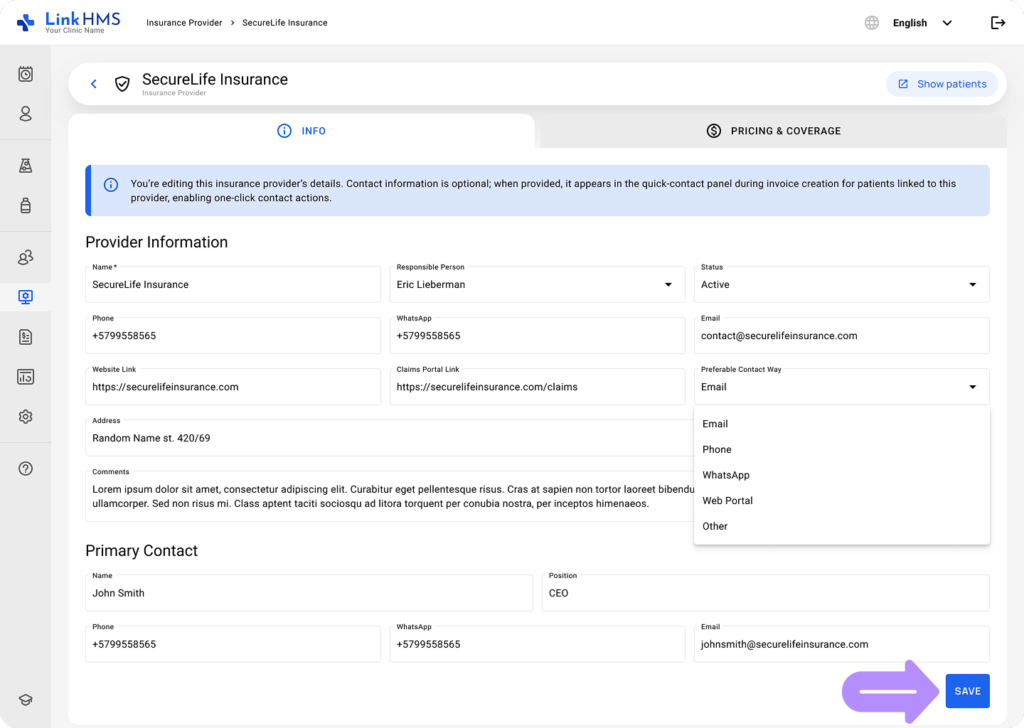
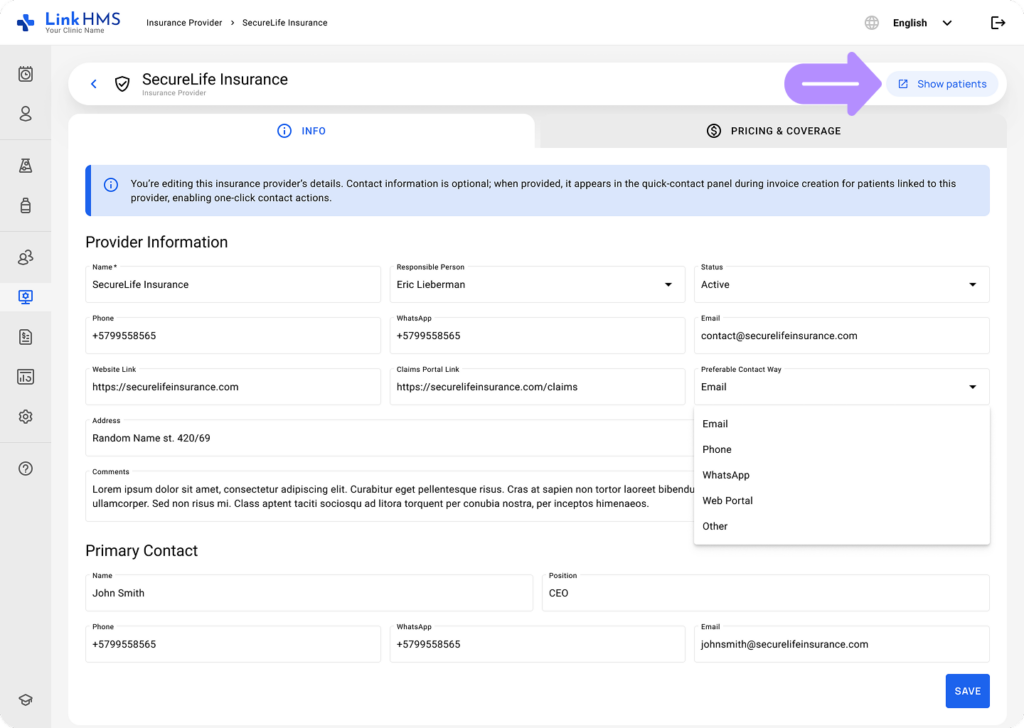
Contact information is optional, but when added, it appears in the quick-contact box during patient invoicing for instant one-click access. It gives a convenient way to reach the provider directly or for claim-related communication.
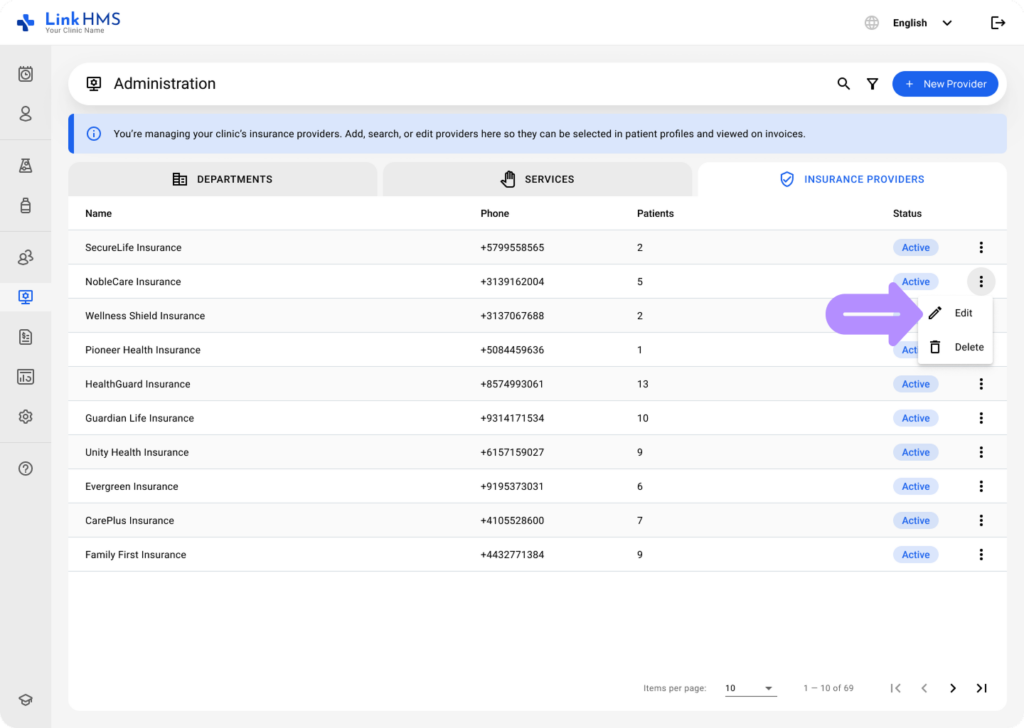
- Click the necessary provider or use the three-dot menu next to it to select Edit.
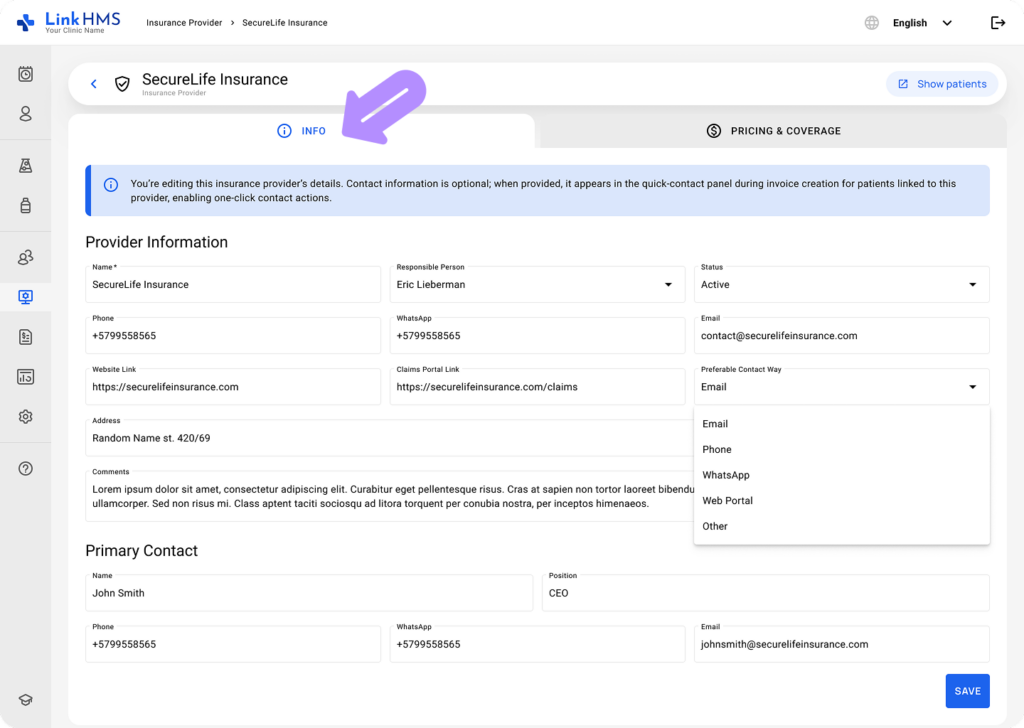
- Open the Info tab to edit required details.
- Update or edit the insurance provider information by filling in the following fields.
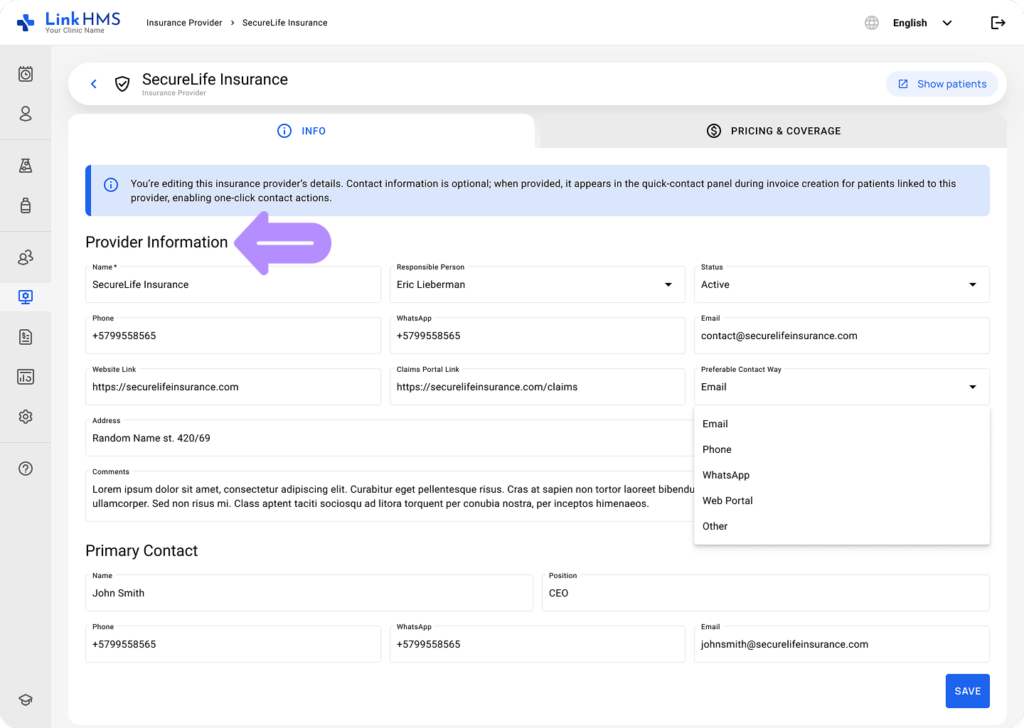
- Name (required): Enter the insurance provider name.
- Responsible Person (required): Choose the necessary person from the dropdown menu.
- Status (required): Set the provider status as either Active or Inactive (Use the status options to enable or disable a required insurance provider).
- Phone (required): Input the phone number.
- WhatsApp (optional): Enter the WhatsApp number.
- Email (optional): Provide the email address.
- Website Link (optional): Add the insurance provider’s website link.
- Claims Portal Link (optional): Enter the link to the claims portal.
- Preferable Contact Way (optional): Choose the necessary option from the dropdown menu (Email, Phone, WhatsApp, Web Portal, Other).
- Address (optional): Provide the address details, if available.
- Comments (optional): Add any additional notes or comments about the insurance provider.
- Also, provide the primary contact details in the following fields.
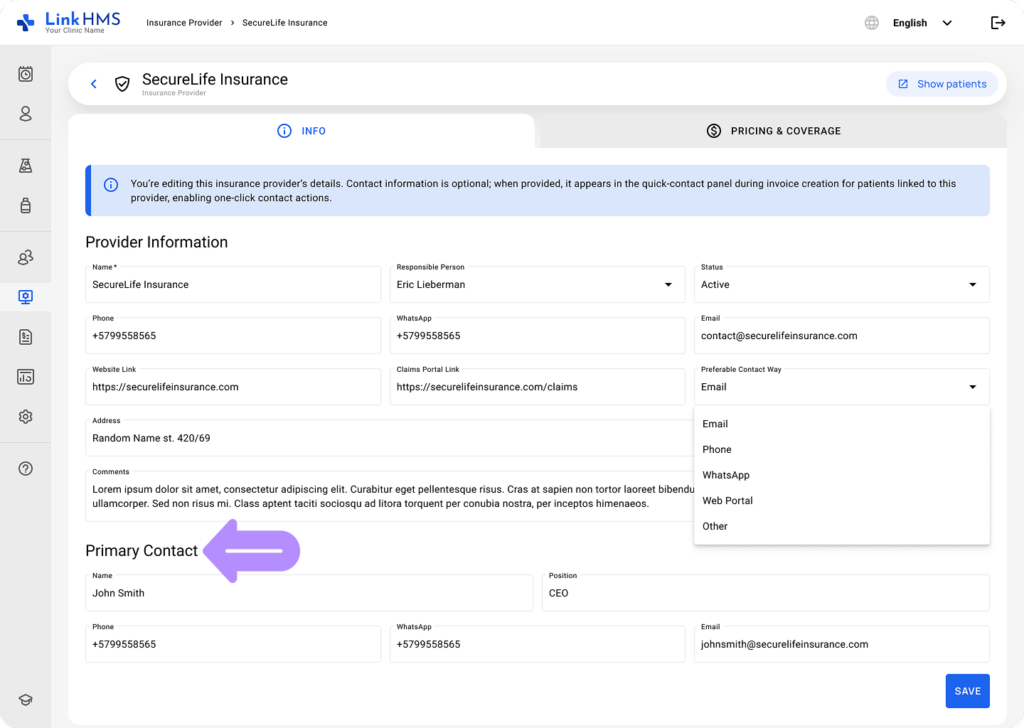
- Name (optional): Specify the primary contact name.
- Position (optional): Provide the primary contact’s position.
- Phone (optional): Enter the contact phone number.
- WhatsApp (optional): Add the WhatsApp number.
- Email (optional): Include the email address.
- Click the Save button to apply the changes.
Adding Insurance Prices for Services
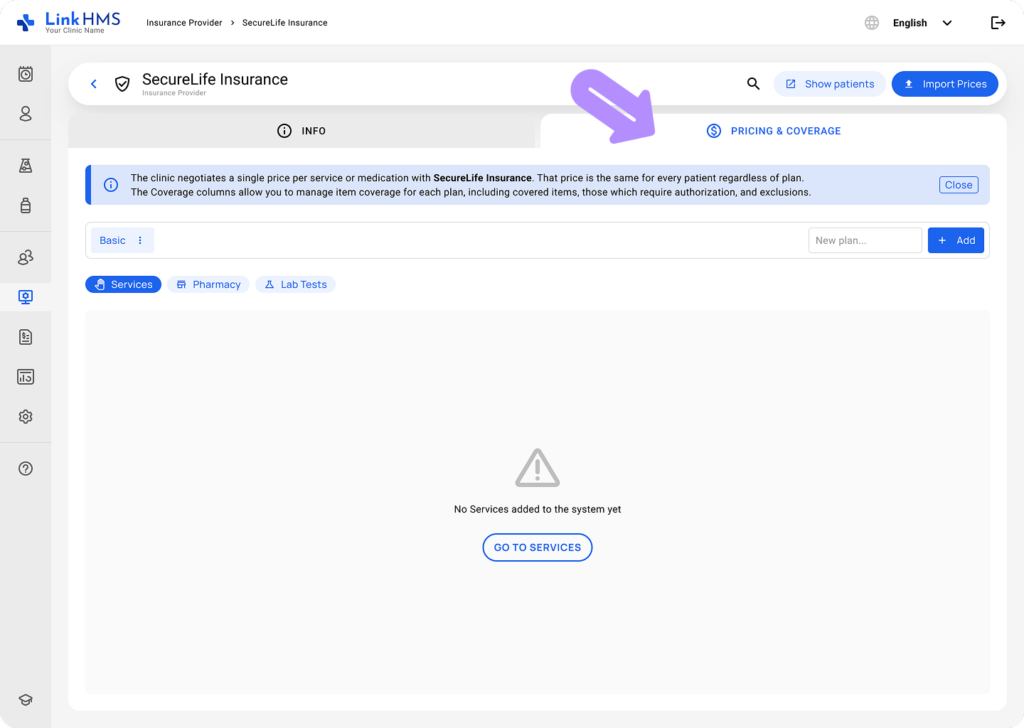
- Navigate to the Pricing & Coverage tab to manage insurance pricing.
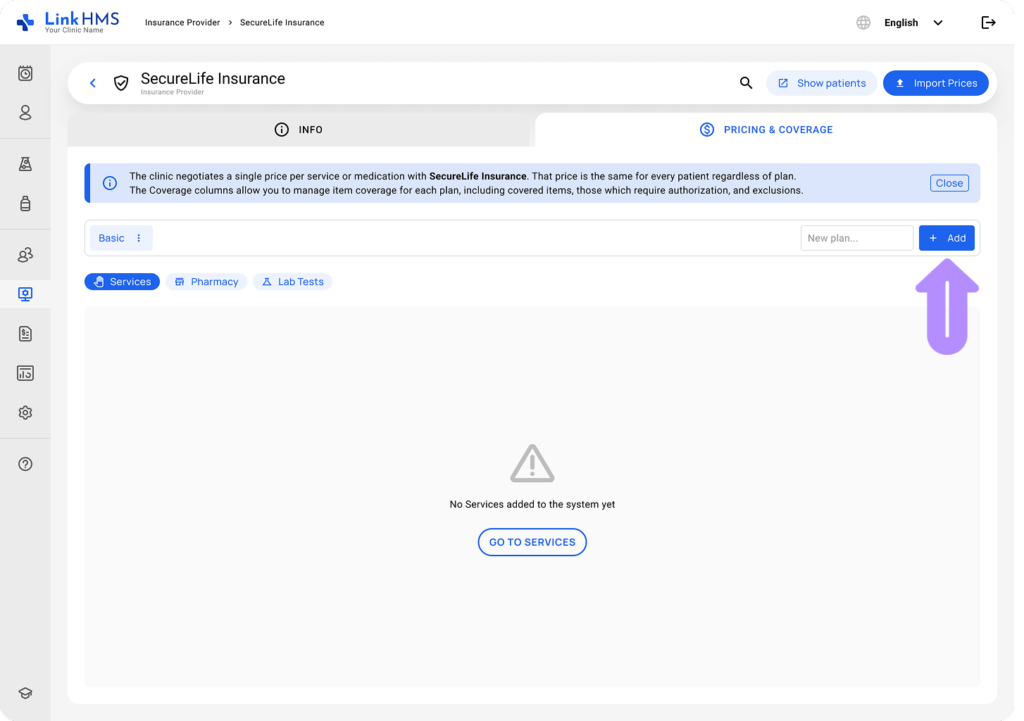
- Create a new plan by entering the plan name and clicking + Add.
- Define insurance prices and coverage settings for each item across available plans.
💡Notes
The insurance price is the standard rate negotiated with the insurer and applies to all patients. Use the Coverage columns to define plan-specific rules, whether the item is covered, requires authorization, or is excluded.
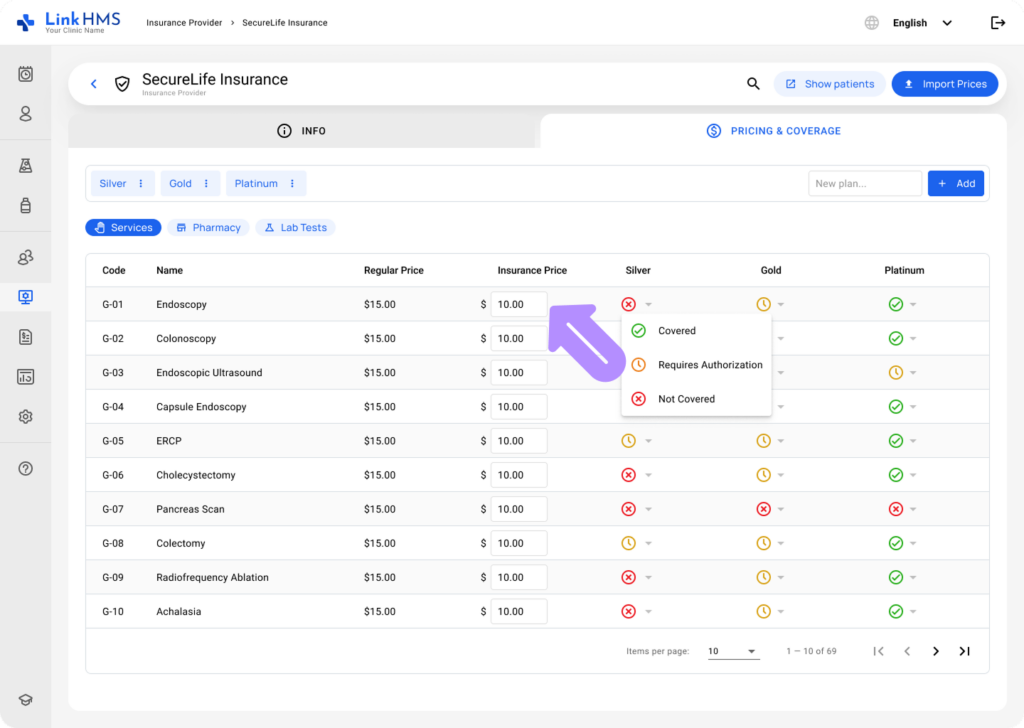
- Repeat for all services, medications, and lab tests to ensure accurate claims processing. For a detailed walkthrough, refer to the full guide on how to add insurance prices for services.
Accessing the List of Patients Assigned to the Provider
- View the patients linked to this provider by selecting the Show Patients link in the top-right corner.
Deleting the Insurance Provider
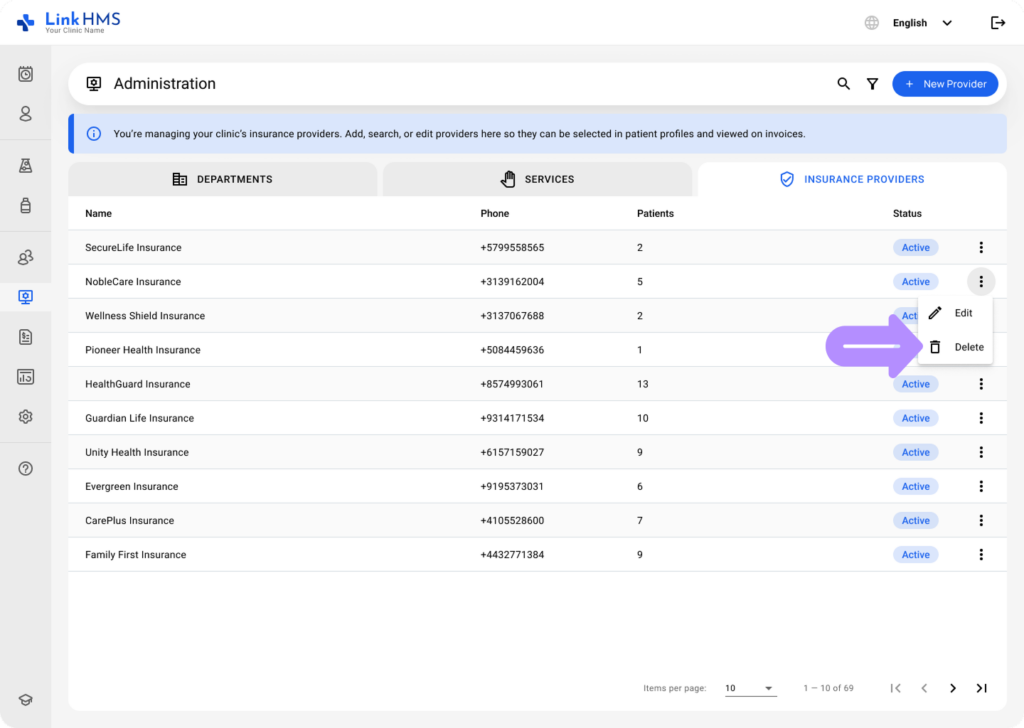
- Use the three-dot menu next to the required insurance provider to select Delete.
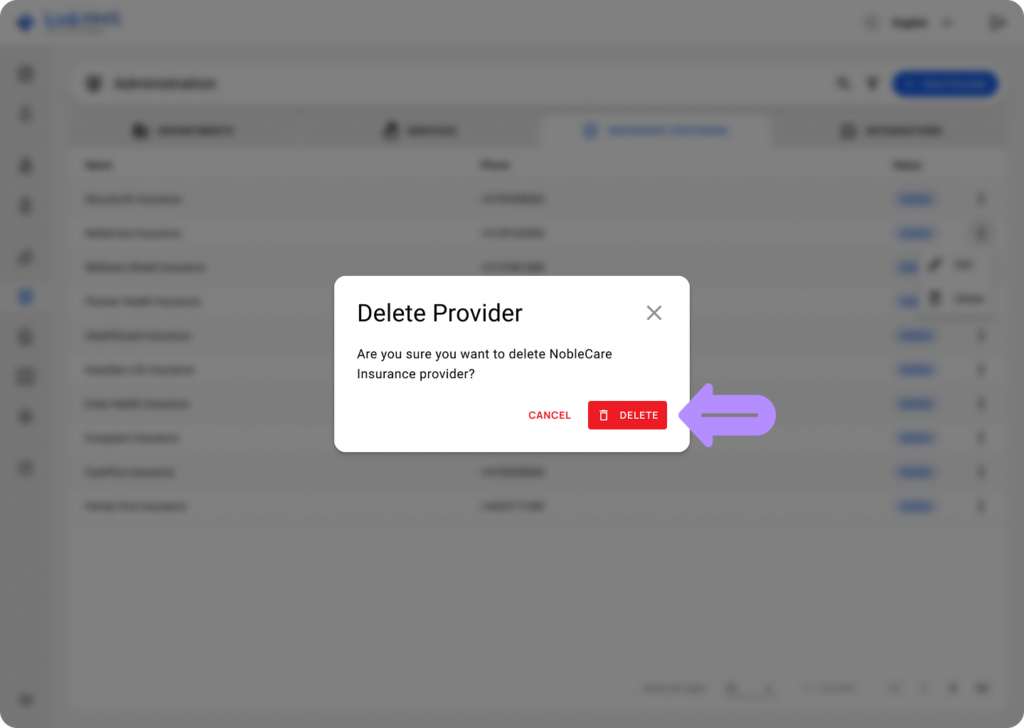
- Click the Delete button to confirm that you want to remove the chosen provider (this action cannot be reversed).
💡Notes
When your insurance provider has a patient assigned to its account in the system, you can’t delete the provider’s profile entirely. You can only deactivate it by clicking Deactivate in the three-dot menu next to the chosen provider.
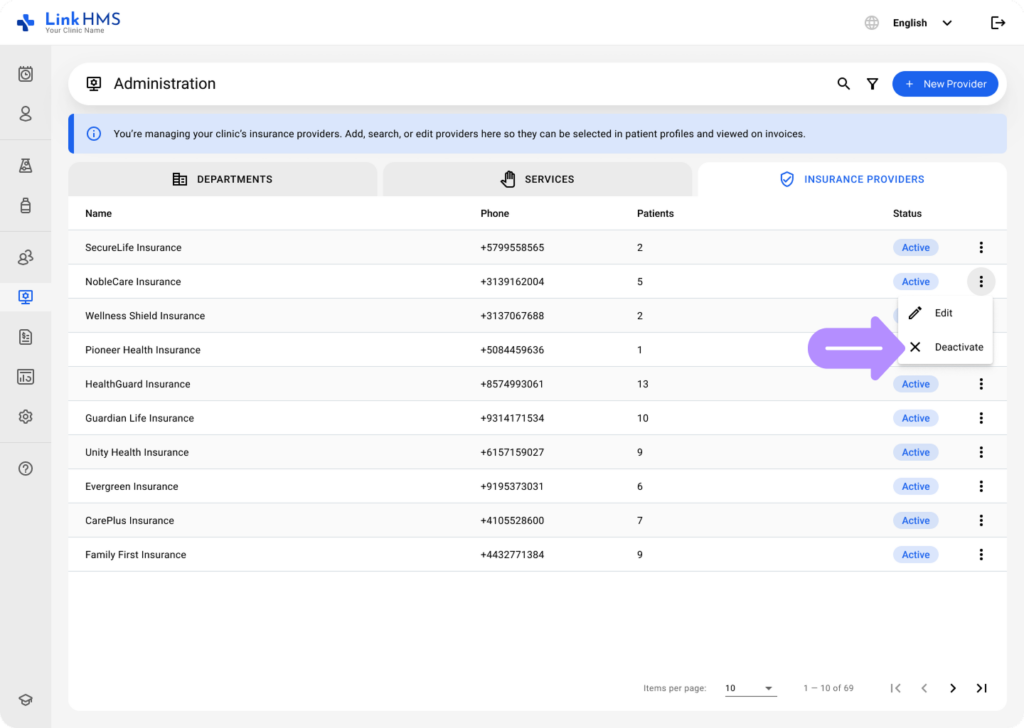
- If the provider has been deactivated, a note “Provider is inactive” will appear next to the provider’s name in Services and Pharmacy invoices. To activate the provider, select Activate from the menu beside the provider.