💡Notes
Before proceeding with the visit flow, make sure the visit is created. See the guide on how to create an outpatient visit.
Starting a Visit
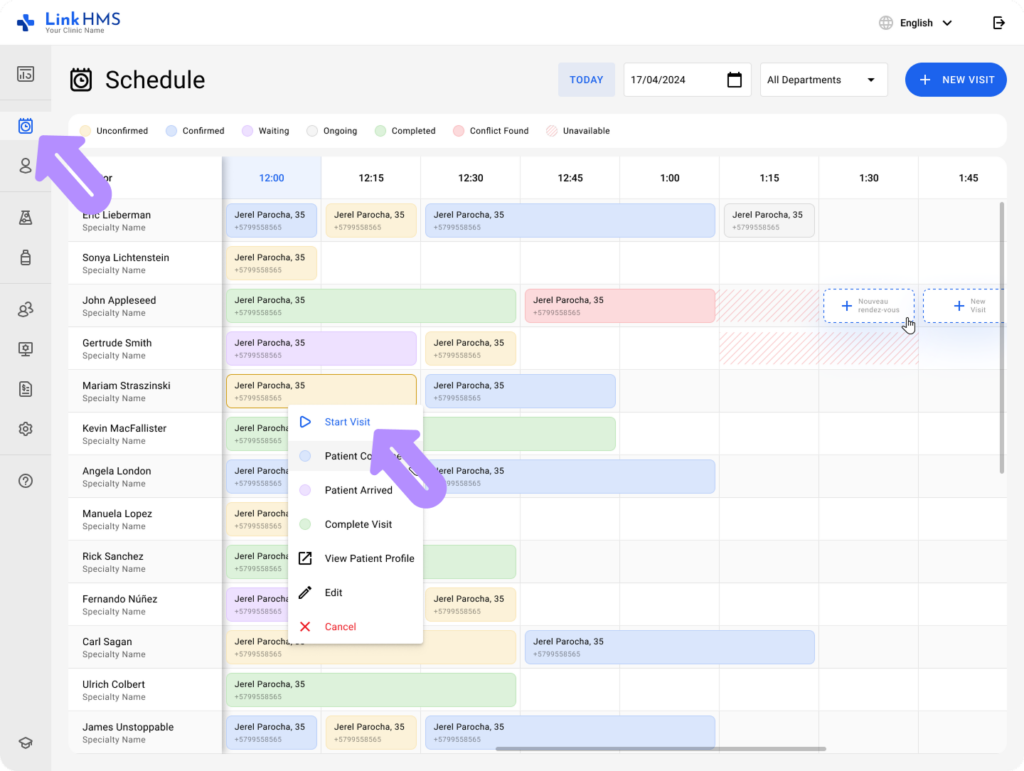
- When the patient arrives, find their appointment in the Schedule and select the Start Visit option to proceed with the visit flow.
- When this step is completed by other staff, like the receptionist, just navigate to the Patient’s Profile and select the Visits tab.
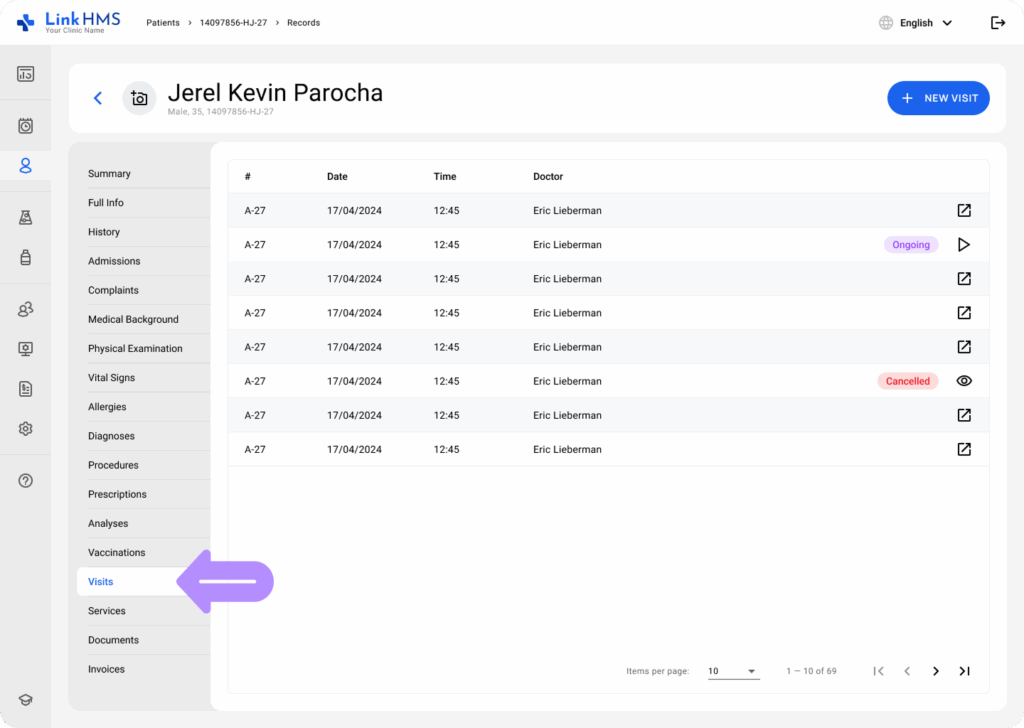
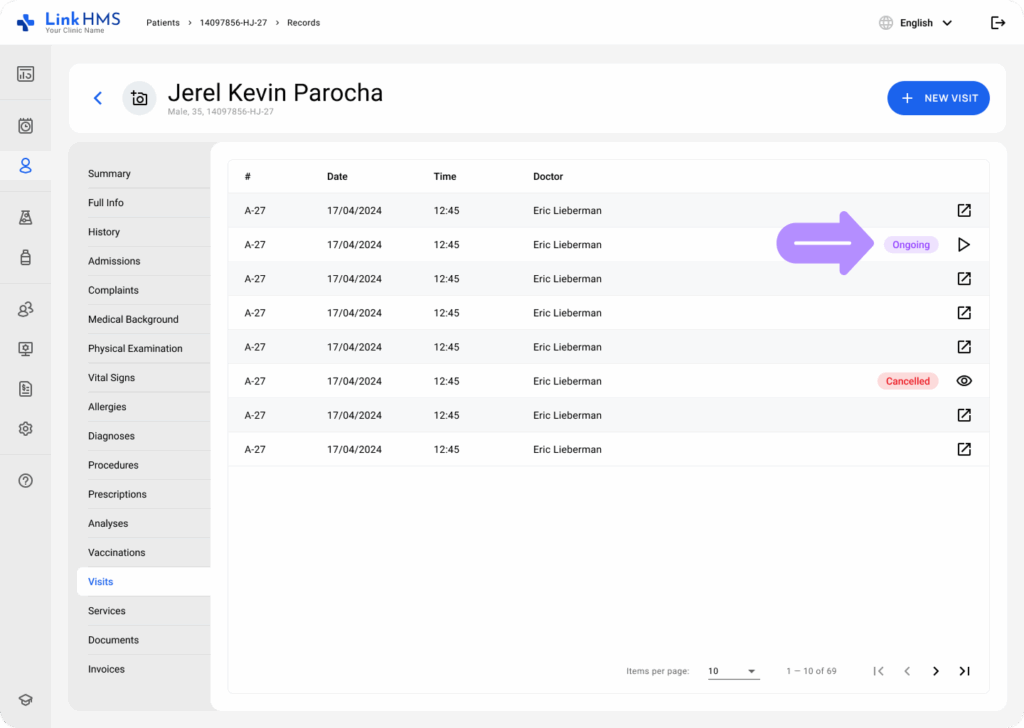
- View a list of the patient’s visits. It displays numbers, dates, doctors, and the current visit status. To continue, select the necessary visit labeled with the Ongoing status.
Managing the Visit Records
The doctor can input and update critical medical information in various tabs throughout the visit. These records ensure accurate tracking of the patient’s condition, facilitate diagnosis, and support effective treatment planning.
💡Notes
Nurses are also granted access to specific tabs to assist doctors in completing such records as complaints, medical background, physical examinations, vital signs, allergies, vaccinations, and comments when needed.
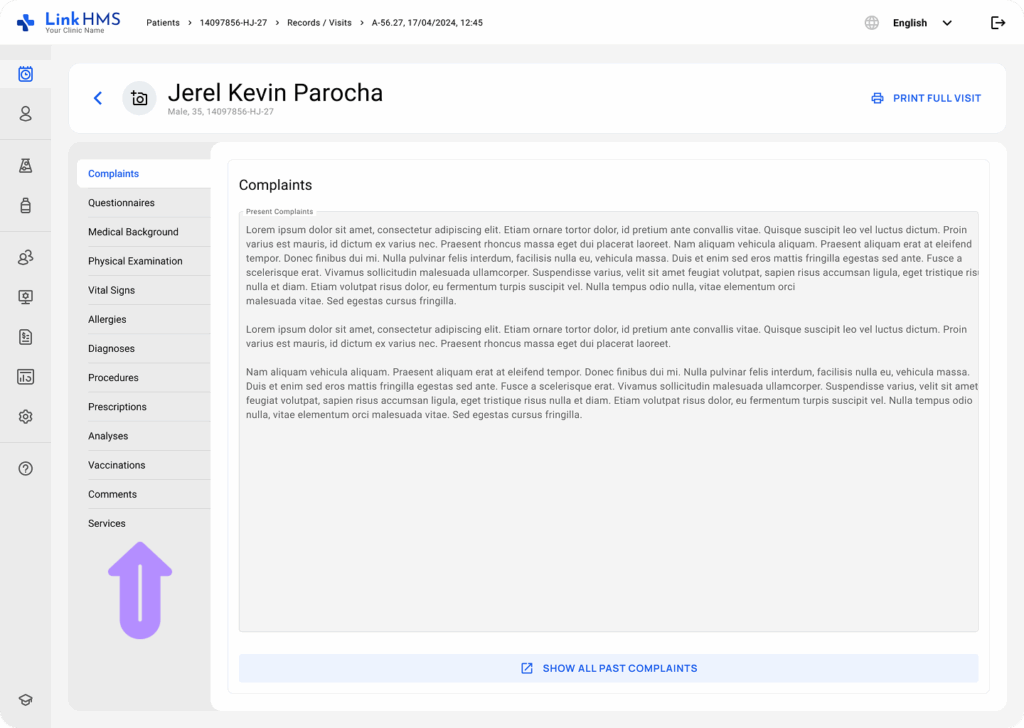
You can use the following sections to complete the visit-related tasks and add the relevant records.
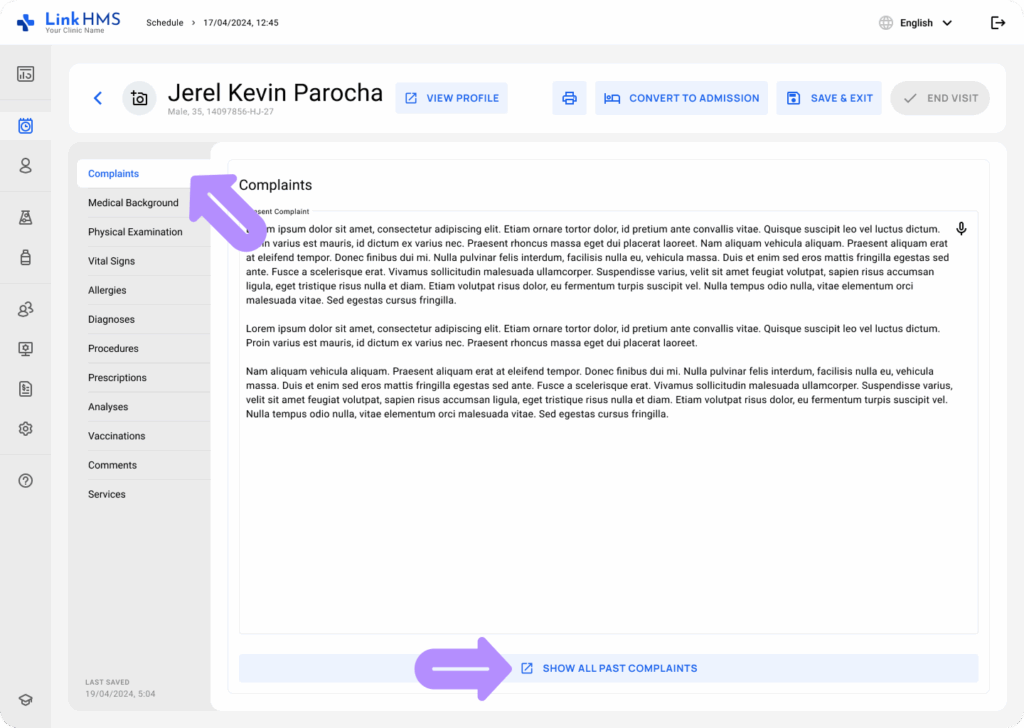
- Complaints: Fill in the present complaints or view all past ones if required.
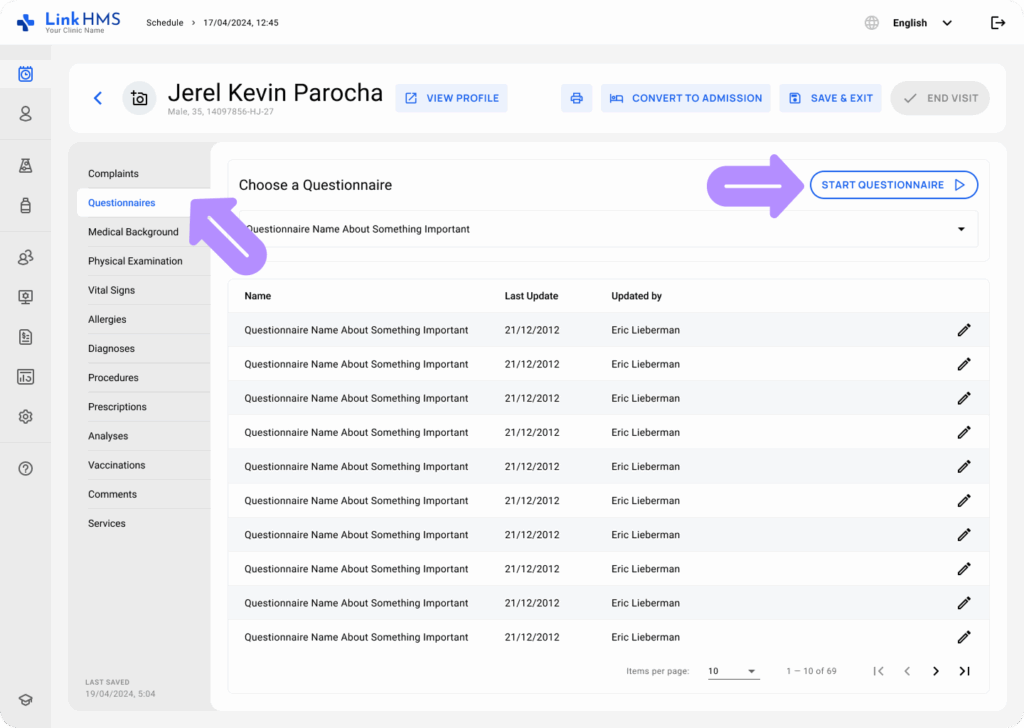
- Questionnaires: Start the questionnaire to gather more information on the patient’s health conditions.
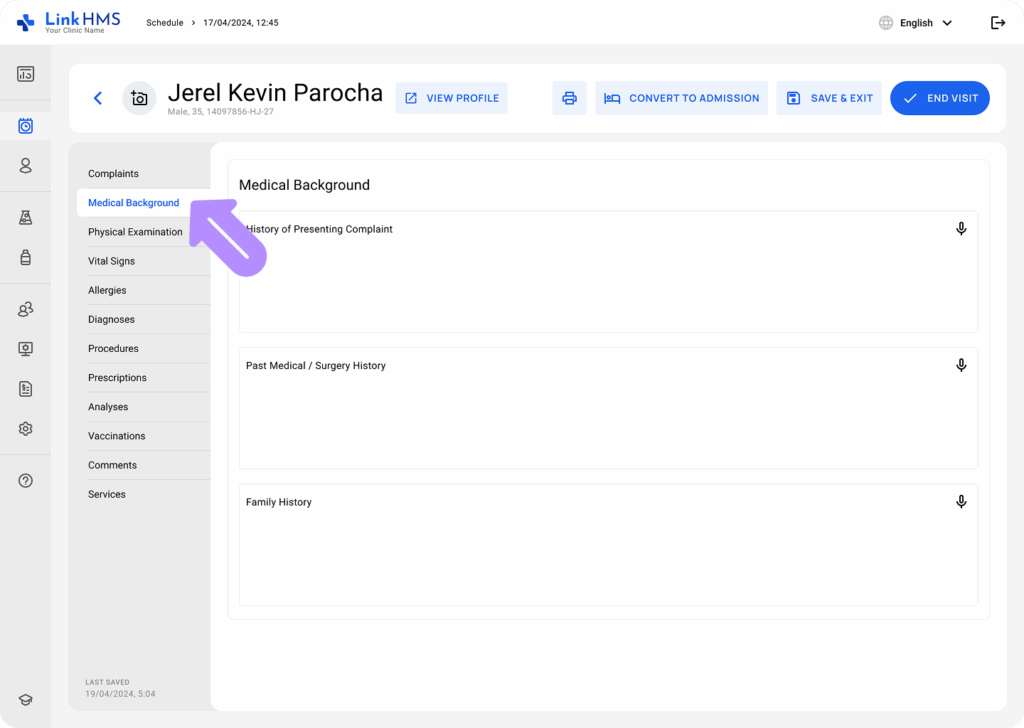
- Medical Background: Enter or update notes on the patient’s medical history.
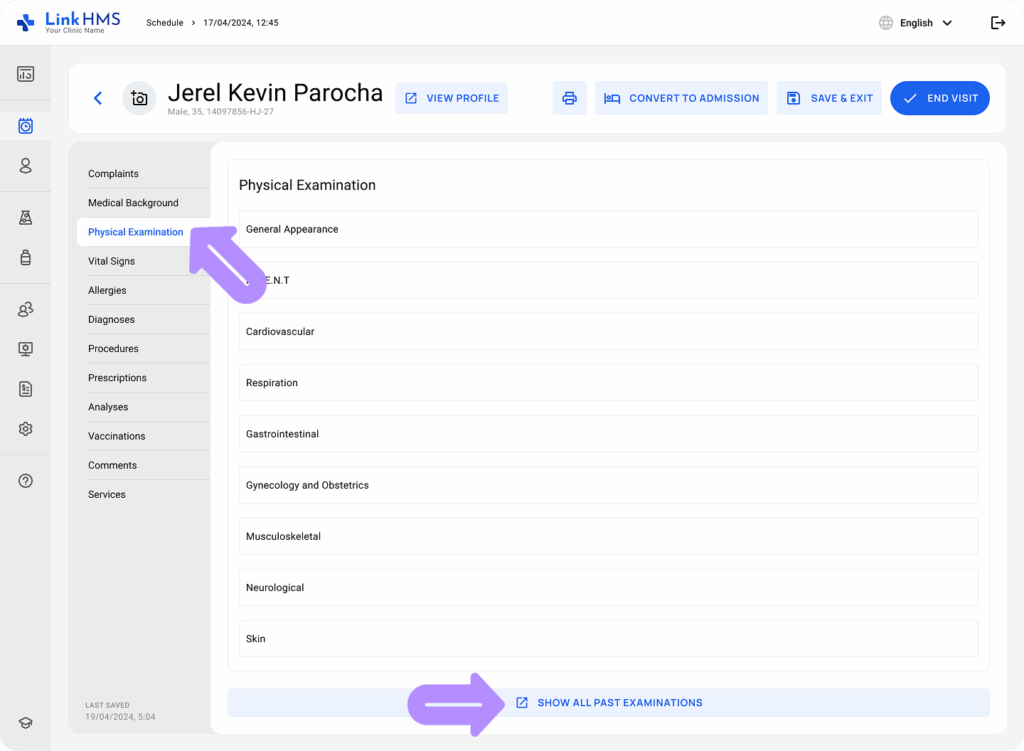
- Physical Examination: Add the findings gathered from the current examination and access details from previous ones.
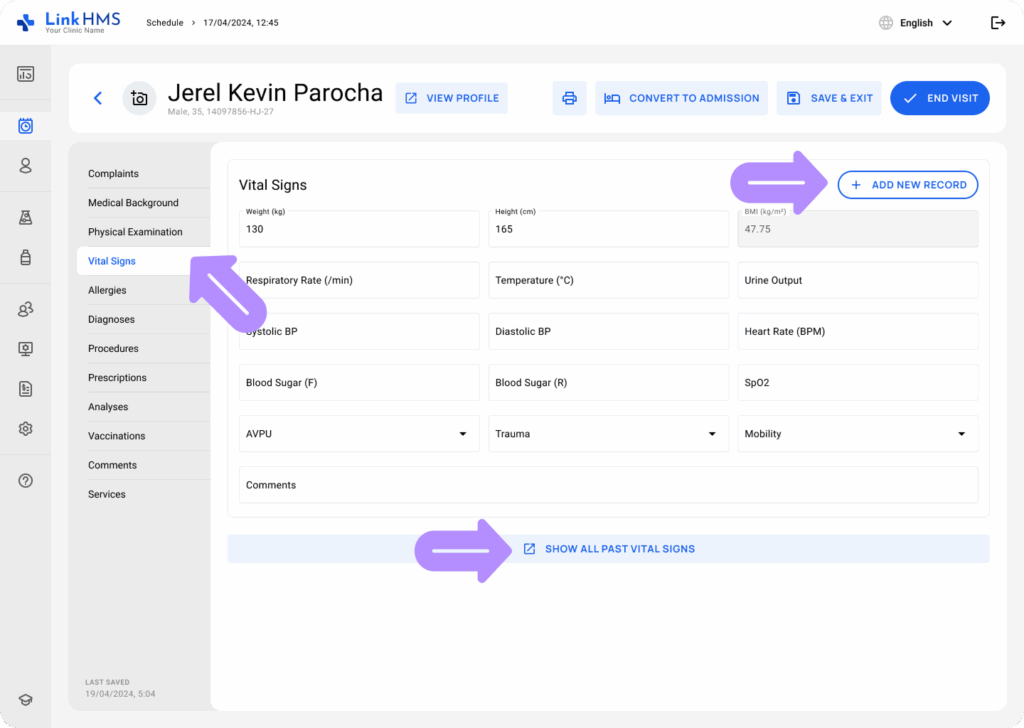
- Vital Signs: Record weight, blood pressure, temperature, and other health metrics.
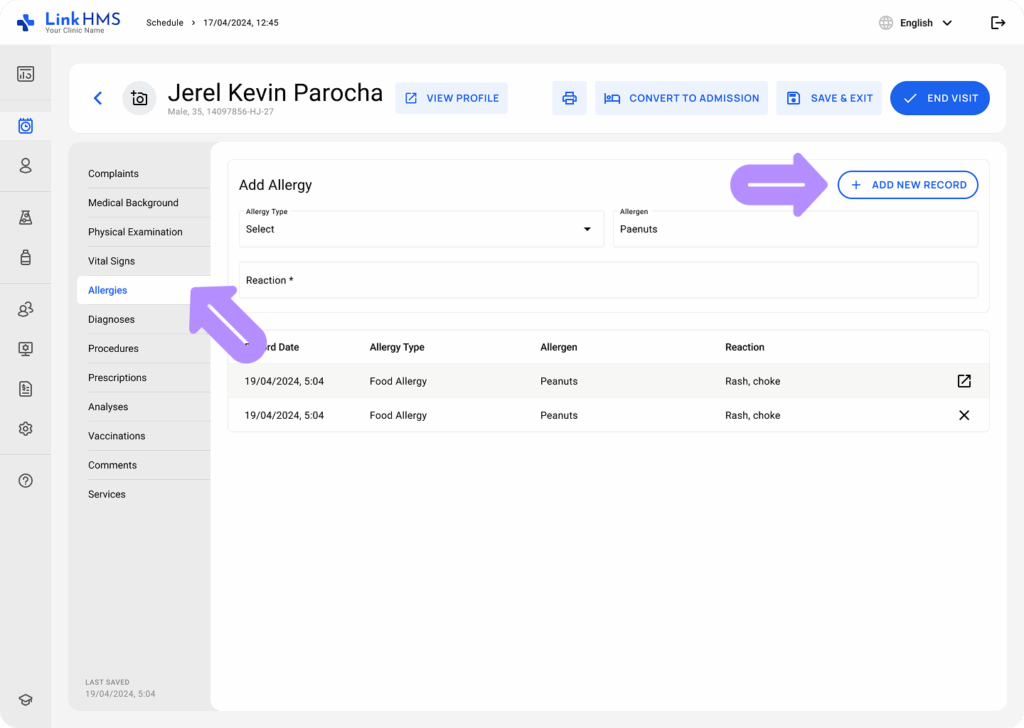
- Allergies: Review the patient’s allergies or add records on other allergies, allergens, and reactions.
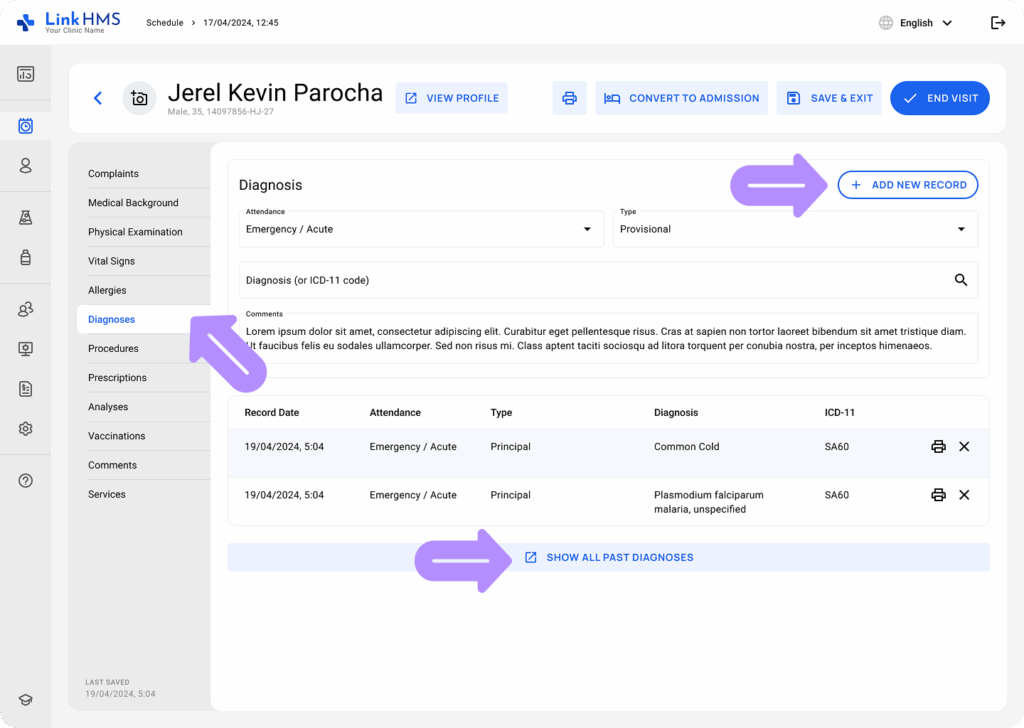
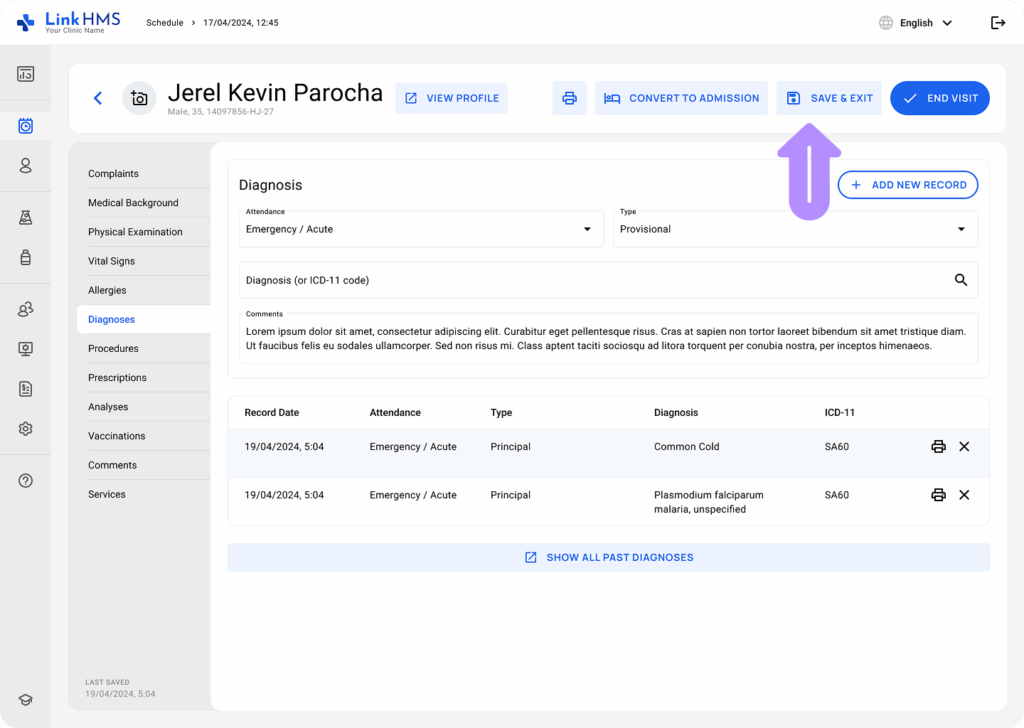
- Diagnoses: Document conditions and diagnoses using ICD-11 codes and review previous records.
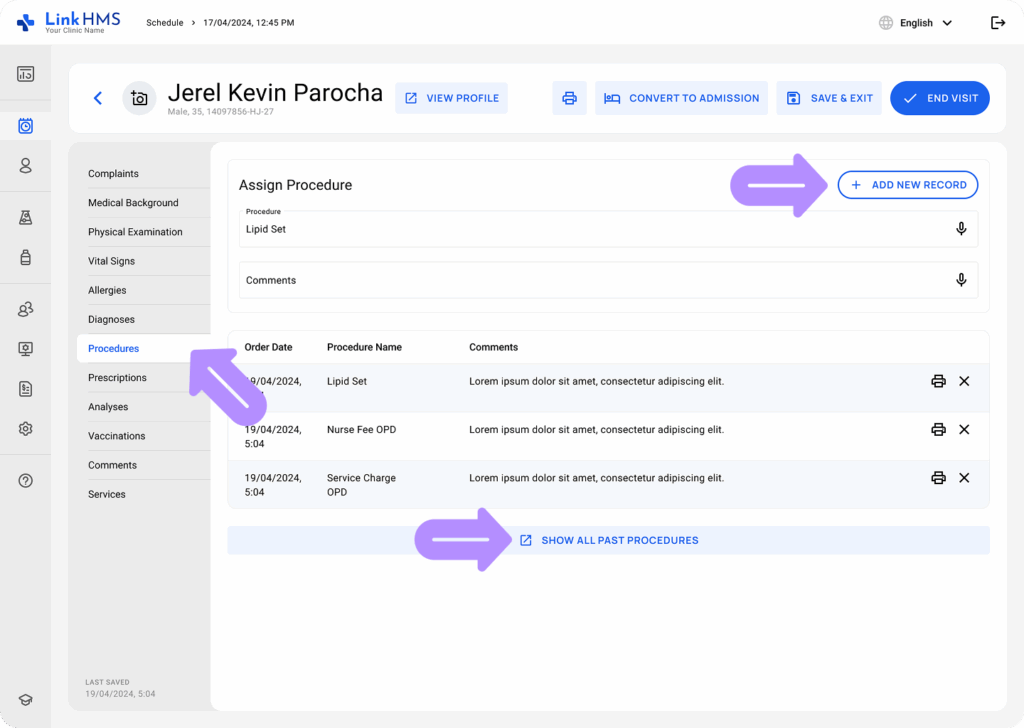
- Procedures: Assign the required procedure and leave optional comments.
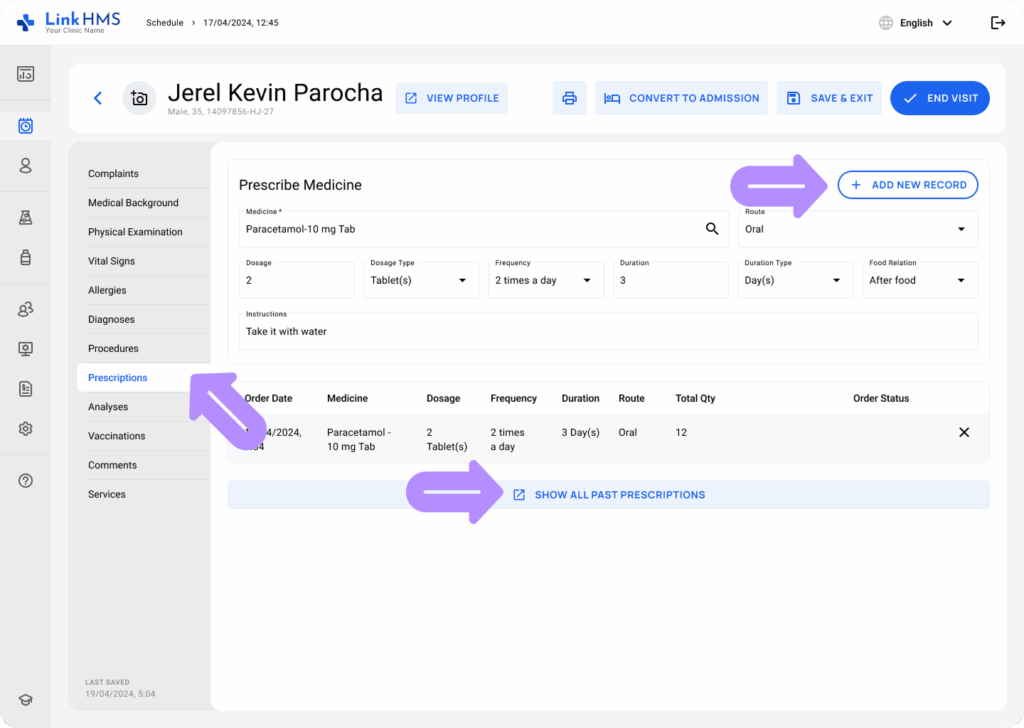
- Prescriptions: Issue medications and review past prescriptions for reference.
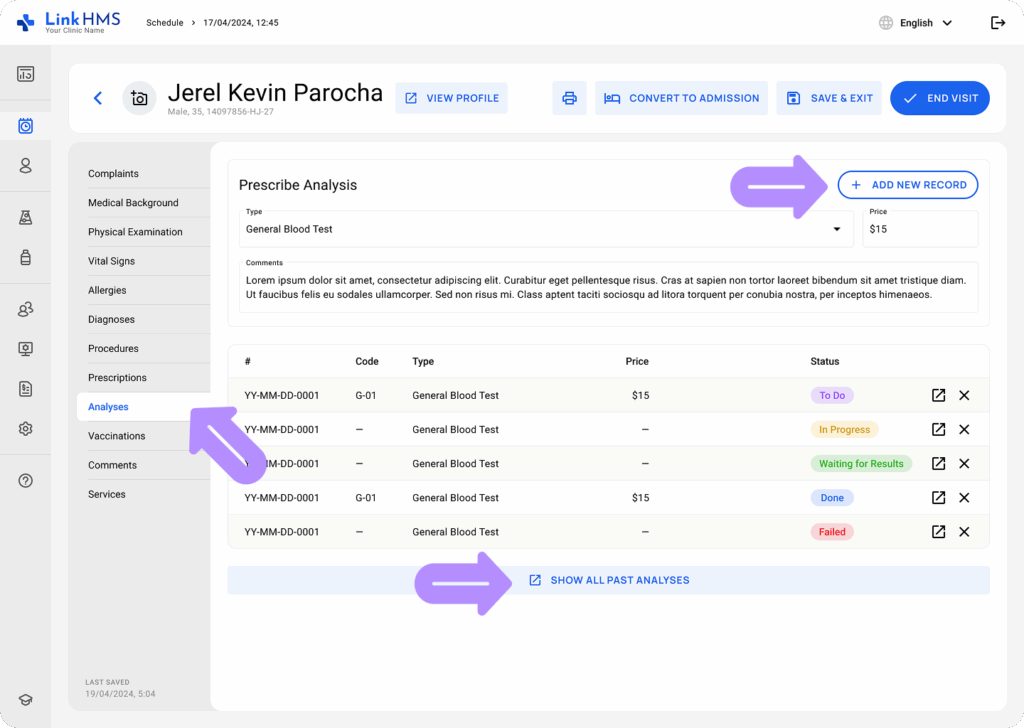
- Analyses: Request lab tests for further diagnostics and track previous test results.
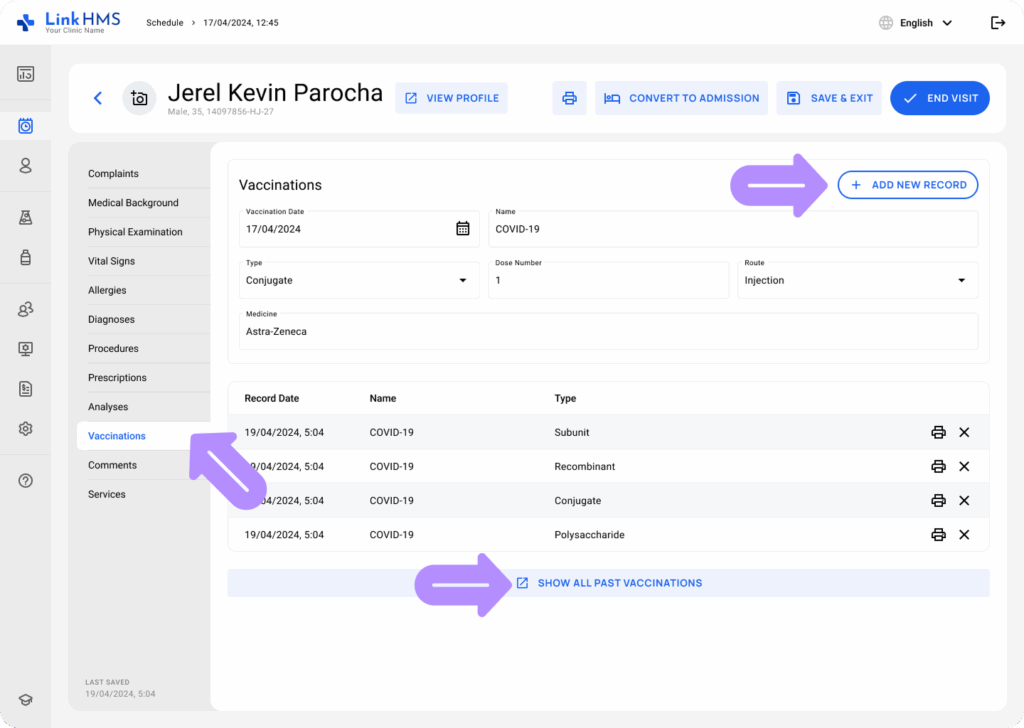
- Vaccinations: Update the vaccination record and review the previously received ones.
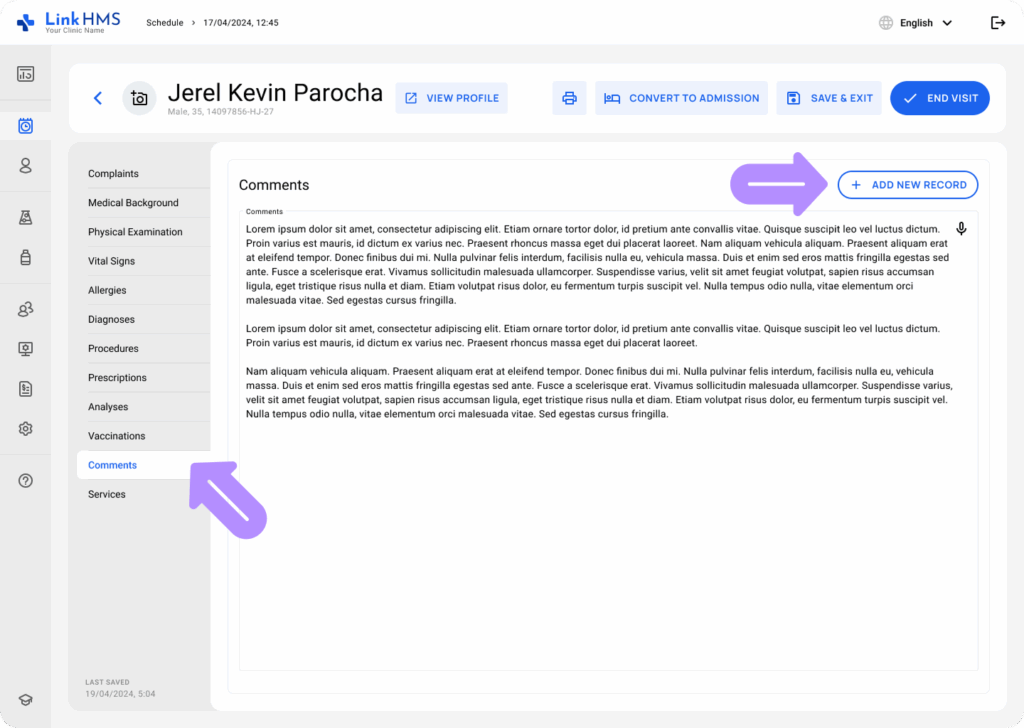
- Comments: Add more notes on the patient’s condition or other visit-related details.
- Services: Log treatments and additional services so they can be included in the invoice. The visit fee is automatically included, based on the service selected when the appointment was scheduled.

Organizing the Visit Flow
💡Notes
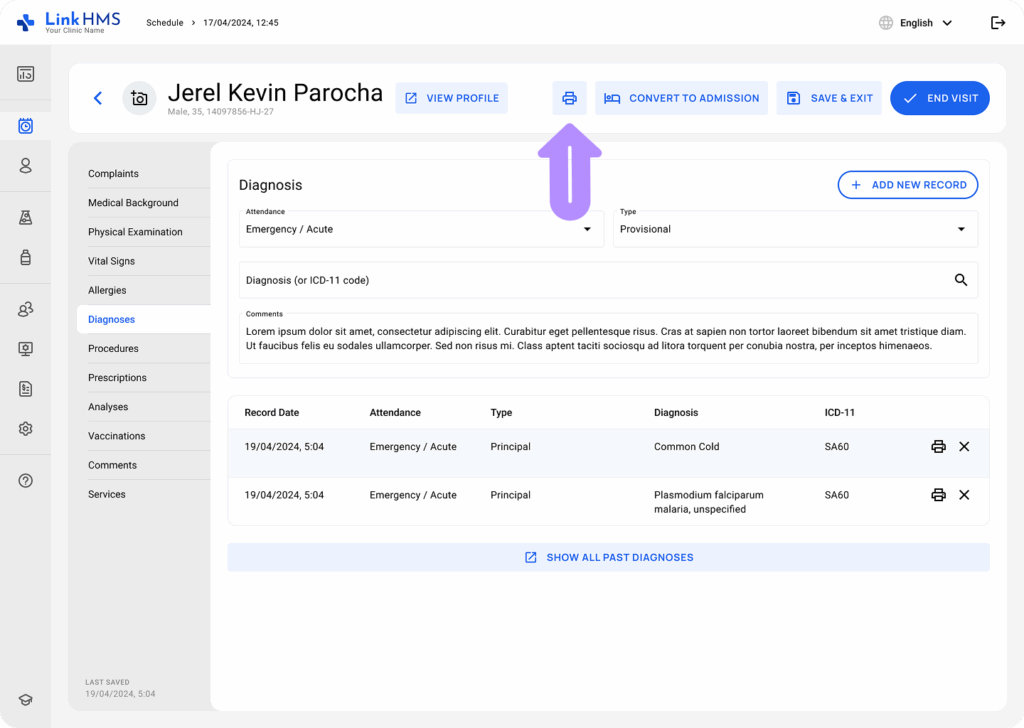
The Print, Convert to Admission, Save & Exit, and End Visit buttons are displayed at the top right of every tab. It helps to organize the flow and manage your visit actions.
- Switch between tabs to enter patient information during the visit. Click the Save & Exit button to save progress, and return anytime to update or complete the visit record.
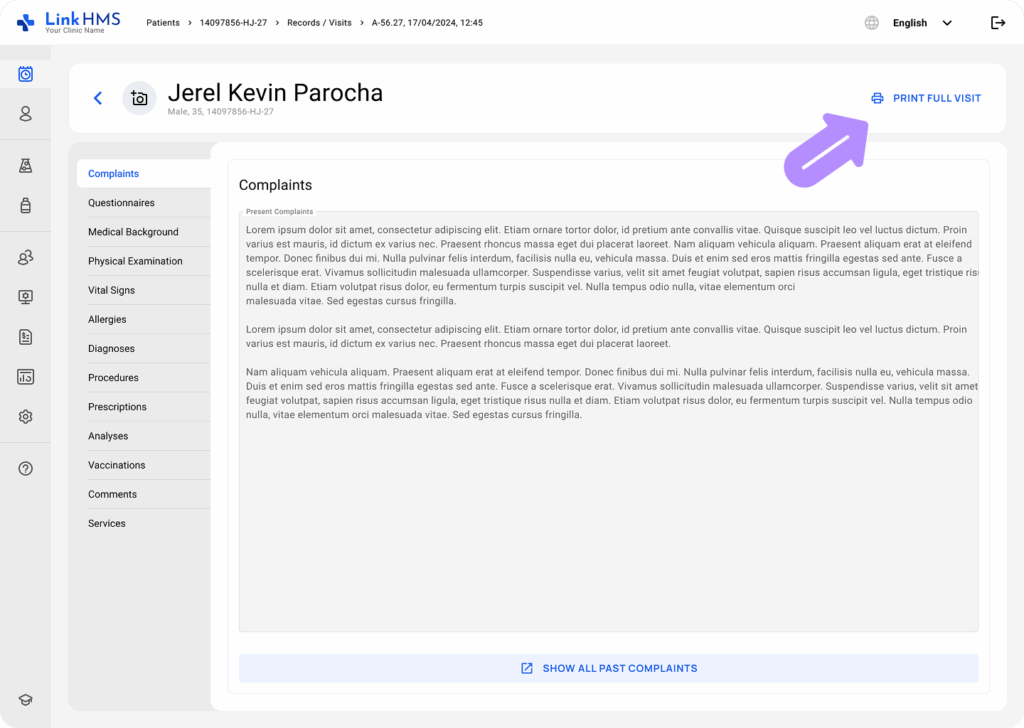
- Use the Print button to print the visit records at any stage, even before completing the visit.
💡Notes
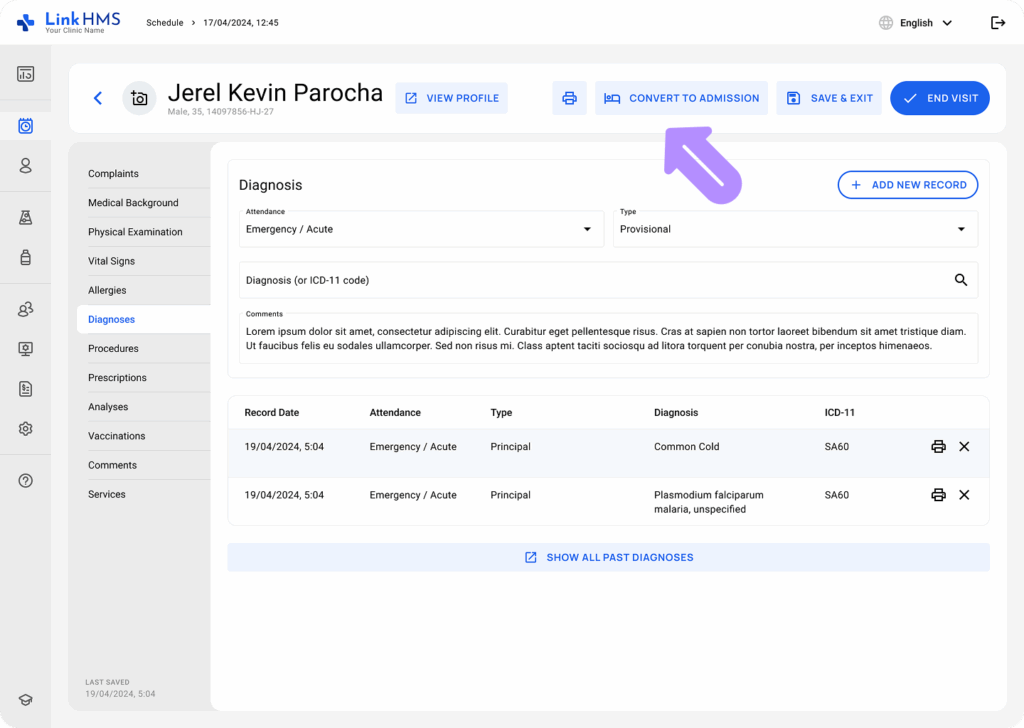
LinkHMS allows you to convert visits to admissions at any point during the visit.
- Use the Convert to Admission button to change the current visit into an inpatient admission.
Completing the Visit
💡Notes
You can end the visit at any time once the consultation is complete and all necessary records are finalized.
- Click the End Visit button at the top of any visit tab.
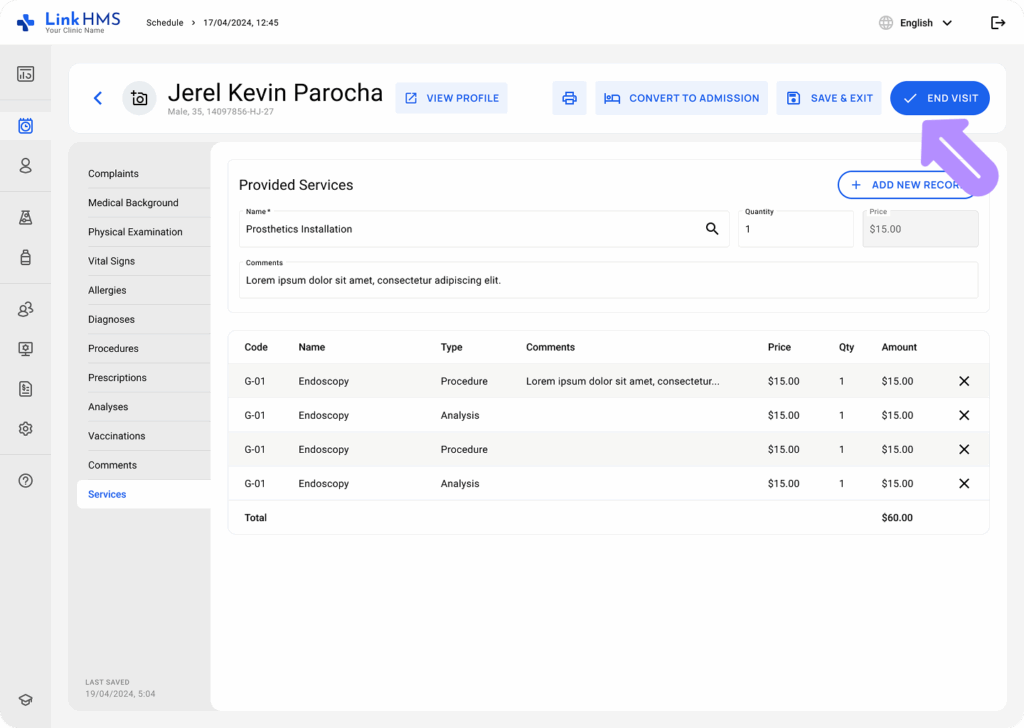
- The visit is saved, and all provided services are listed for invoicing.
💡Notes
The receptionist can proceed with finalizing the visit invoice. For more details, check the complete guide on how to finalize the invoice.
Reviewing the Completed Visit
- Go to the Patient’s Profile and select the Visits tab.
- Locate the required visit and click to open it.
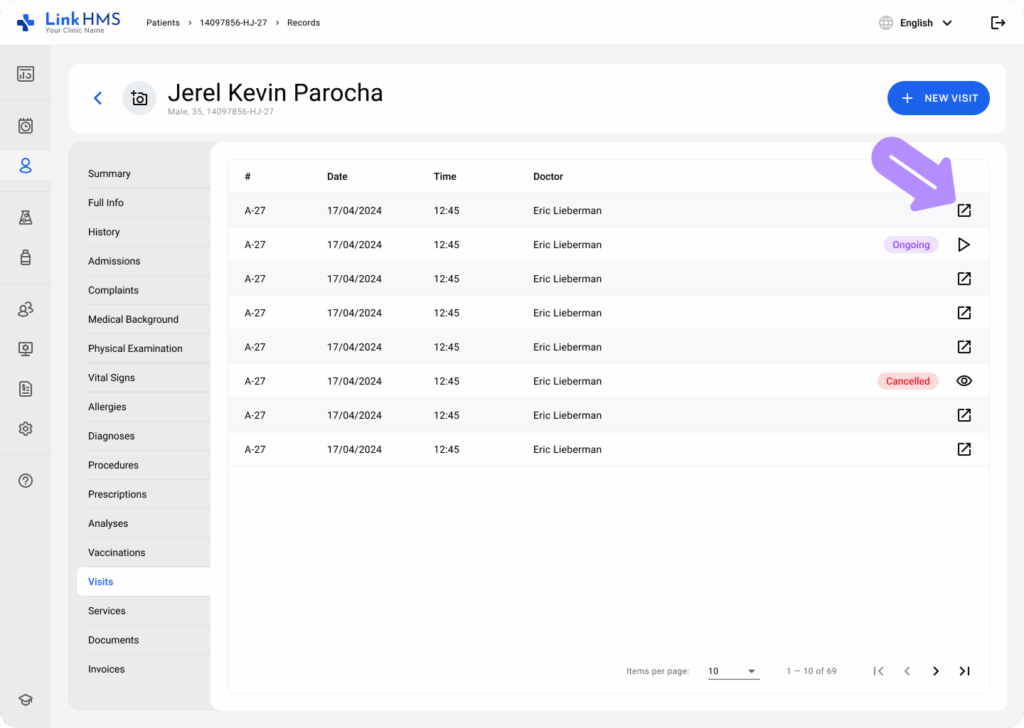
- Navigate through the tabs to view all recorded visit details.
- Click the Print Full Visit button to print or download the PDF file with the detailed visit information.
By following this structured workflow, LinkHMS ensures smooth visit management, accurate medical documentation, and seamless communication between departments.