LinkHMS comes with pre-built test templates to perform standardized tests, compare results with reference values, and support consistency across laboratory operations. Lab staff can choose from ready-made templates, fully customize them, or create tests entirely from scratch. Check the complete list of built-in templates to run them in your clinic.
Accessing the Test Templates
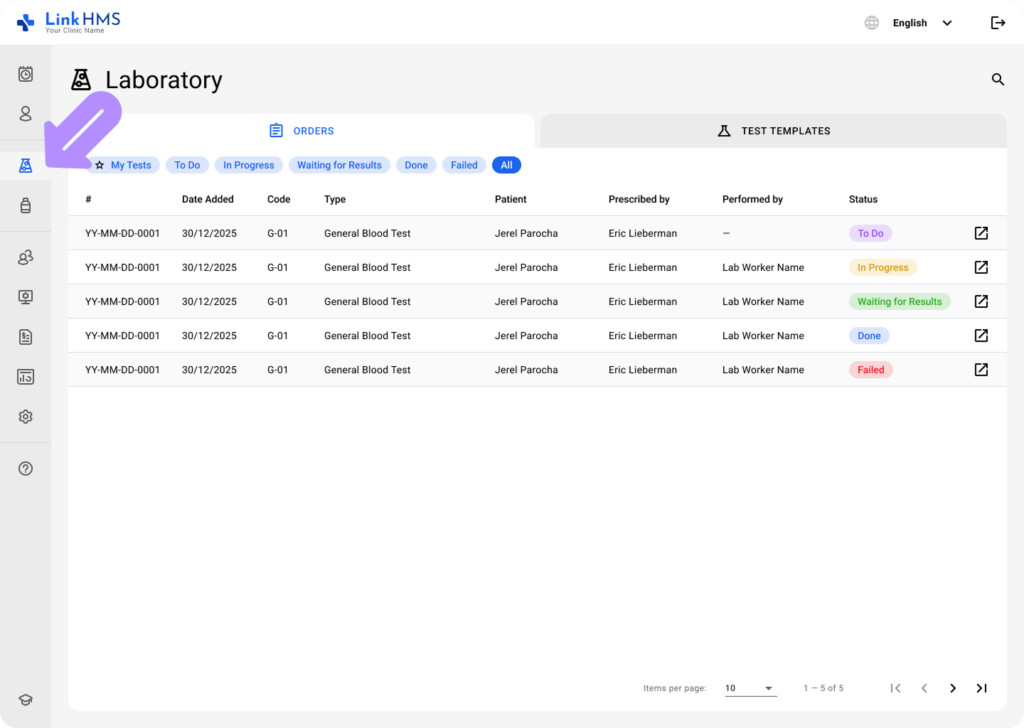
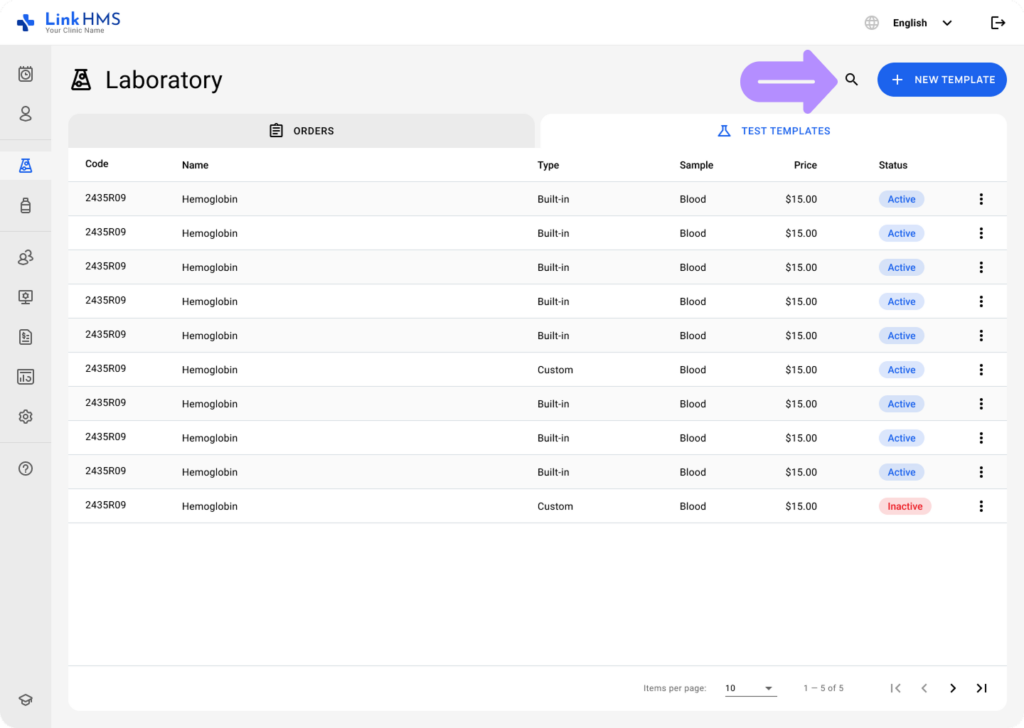
- Navigate to Laboratory from the side menu.
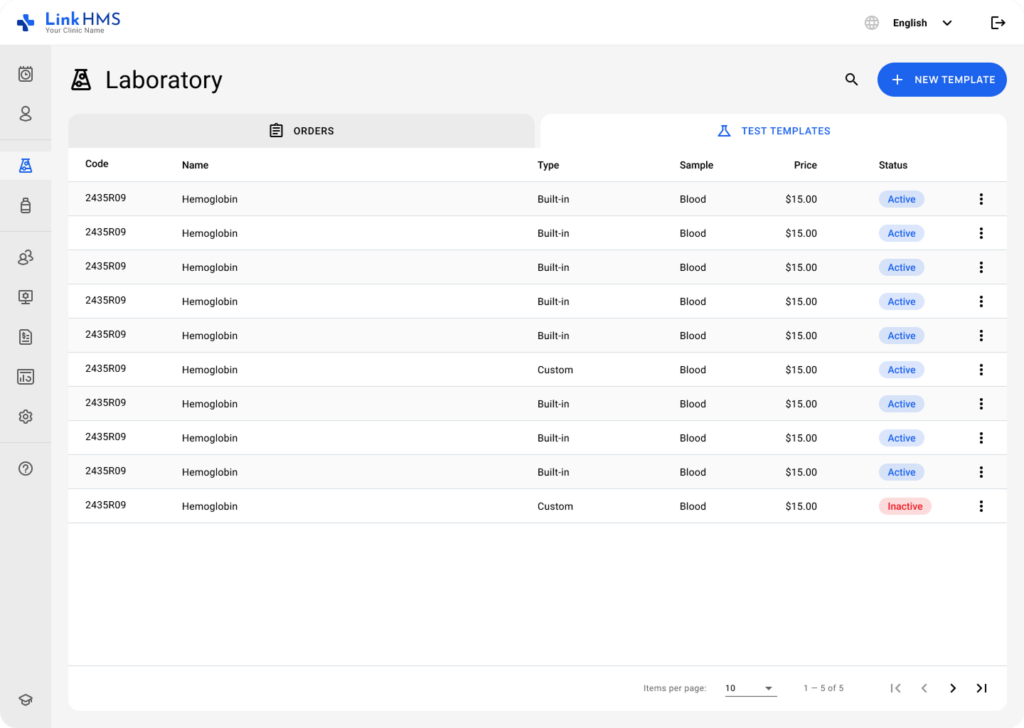
- Choose the Test Templates tab to access both built-in and custom templates.
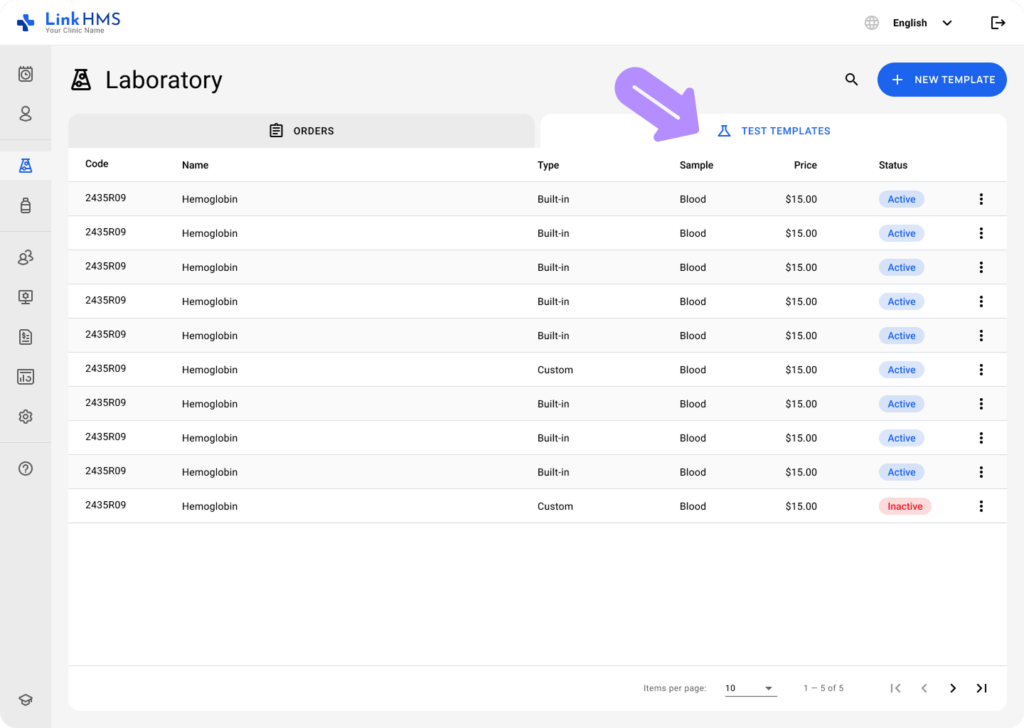
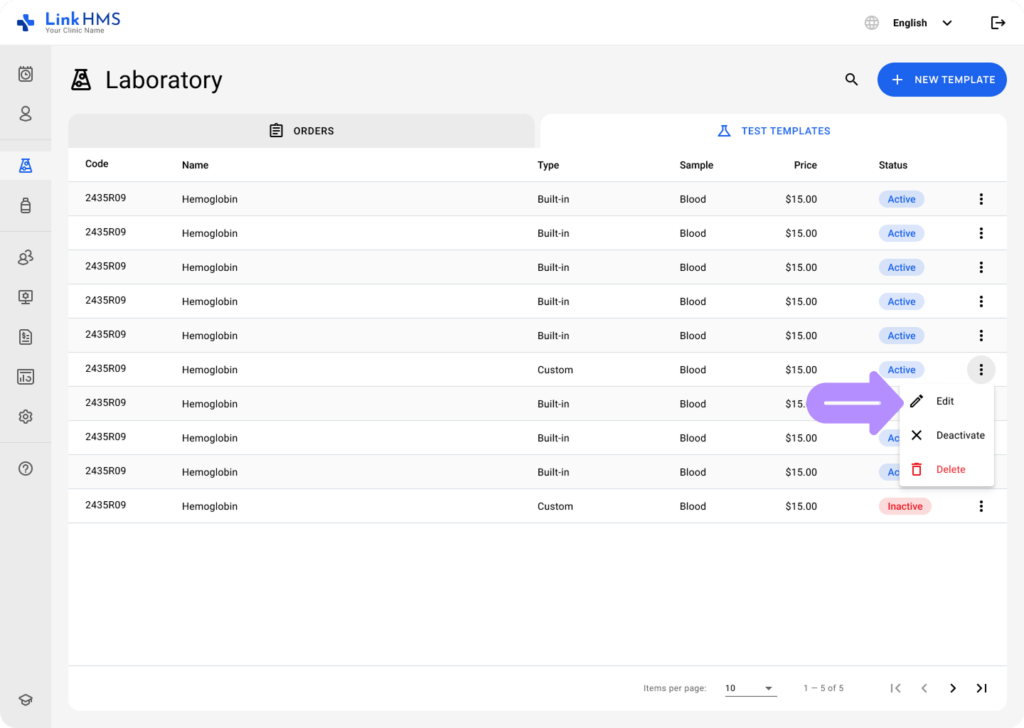
- Review the list of templates, which contains code, name, type, sample, price, and status.
- Use the search to find the necessary template.
Editing the Built-In Test Template
💡Notes
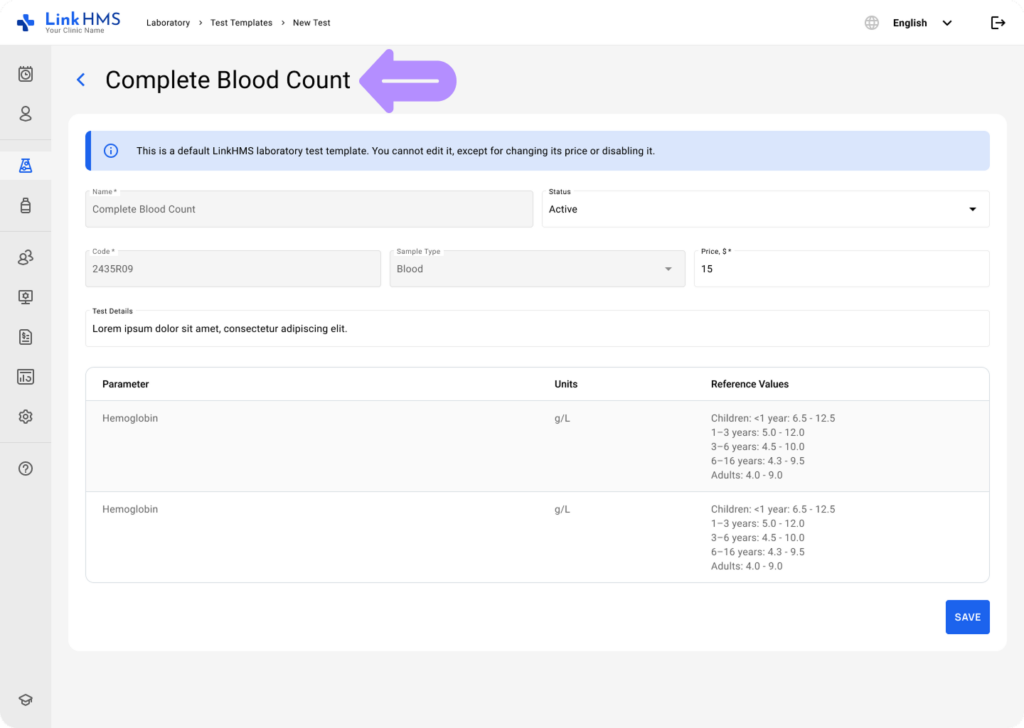
This is a built-in LinkHMS laboratory test template. You cannot edit it, except to change its price or disable it, so it no longer appears in your clinic’s list of tests and services. Custom test templates can be fully edited, allowing you to update test details, parameters, and reference values as your lab’s requirements change. To create your own test template, refer to the guide on how to add and edit custom test templates.
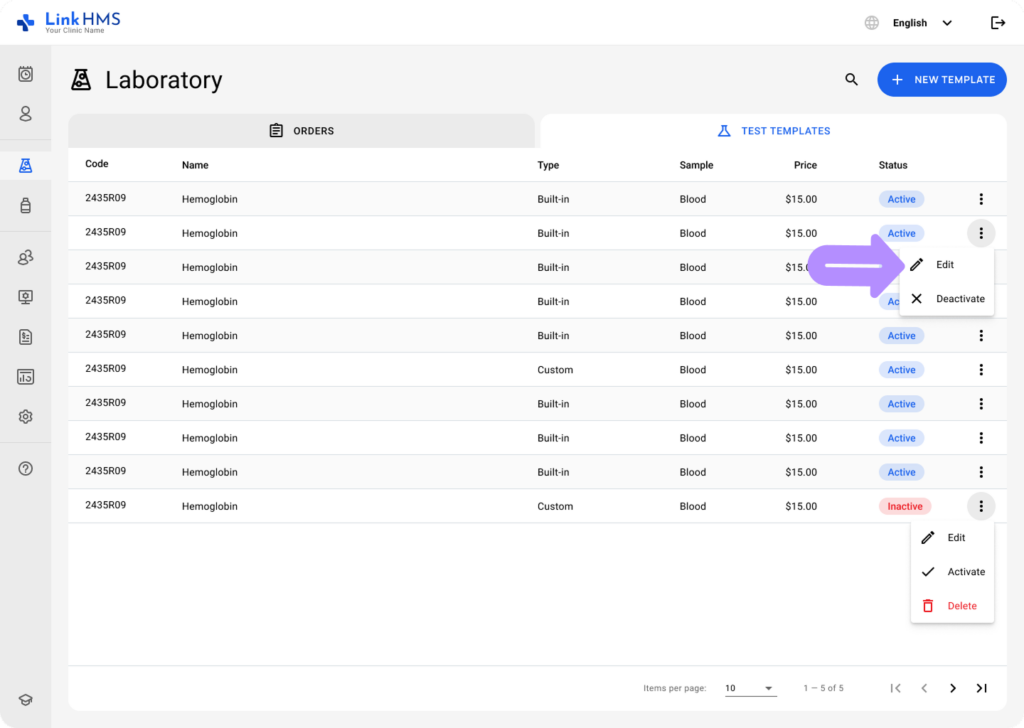
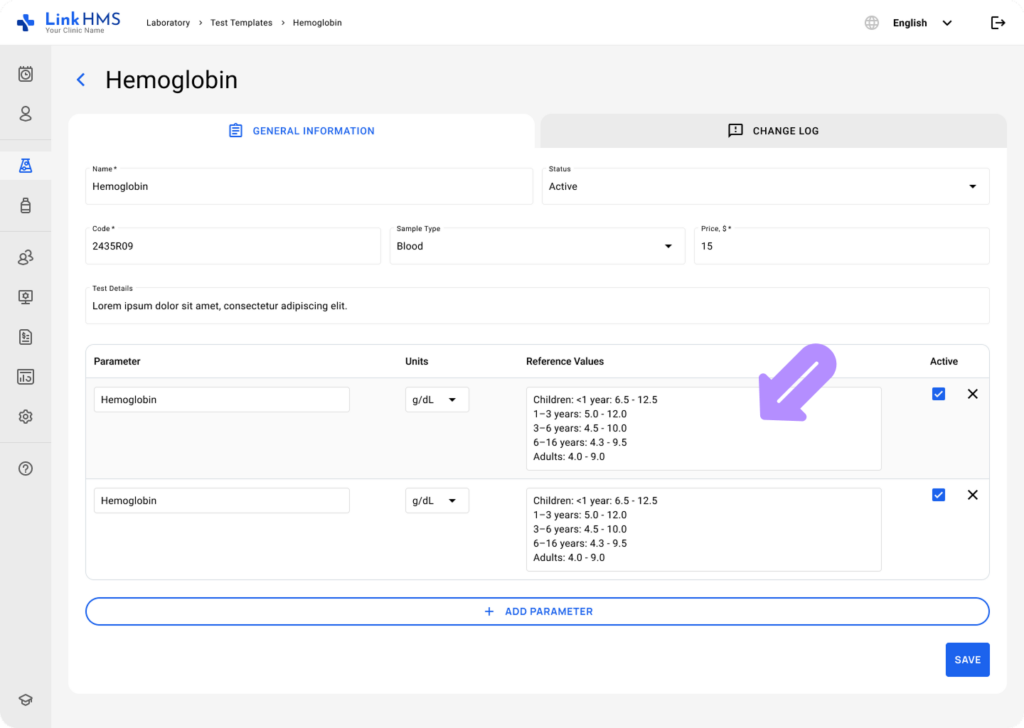
- Locate the required template, then click Edit in the three-dot menu to view it in detail.
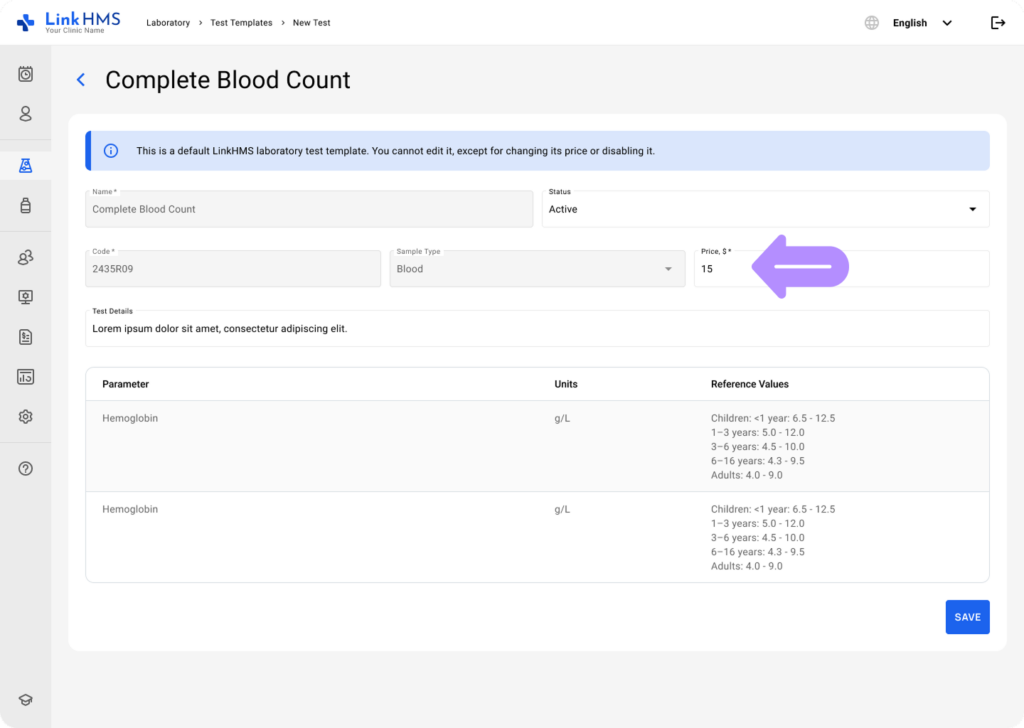
- Review the test information, including code, sample type, price, test details, parameters, units, reference values, and current status (active/inactive).
- If required, leave additional comments about this lab test.
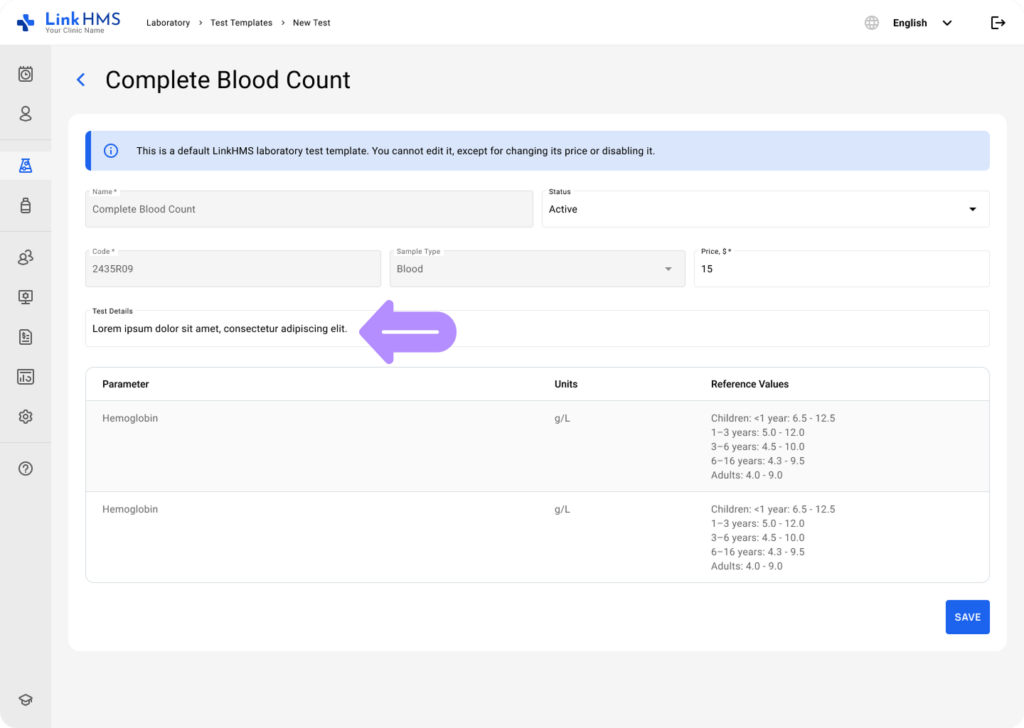
- Change the price of the lab test directly in the template.
💡Notes
The changes are applied throughout the entire system, and the new price will be used during analysis requests and invoicing.
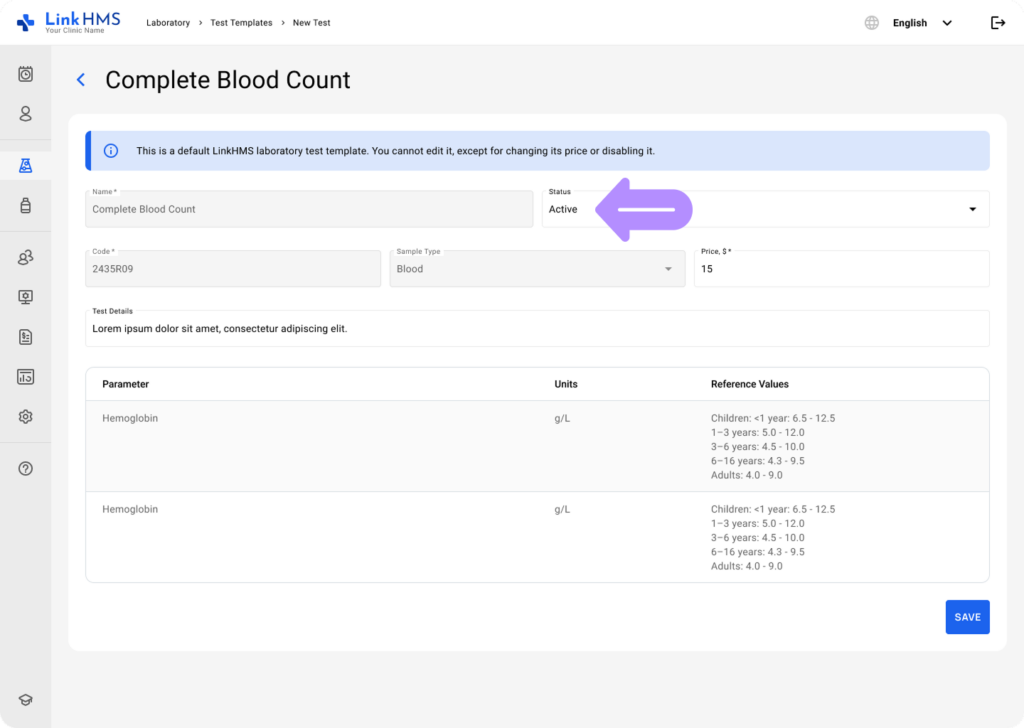
- Set the relevant test status: Active or Inactive.
💡Notes
Only Active templates will be visible for use in the system by other clinic staff.
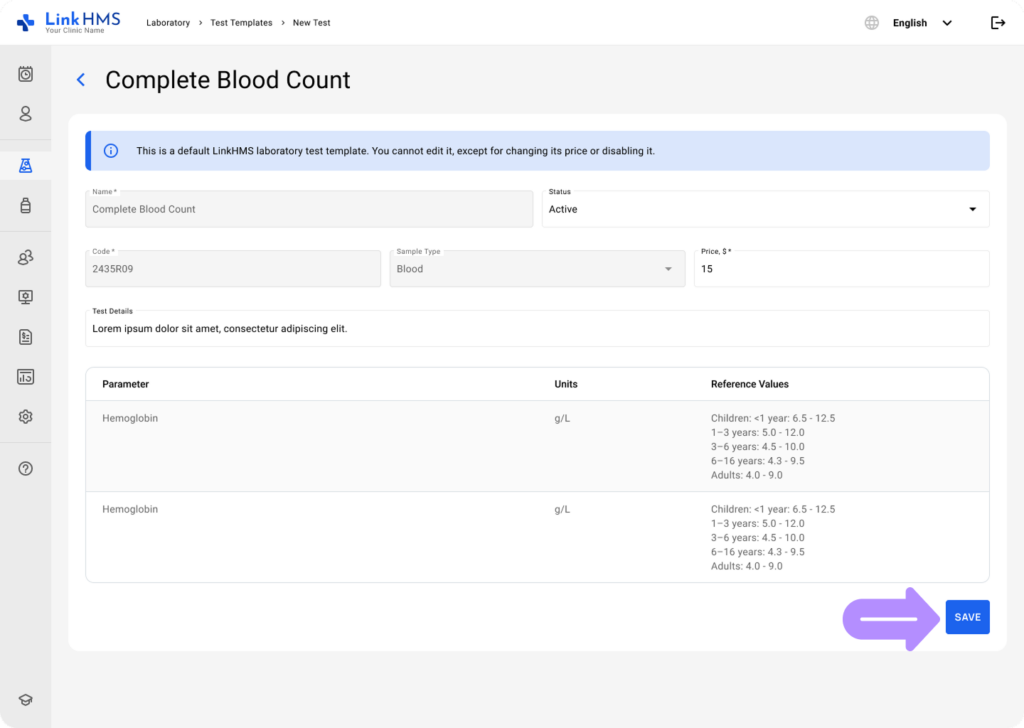
- Click the Save button to apply changes.
Editing the Custom Test Templates
- Locate the required custom test, then use the three-dot menu to select Edit.
- Edit test fields and add or remove parameters as needed.
- When deleting a parameter, click Remove to confirm the action.
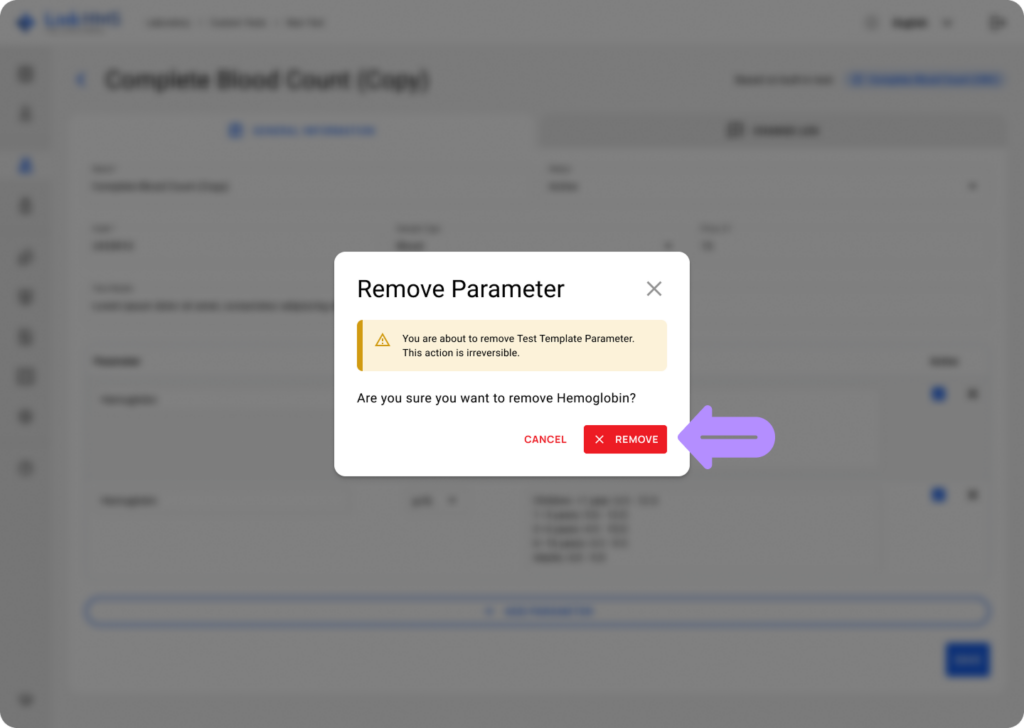
- Click Save to apply and confirm the changes.

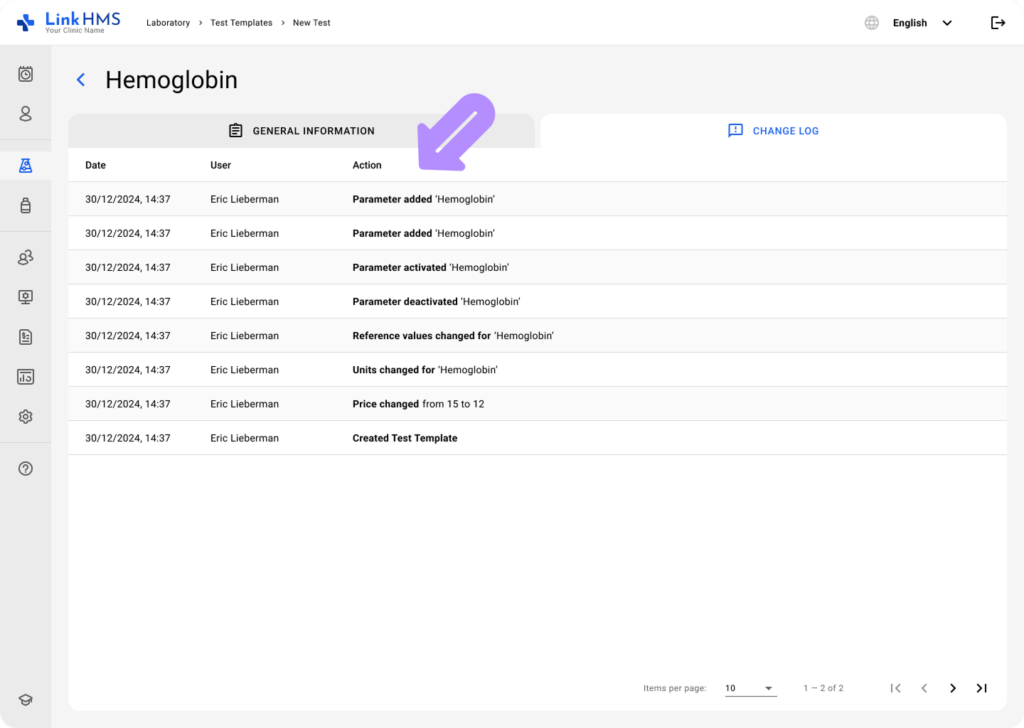
- All changes to the test are recorded in the change log.
Activating and Deactivating Test Templates
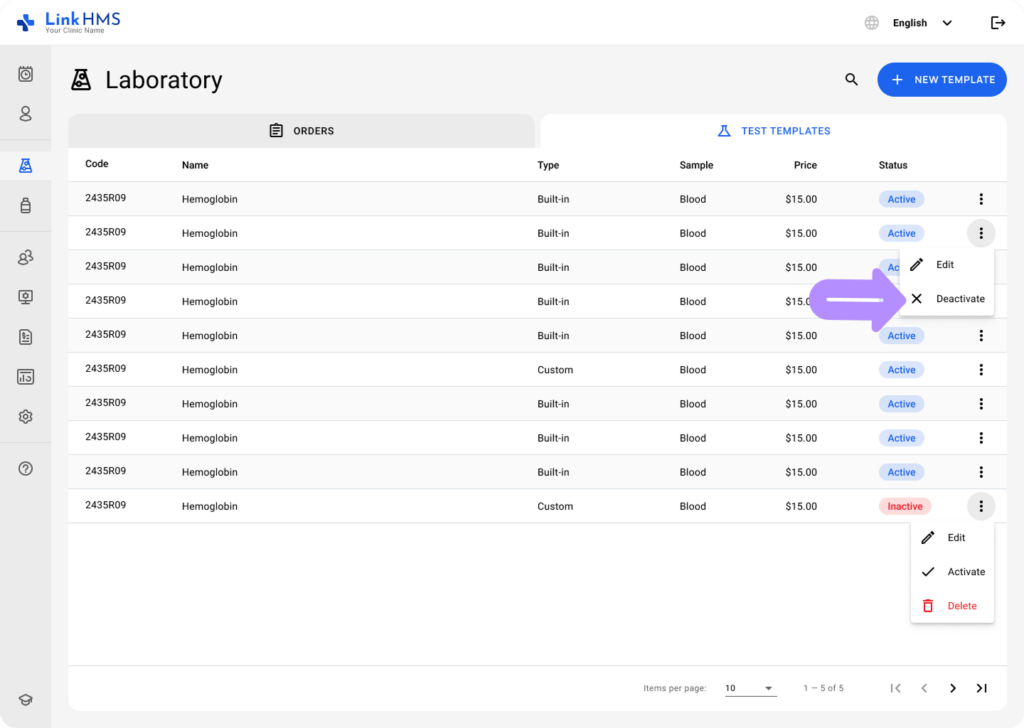
- Alternatively, you can activate or deactivate a template directly from the Test Templates tab. Click the three-dot menu next to a required test.
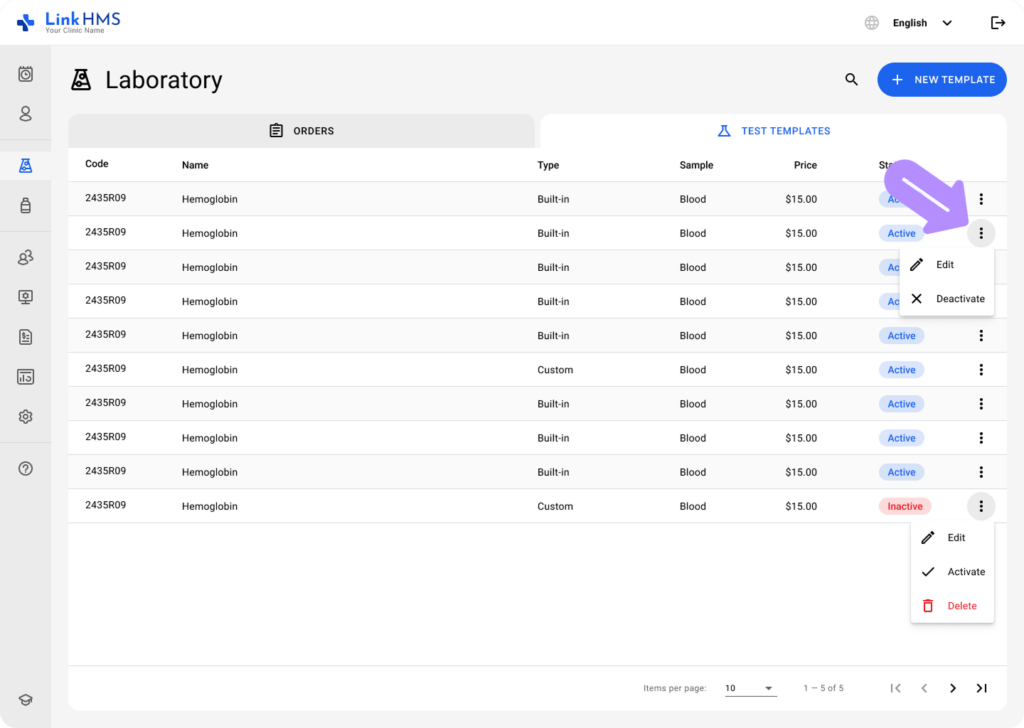
- Choose Deactivate to make the template inactive.
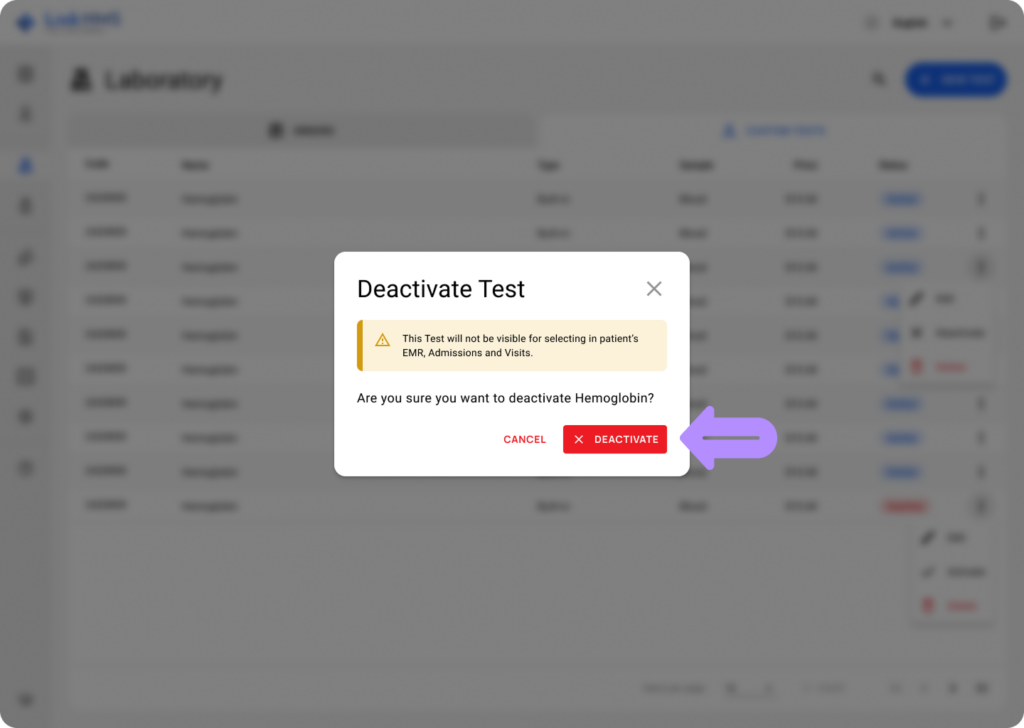
- Click the Deactivate button to finalize the action.
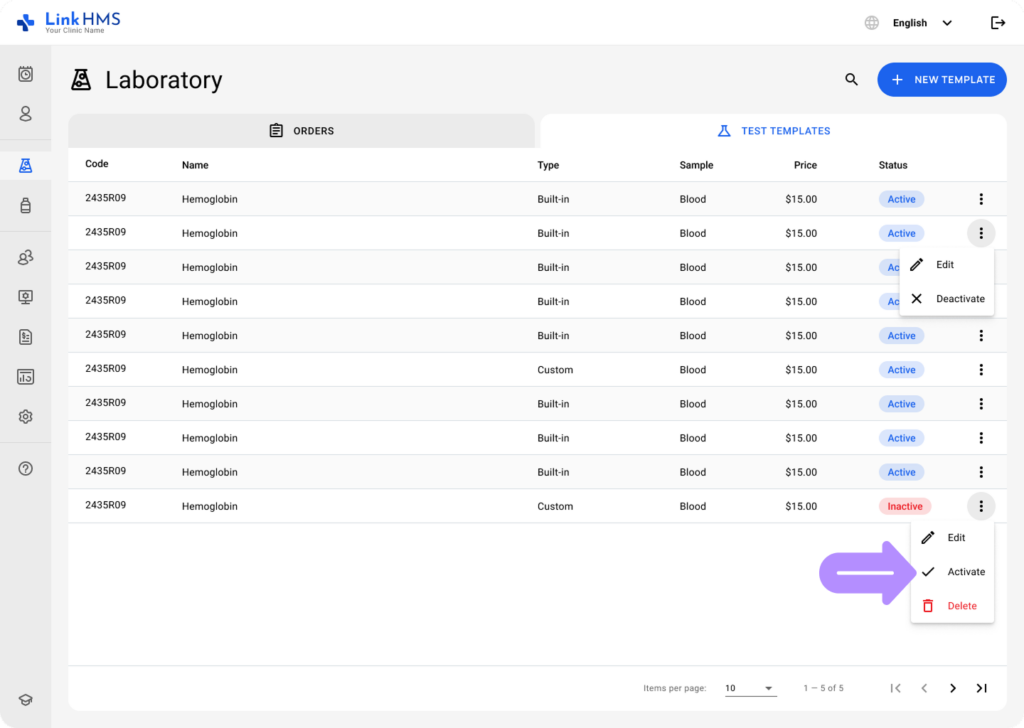
- Select the inactive template and click Activate to set up the new status.
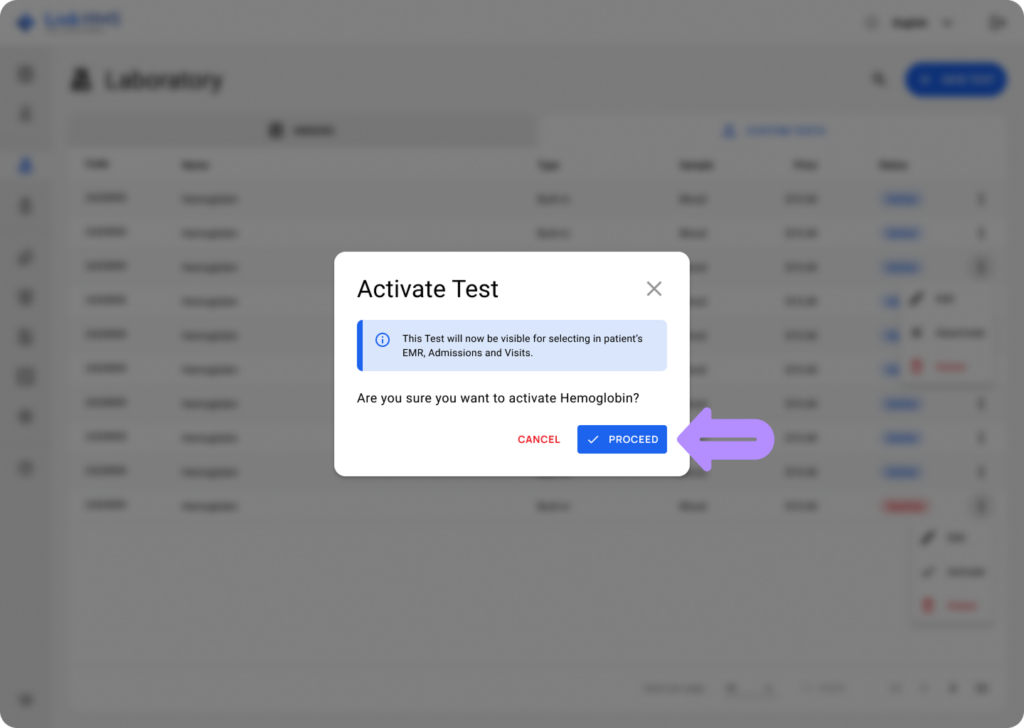
- Click the Proceed button to confirm the action.
💡Notes
All active templates are available system-wide to simplify test prescriptions, complete tests, review and compare results, and include lab test charges in the patients’ invoices.
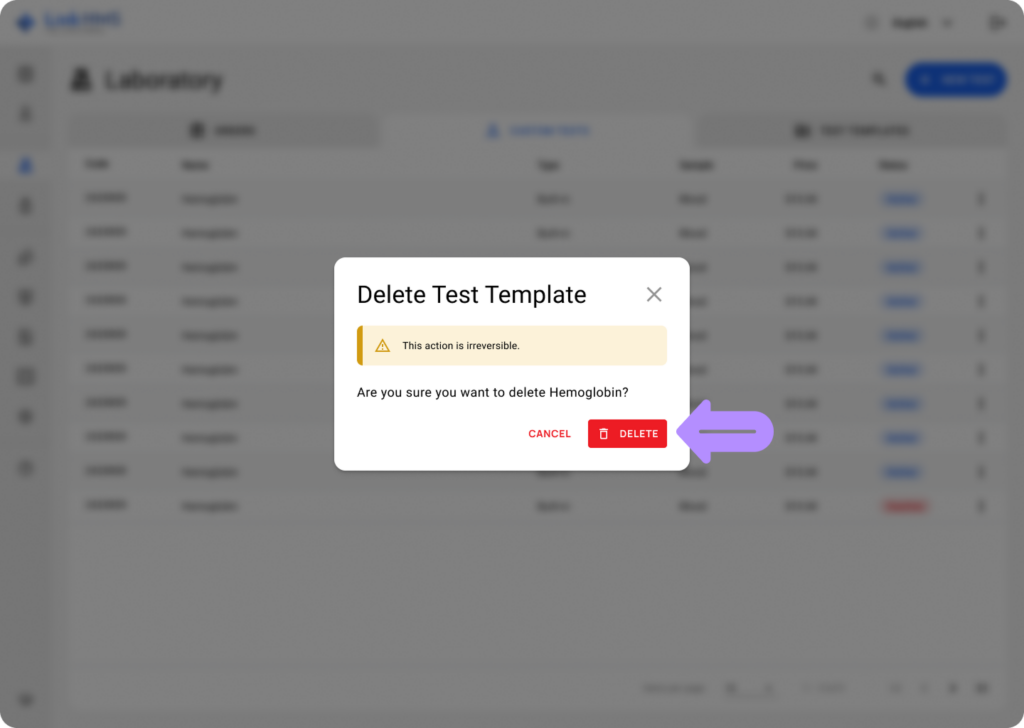
Deleting Custom Test Templates
💡Notes
Custom test templates can also be deleted, while built-in templates can only be deactivated.
- Open the three-dot menu next to the template and select Delete.
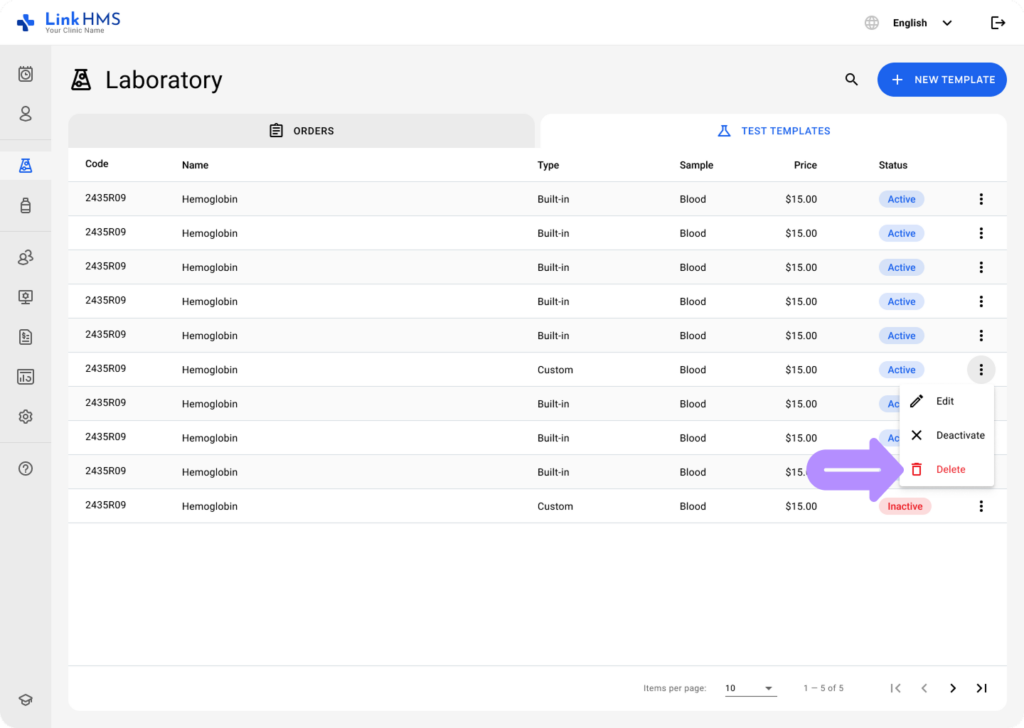
- Click the Delete button to permanently remove the selected test template. This action cannot be undone.