💡Notes
When lab specialists enter test results or make any updates to the test in the Laboratory, the records are instantly synchronized with the patient’s EMR for review by doctors, nurses, receptionists, and clinic administrators.
Filling In Lab Test Results
- Navigate to the Orders tab while conducting the analysis.
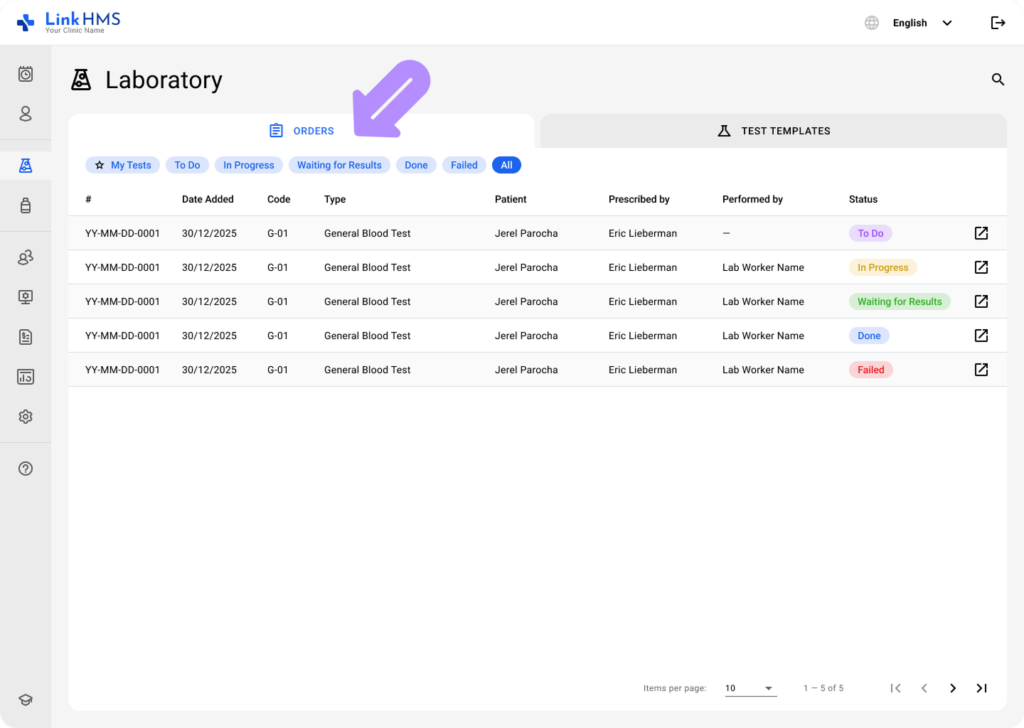
- Select the test you want to update from the orders to document and edit the results.
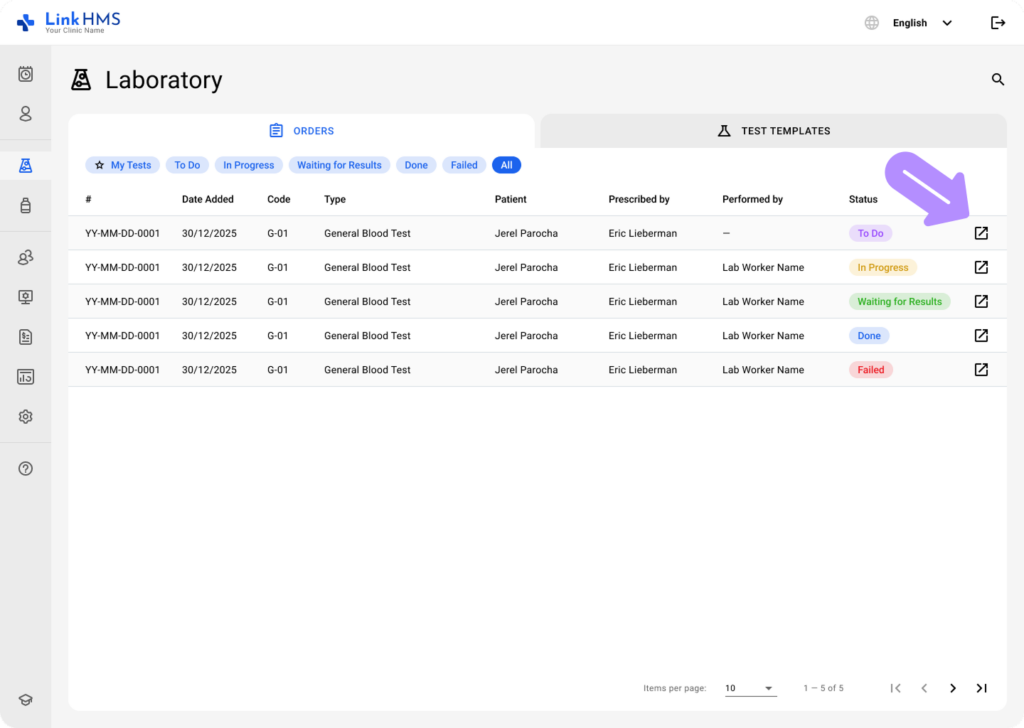
- The lab test opens in a detailed view so you can proceed with recording the analysis findings.

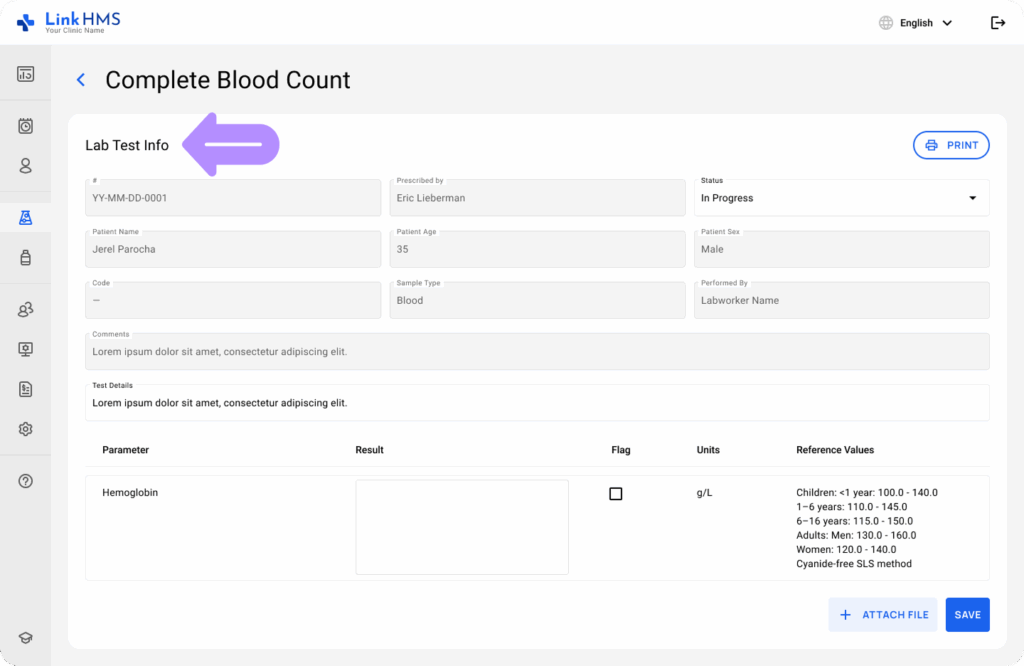
- View the full lab test information, which includes details such as the test number, prescribed by, patient’s name, age, and sex, along with the type of sample collected or any additional comments from the staff requested.
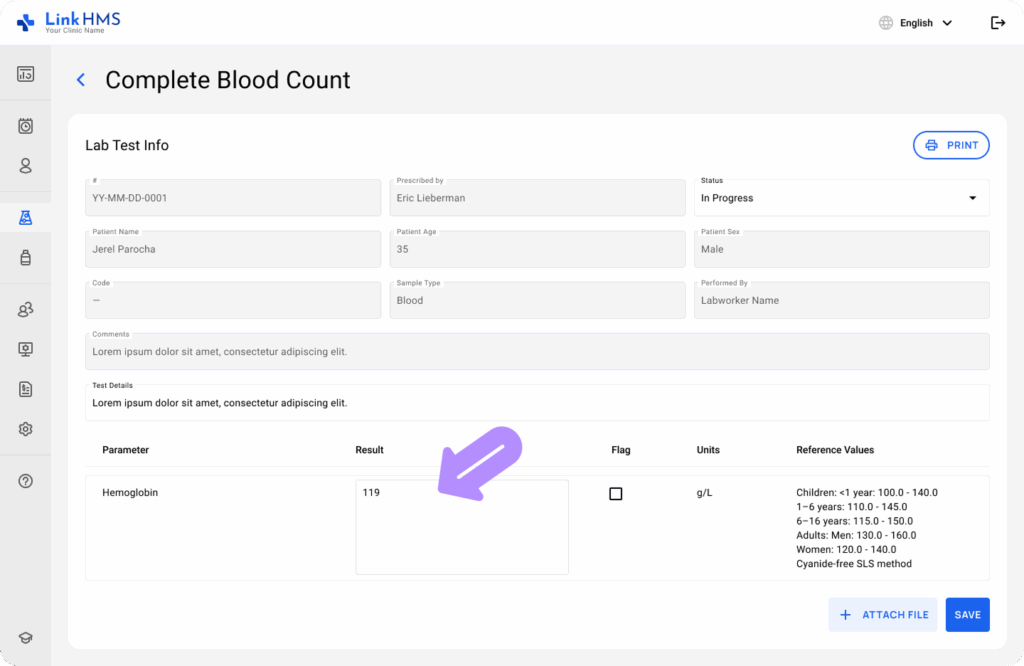
- Scroll down to the test details section to enter your findings regarding the analysis.
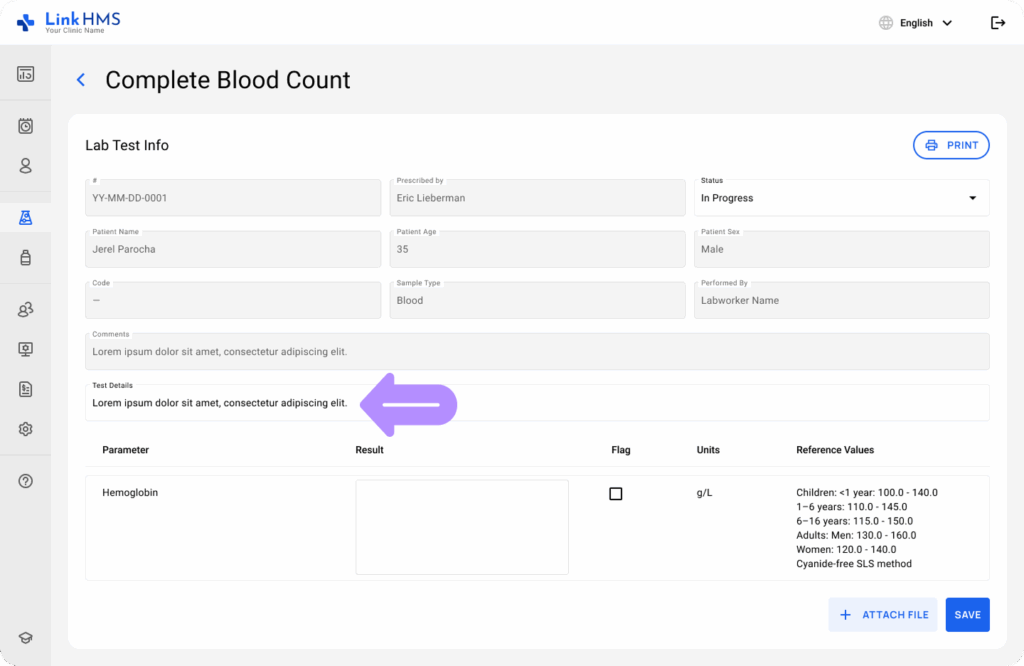
- Enter lab test results for every listed parameter.
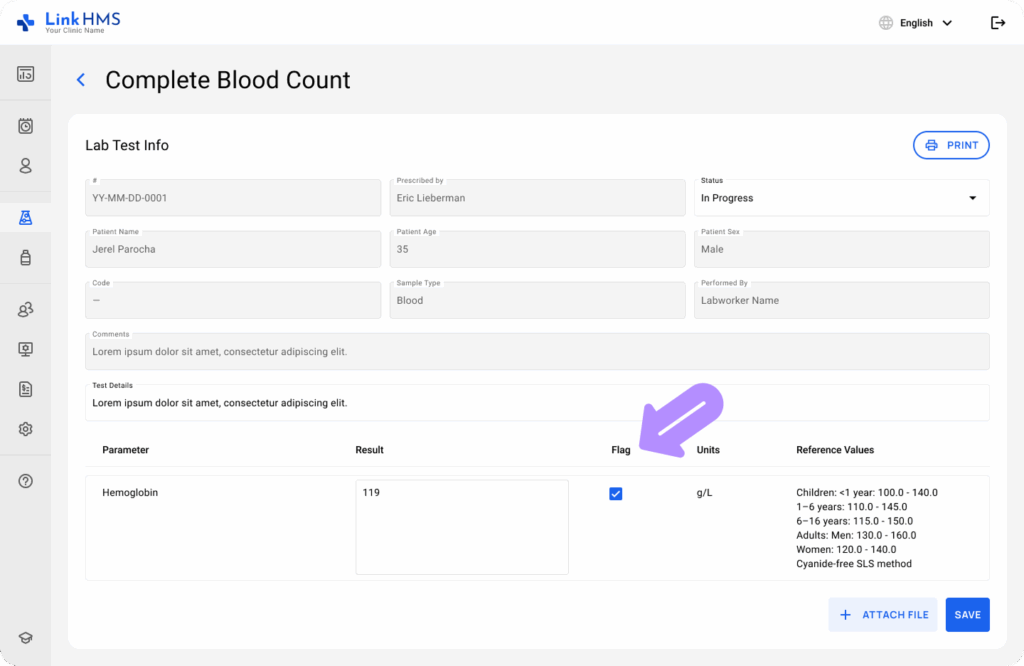
- Click the checkbox next to the results to flag any out-of-range results based on the reference values. If needed, add comments in the field above.
💡Notes
Reference values are applied automatically, either from pre-built templates provided in the system or from custom templates created and added by your lab staff. These values help you compare patient results against the expected ranges.
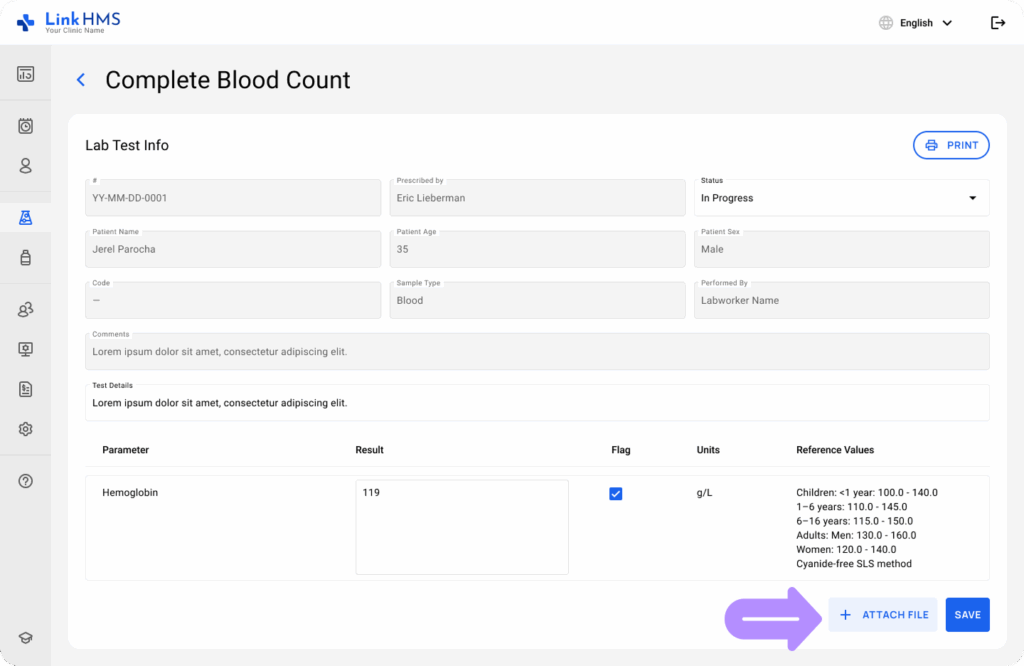
- If needed, use the Attach File button to upload supporting files, such as scanned documents, images, or additional reports related to the test. Find the detailed guide on how to add an attachment.
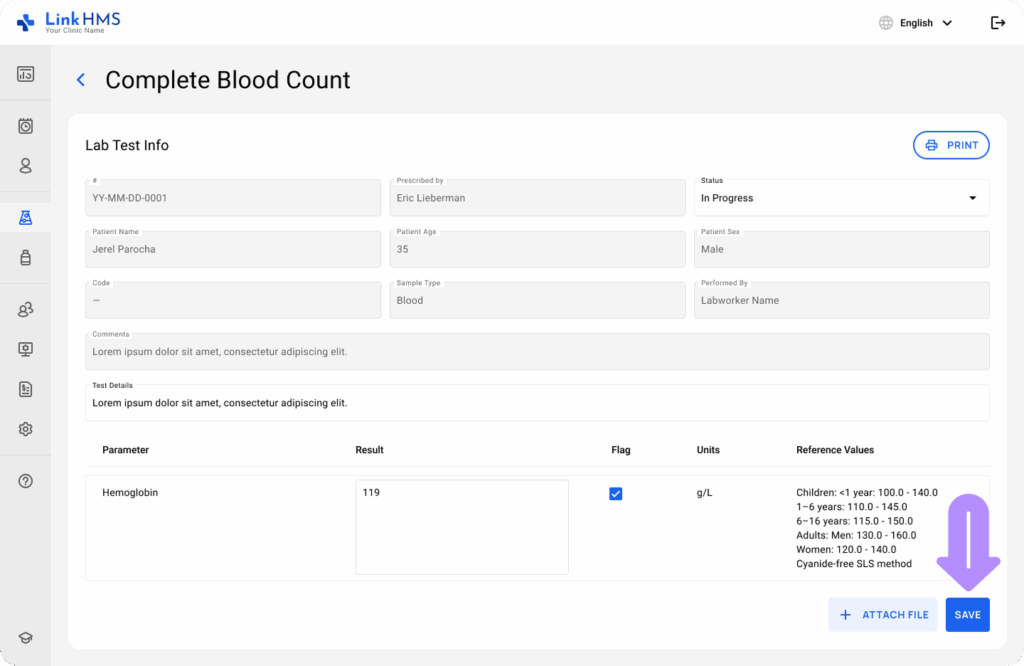
- Once you fill in new data on lab test results, click the Save button to apply the changes.
- Ensure that the test status is updated to reflect every stage, so doctors and other clinic staff are instantly informed of the result updates and progress. For more details, refer to the guide on how to change the lab test status.

- When the test is completed and the results are documented, set the Done status and click the Save button to inform doctors and other clinic staff about the ready test results.
