Accessing Draft Claims
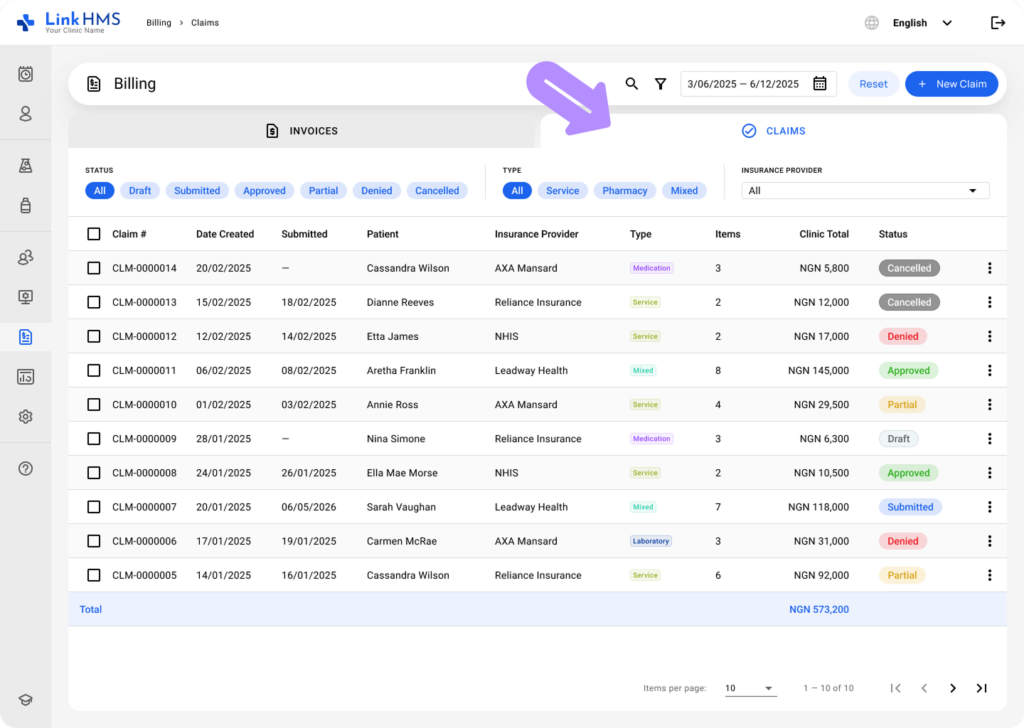
- Go to Billing from the left-side menu and open the Claims tab.
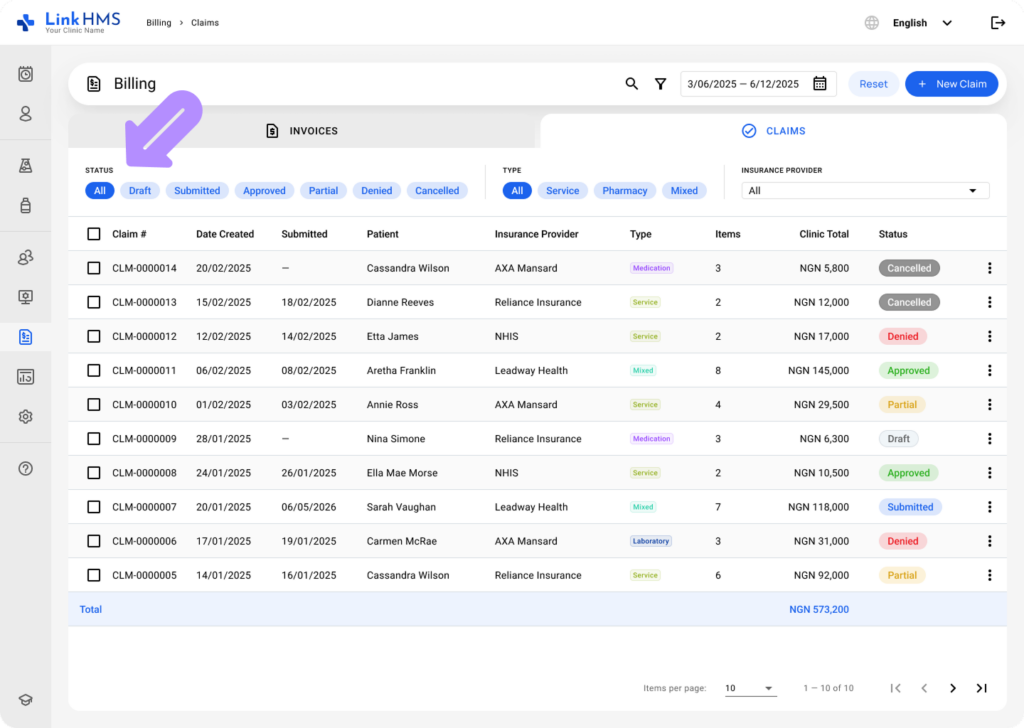
- Use the search bar or apply the Draft filter to locate newly created draft claims.
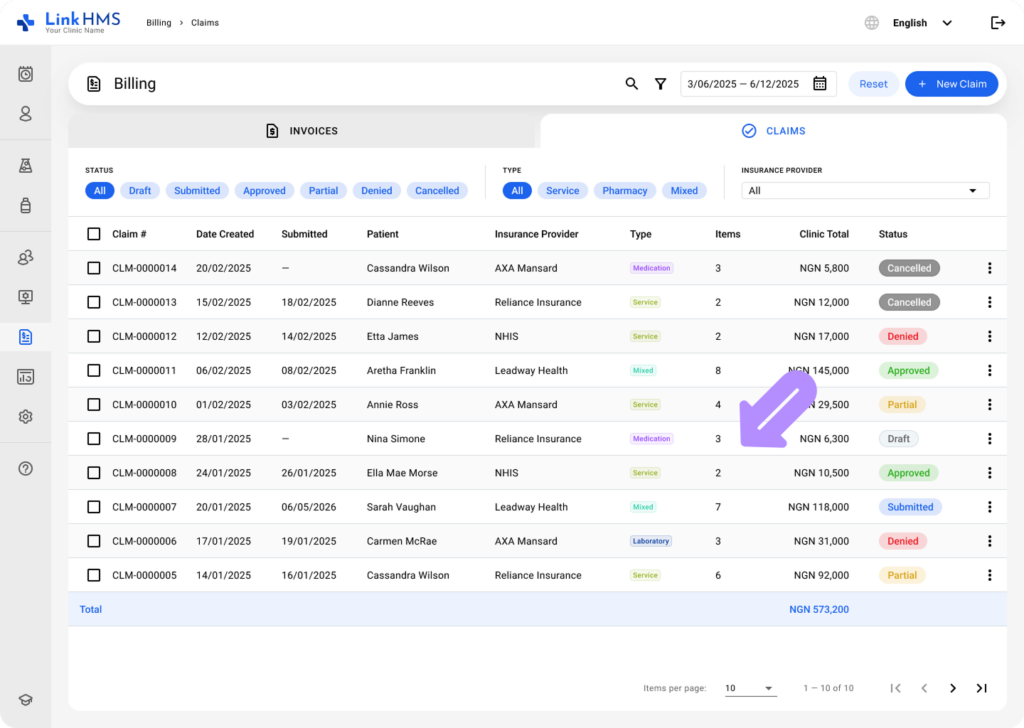
- Open the necessary claim by clicking it or using the three-dot menu.
Reviewing and Editing the Claim
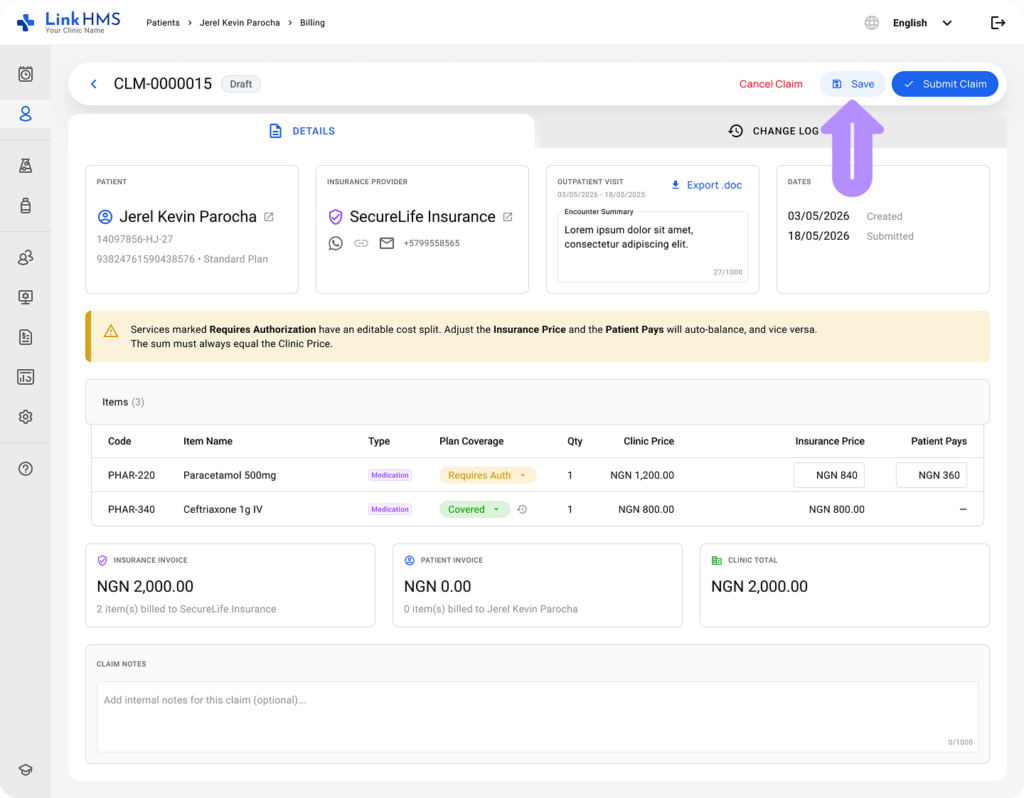
- Review and manage all details related to the selected claim.
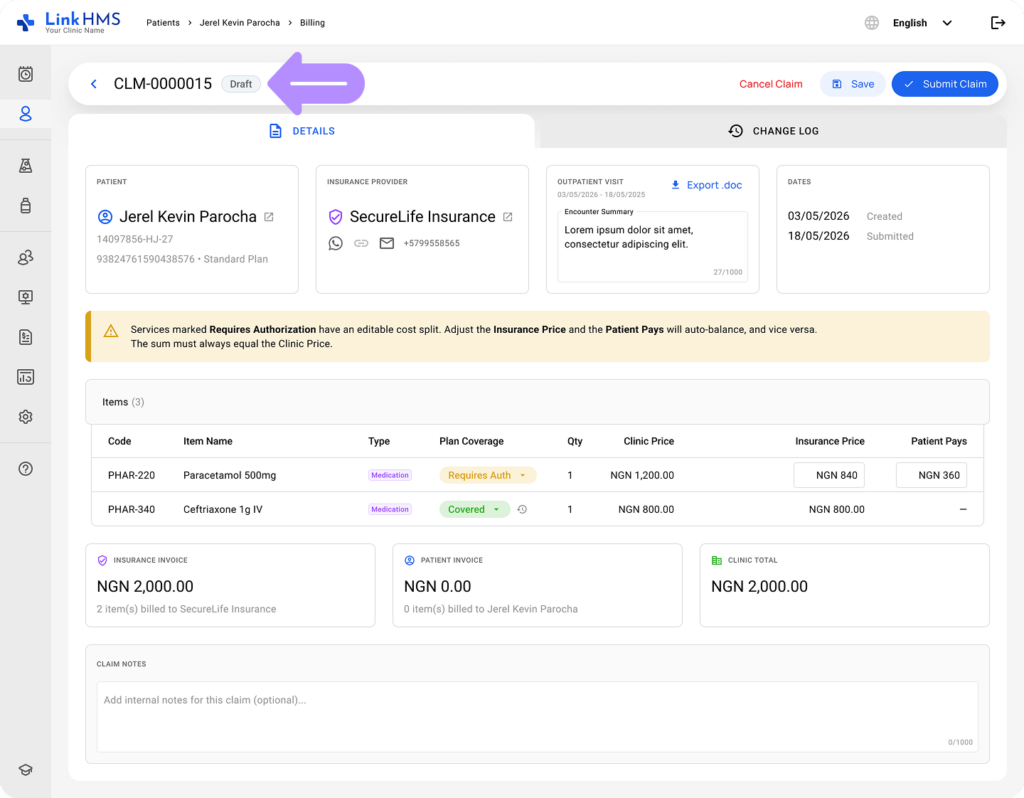
- The Details tab contains information about the patient, insurance provider, outpatient visit, dates, included items, insurance invoice, patient invoice, and clinic total.
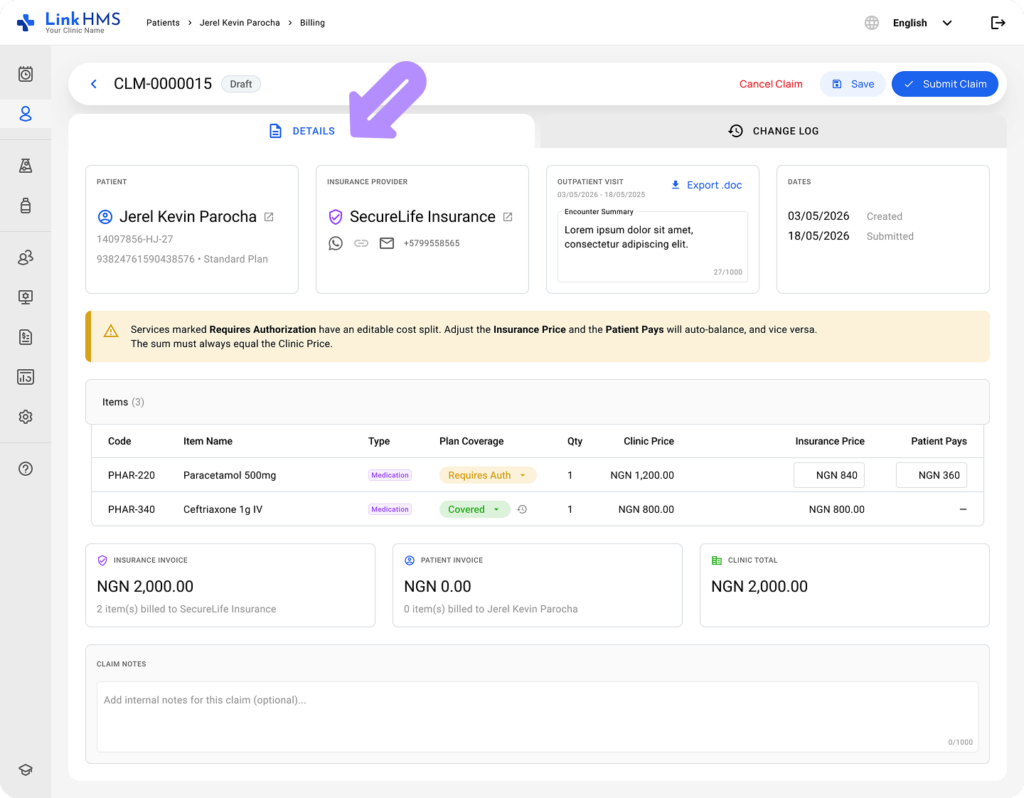
- If an item’s coverage does not match what you need for this claim, you can change it (Covered, Requires Authorization, or Not Covered) directly in the draft.
💡Notes
This only changes the item on this claim; it does not affect the plan’s default coverage elsewhere.
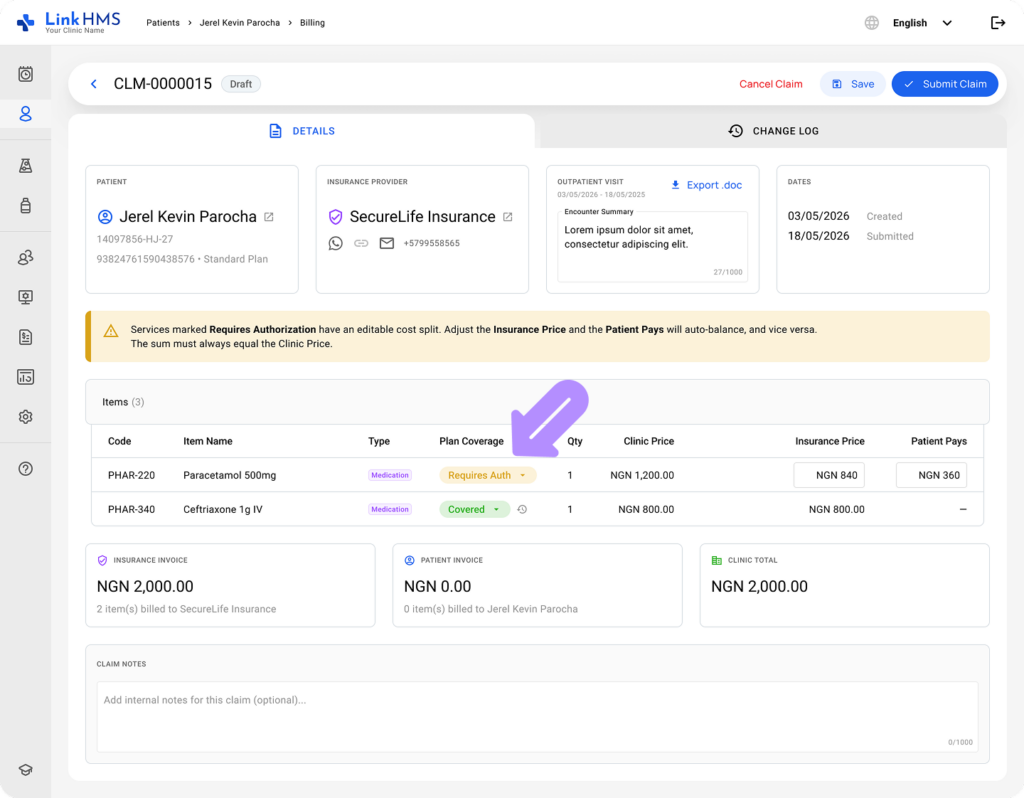
- You can update the expected split between insurer and patient for each item. The actual split is finalized once you record the insurer’s decision.
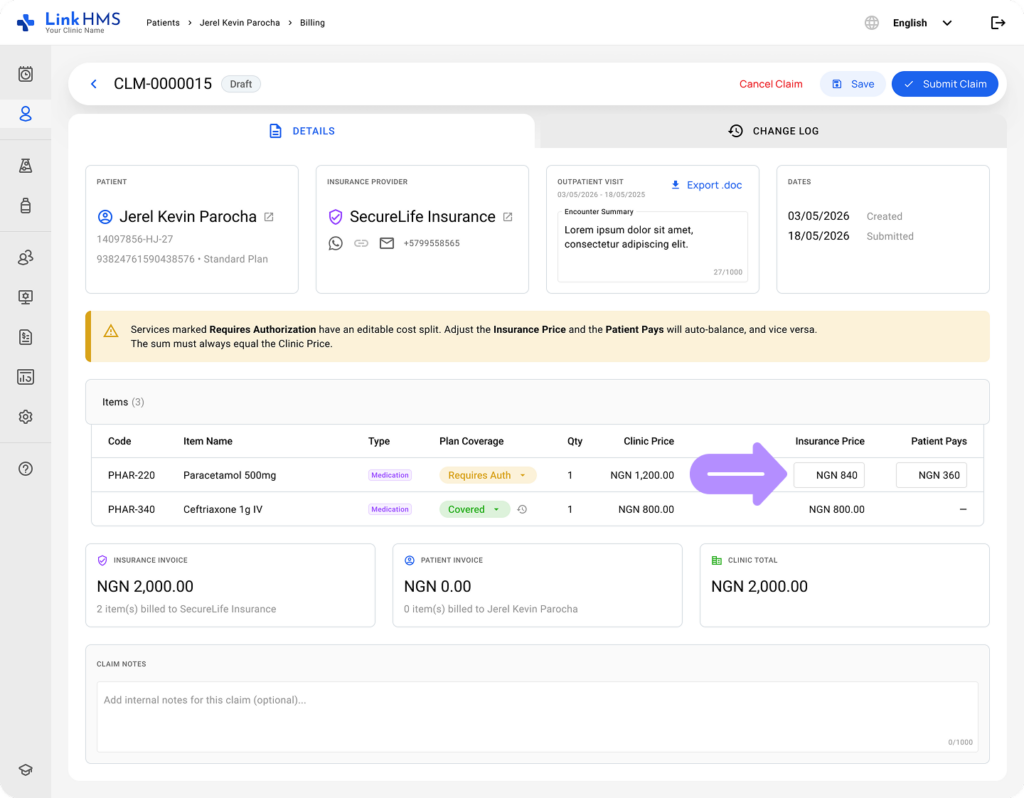
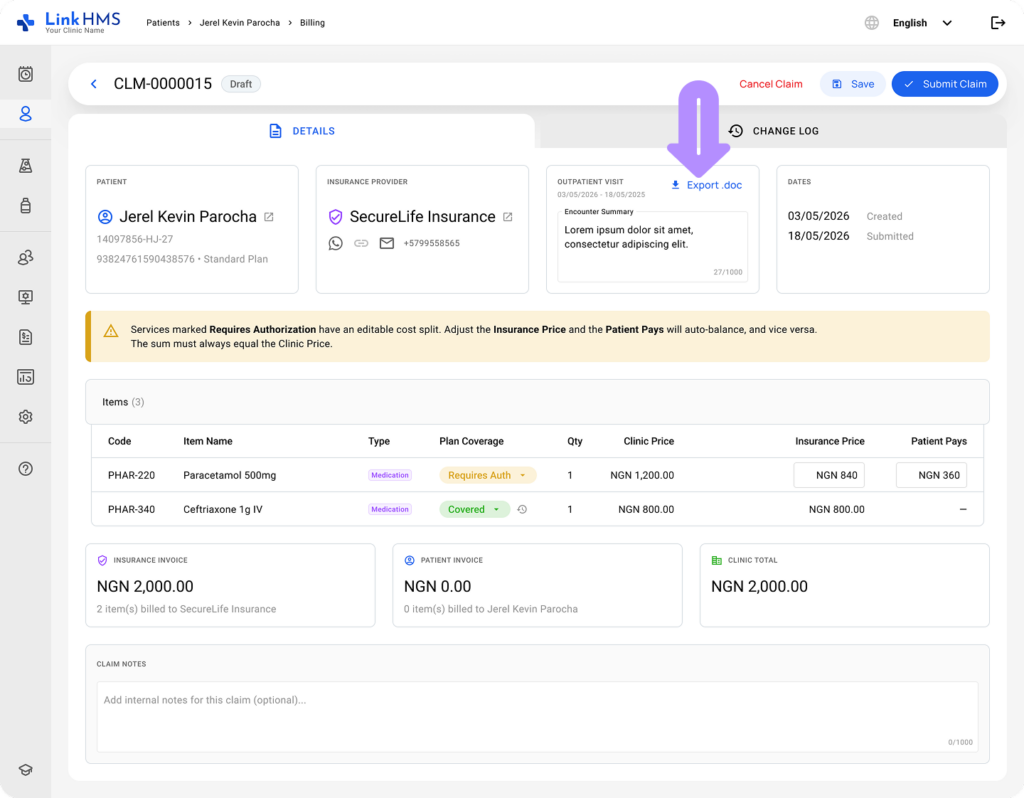
- Export the Claim Summary using the download icon. This exports as a .doc file and is available in any claim state, not just Draft.
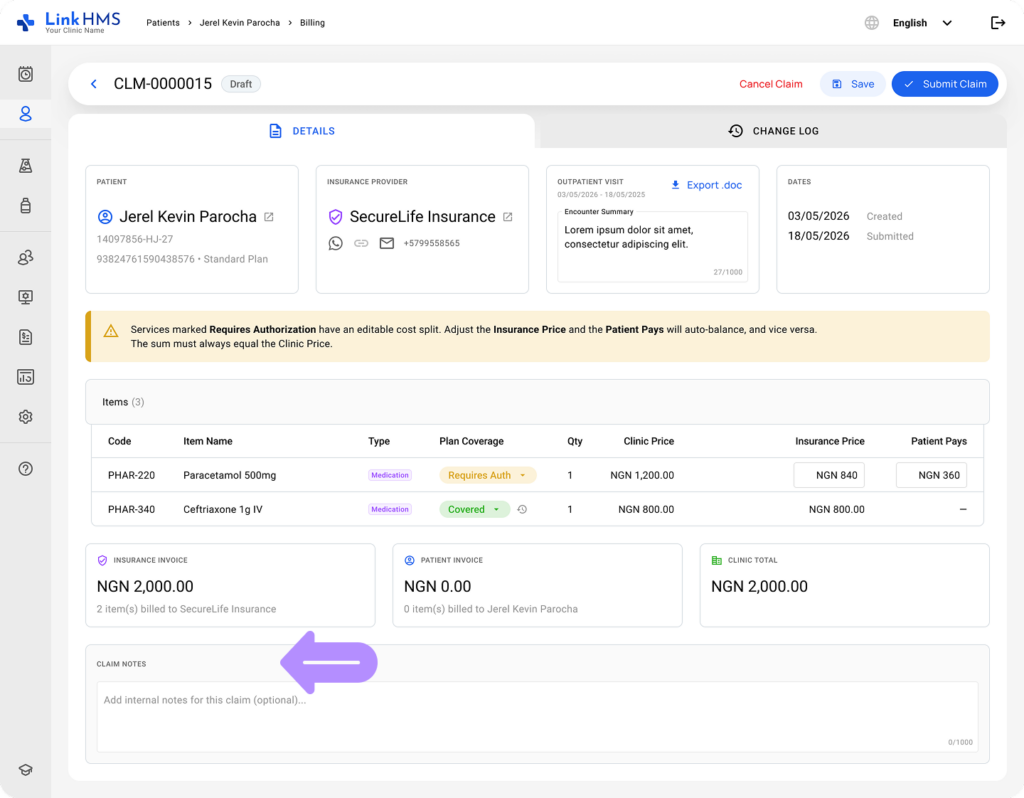
- Add internal notes related to this claim.
Canceling or Submitting the Claim
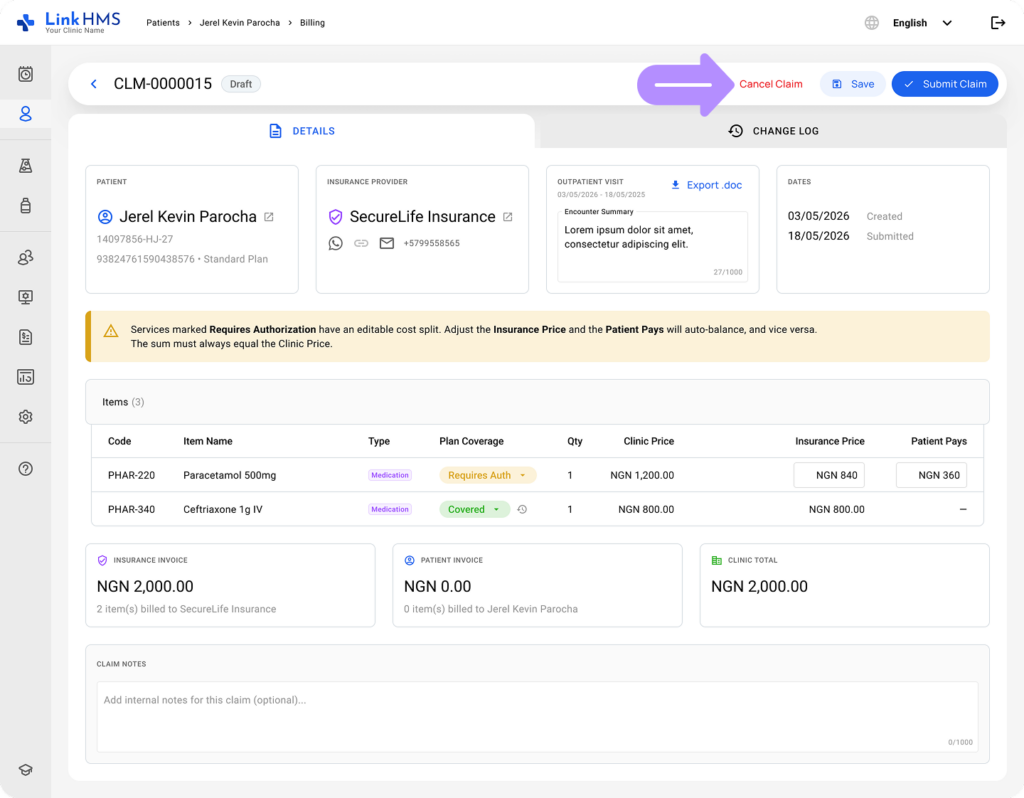
- Click Cancel Claim if submission is no longer required.
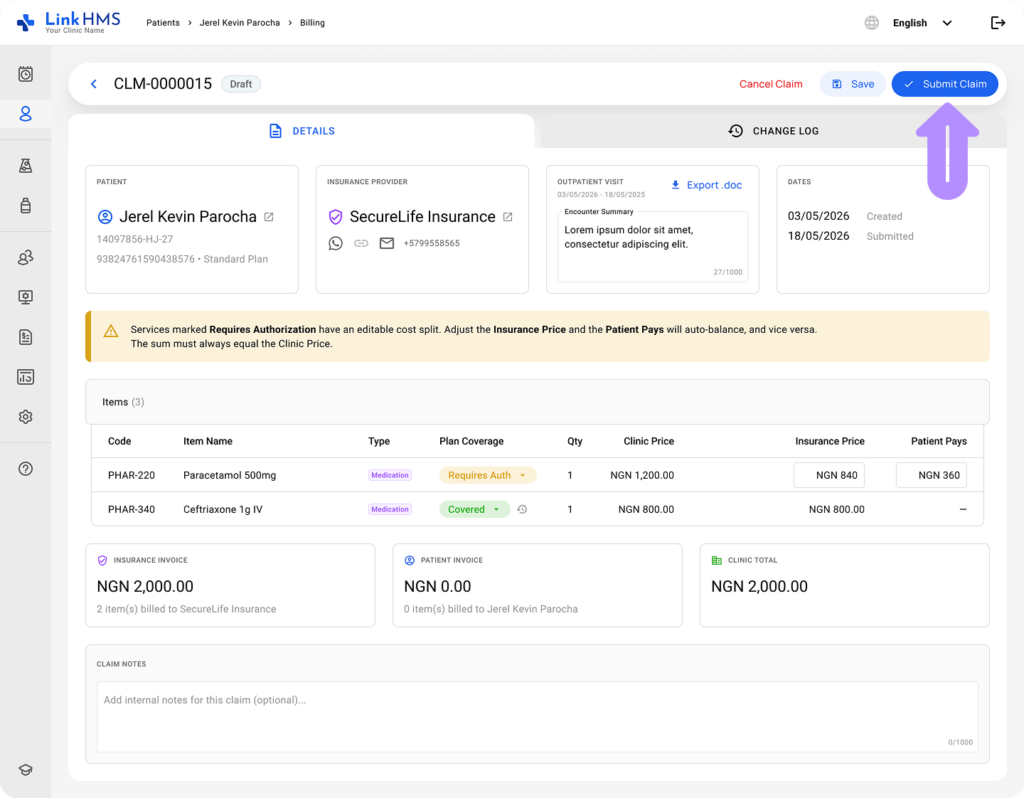
- Click Submit Claim once the claim is ready to be submitted to the insurance provider. Find the full guide on how to create a claim.
- If you are not ready to mark the claim as submitted to the insurer yet, click Save to keep it as a draft and return to it later.