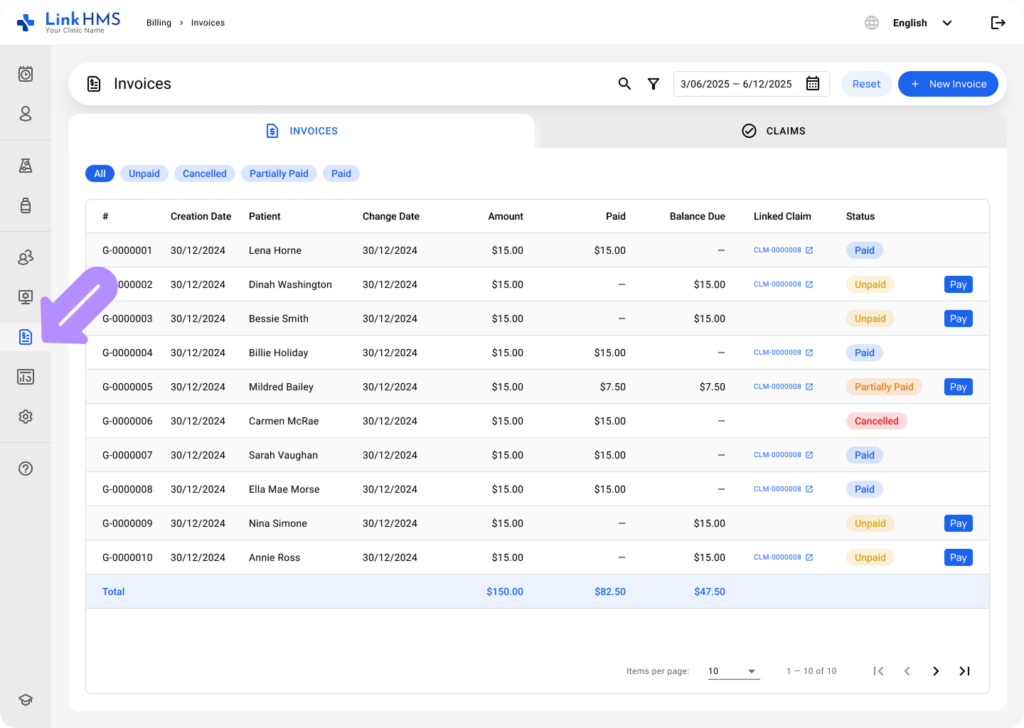
- Go to the Billing section in the left-side menu.
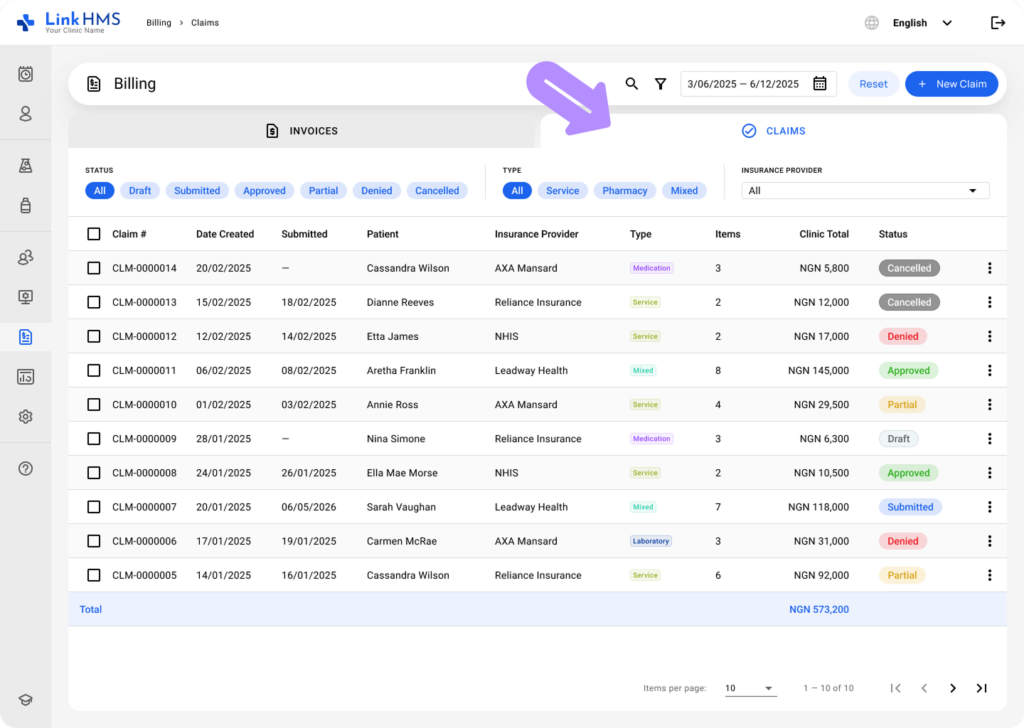
- Open the Claims tab.
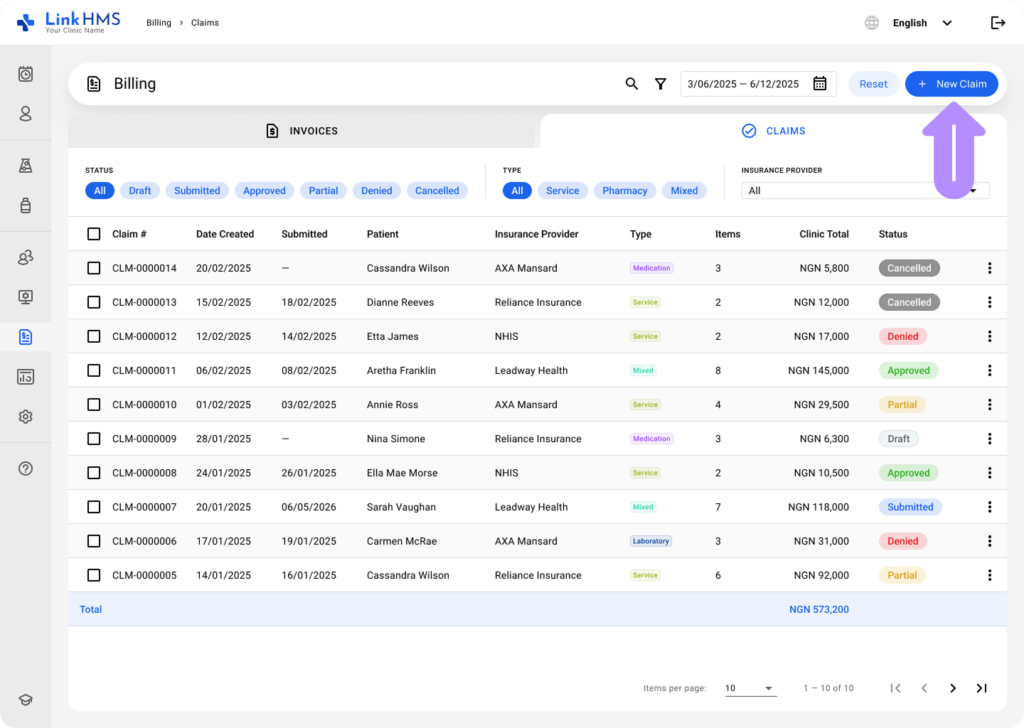
- Click the + New Claim button in the upper right corner.
- The New Claim pop-up will appear to complete the following steps.
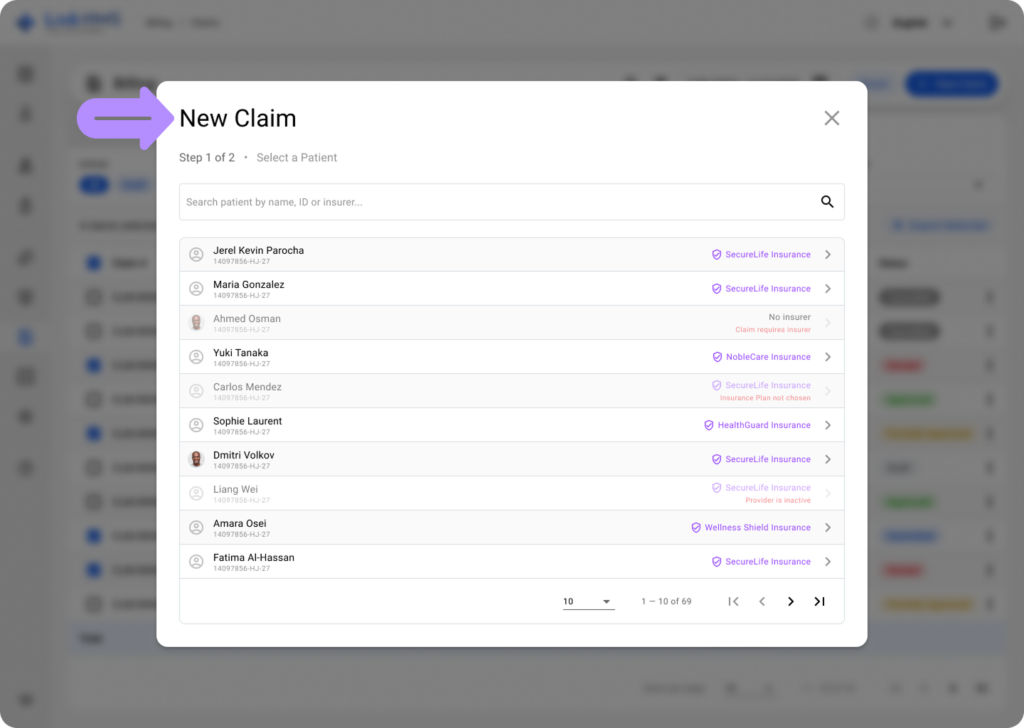
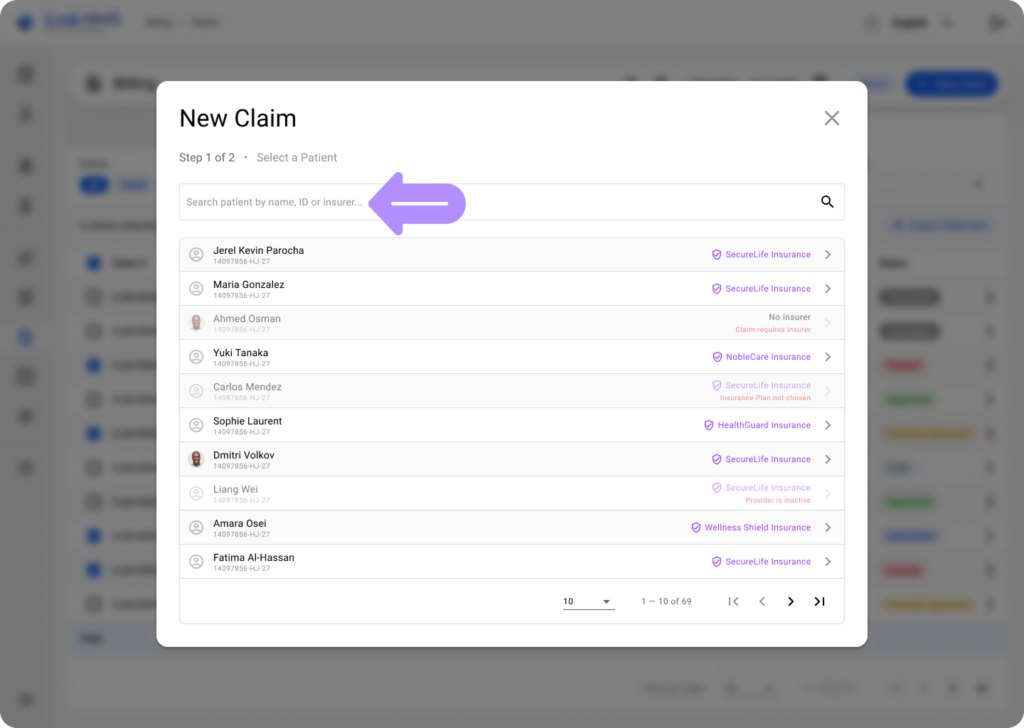
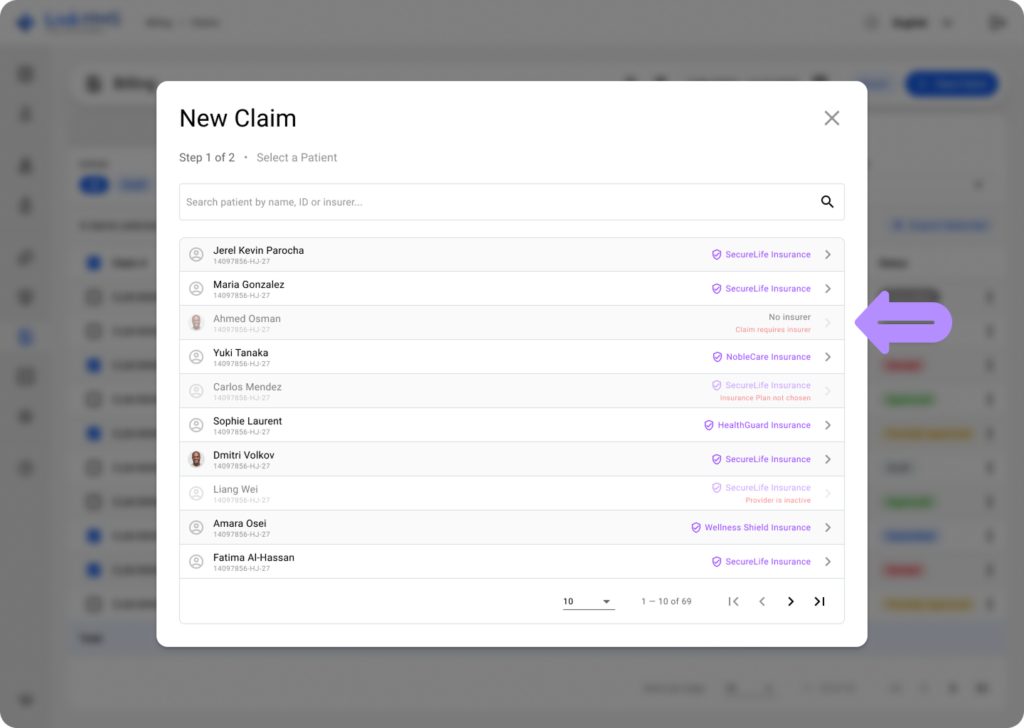
- Step 1 — Search for the patient by name, ID, or insurer, then select the required patient.
💡Notes
Any claim requires the patient to have an active insurer. Find the guide on assigning the patient to the insurance provider. If the insurer is unassigned or inactive, the patient must self-pay for the services.
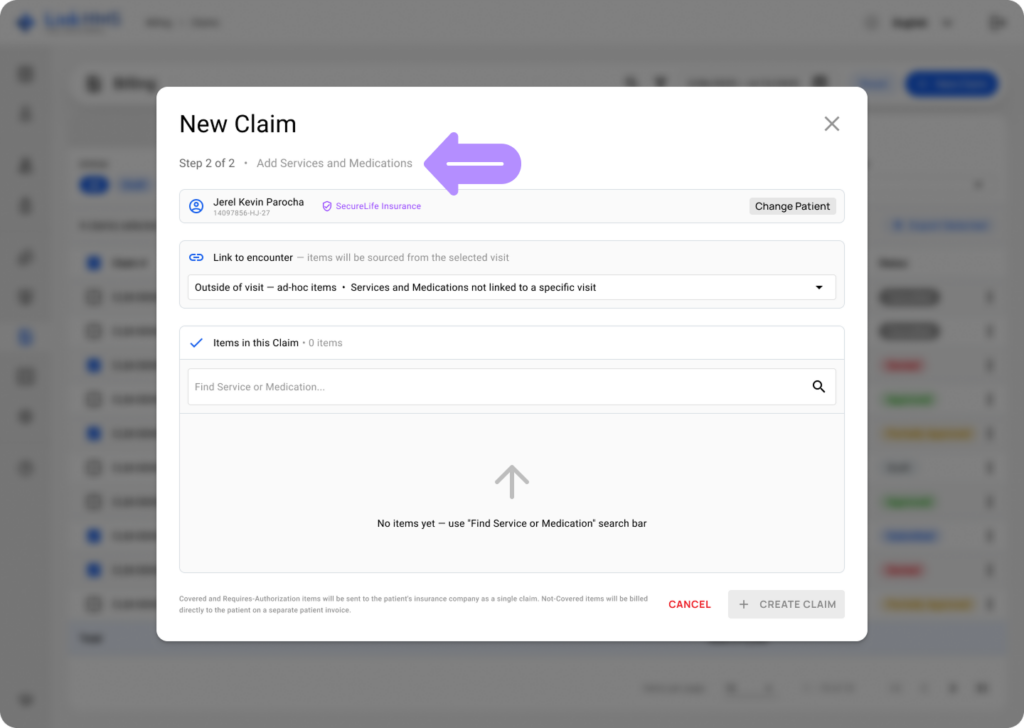
- Step 2 – Add services and medications.
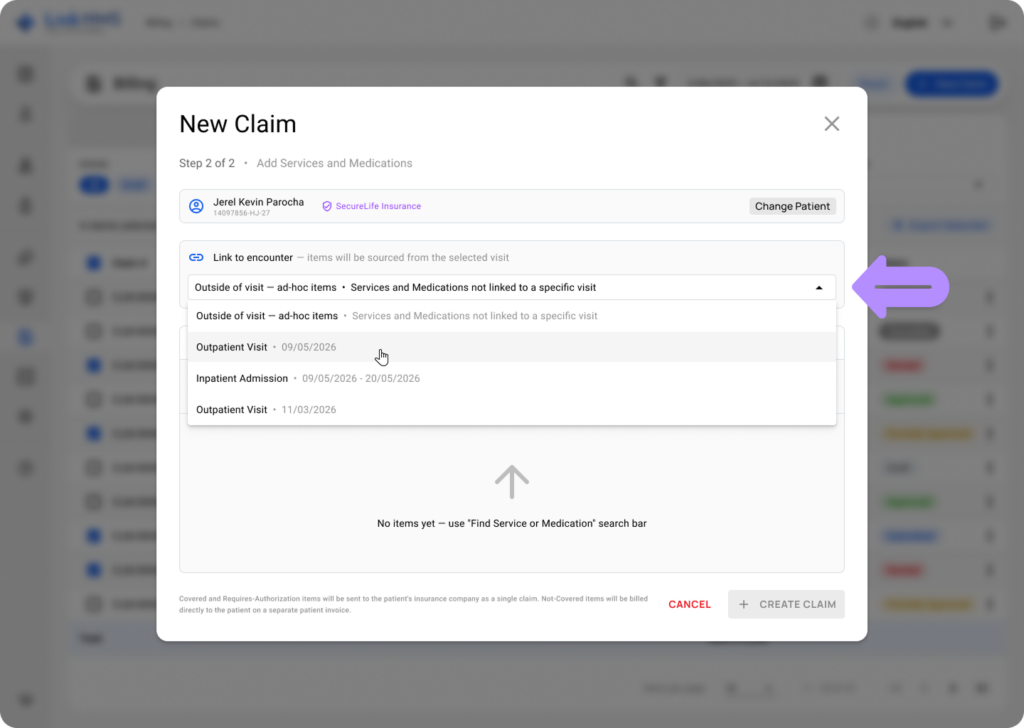
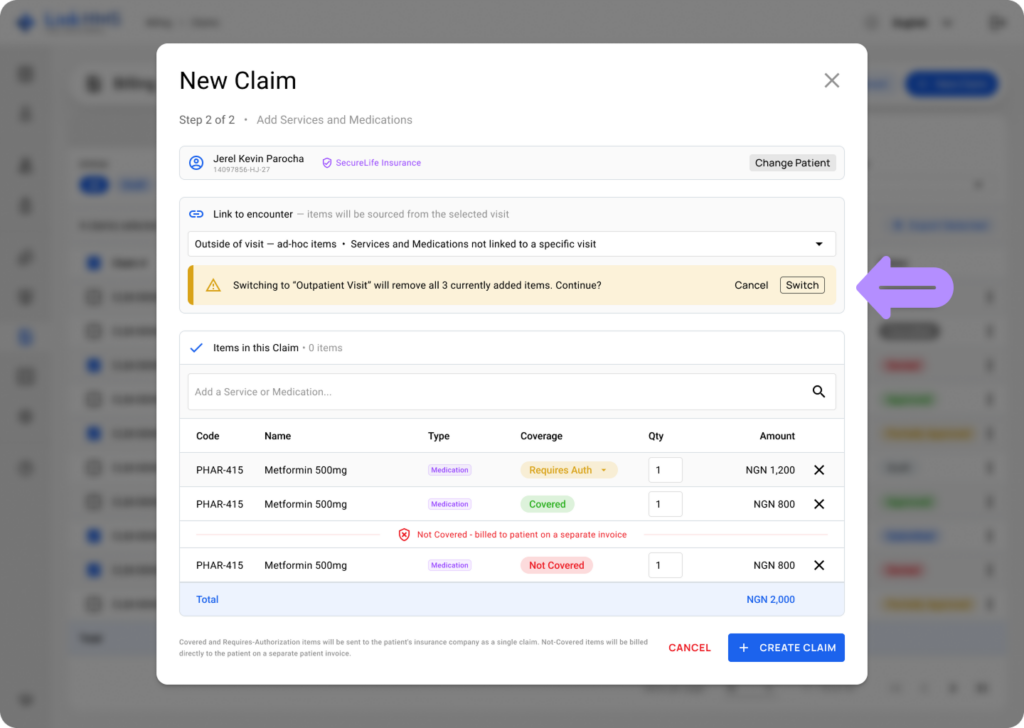
- Choose the Link to Encounter option to source items from certain outpatient visits and inpatient admissions, or select Outside of Visit — Ad-hoc Items to add items manually.
💡Notes
When you switch from one type to another, the items currently added are removed and replaced with those associated with the newly selected option. To confirm the change, click Switch.
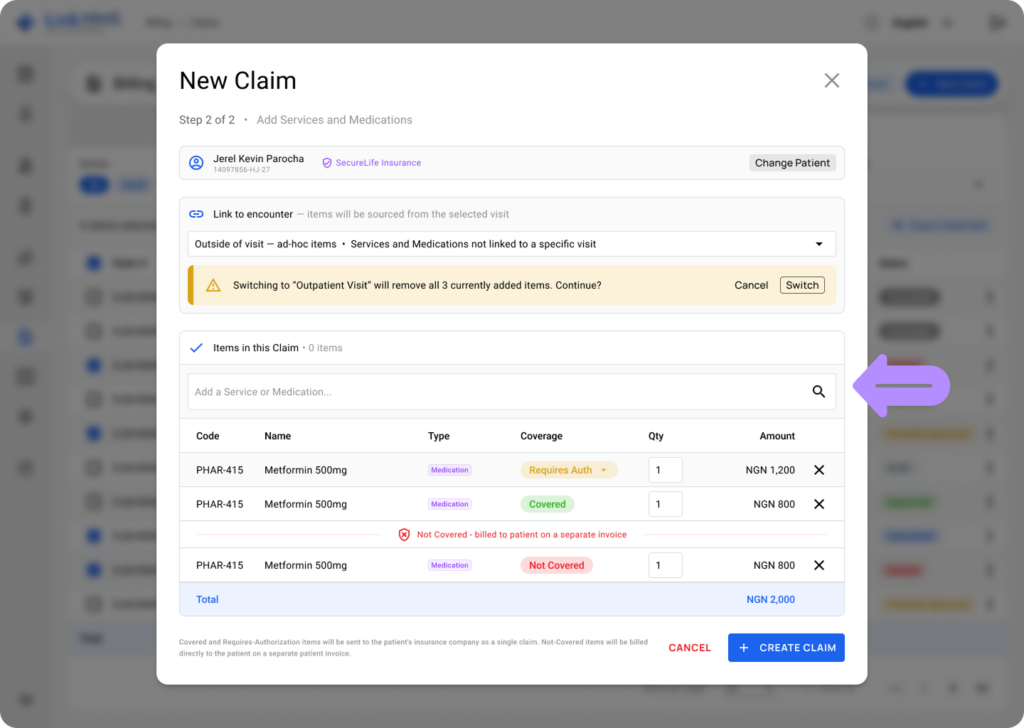
- If needed, add additional items to the claim by searching for a service or medication in the search bar.
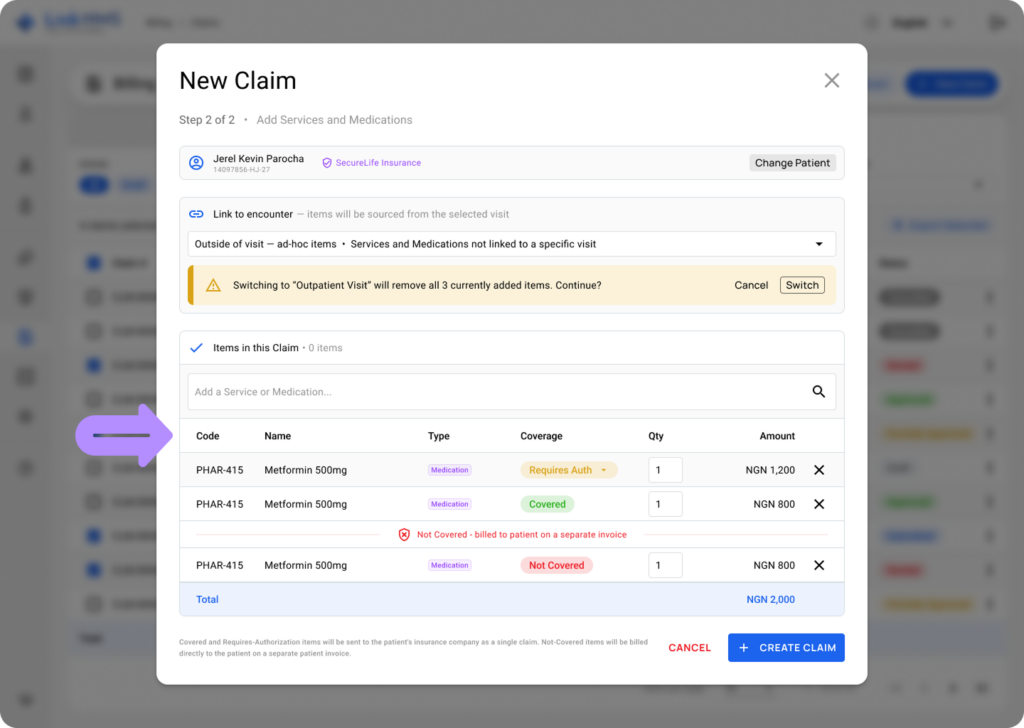
- Review the added items, including the code, name, type, coverage, quantity, and amount.
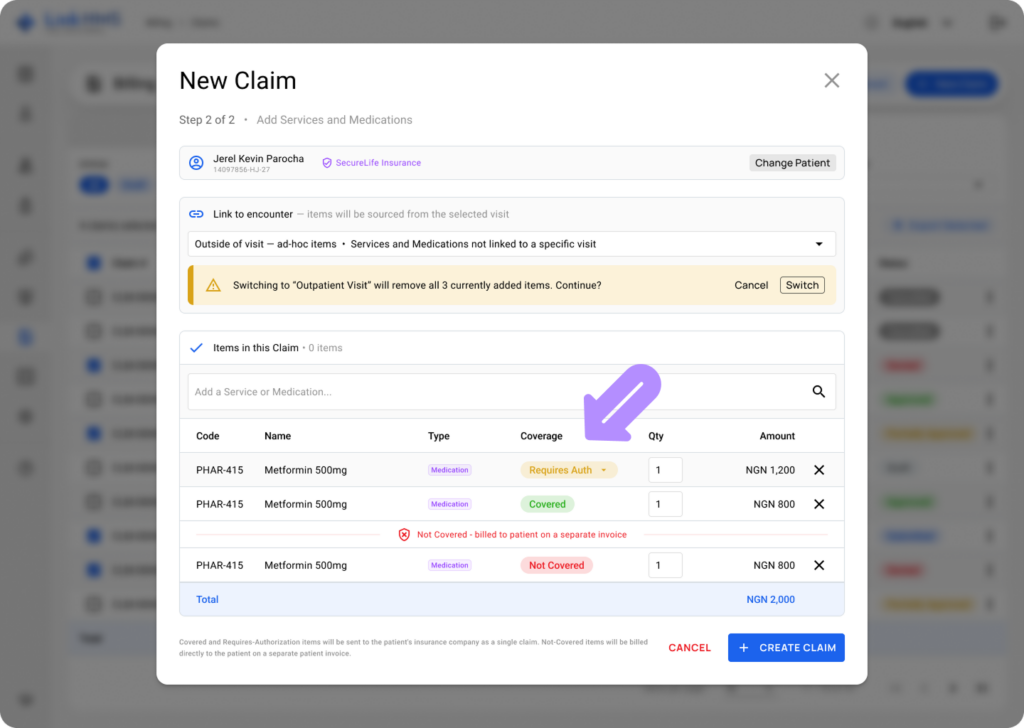
💡Notes
Covered and Requires Authorization items will be created as a single invoice ready for submission to the patient’s insurance company, while Not Covered items will be added separately to a patient invoice.
- Continue adding or removing items to review the total claim amount.
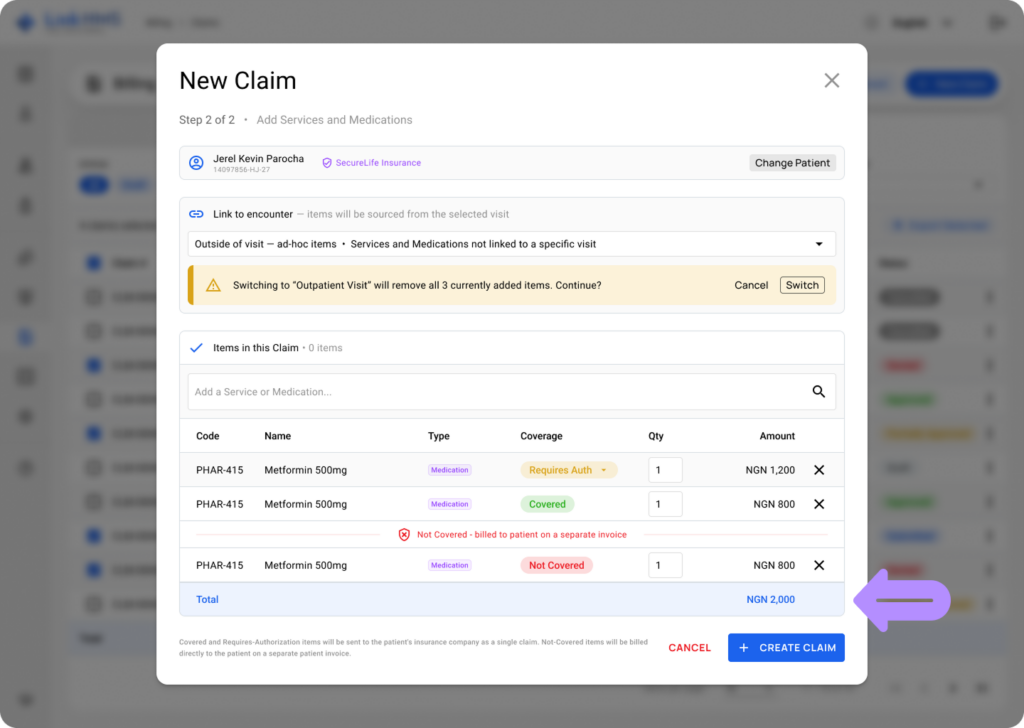
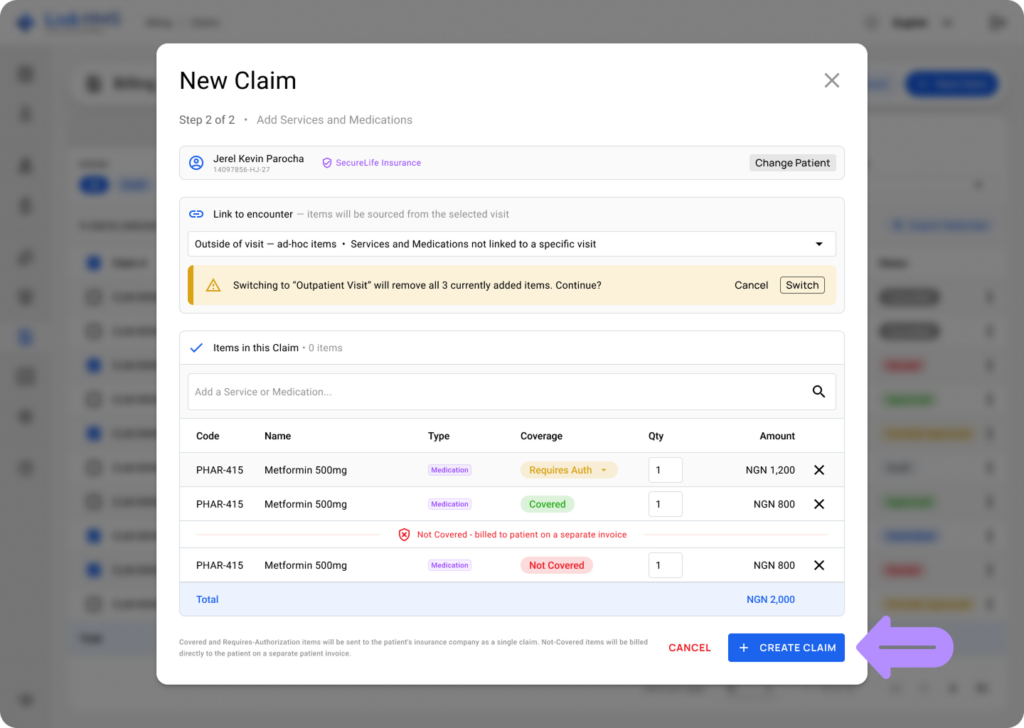
- Once the required items are added, click Create Claim.
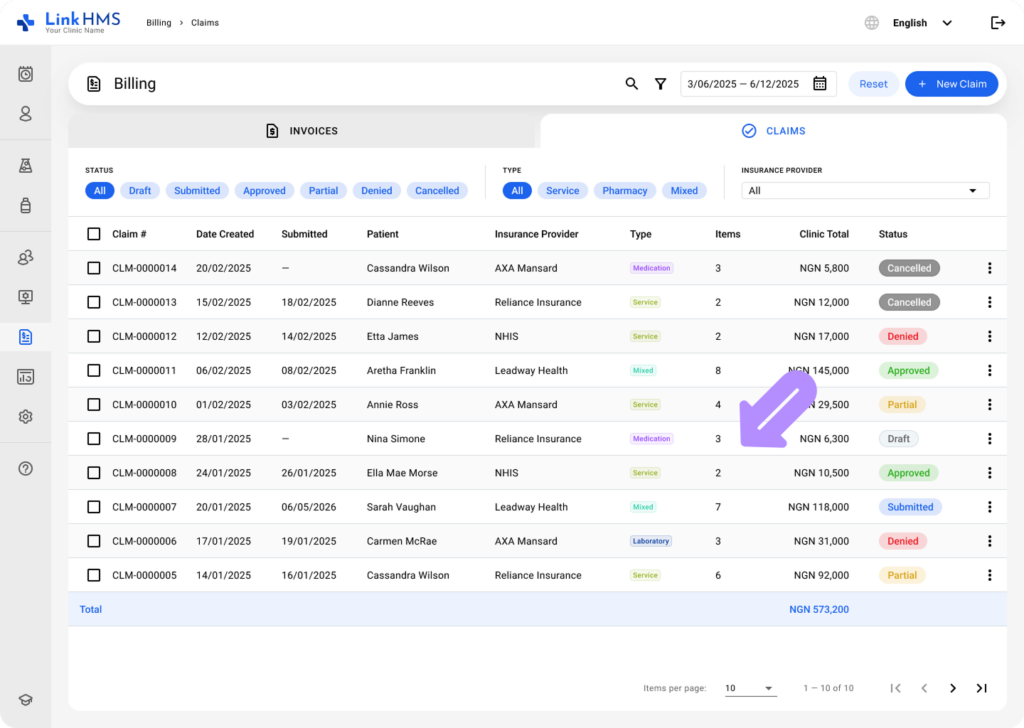
- Use the search bar or apply filters to locate and open the claim draft.
- Review the details of the created claim.
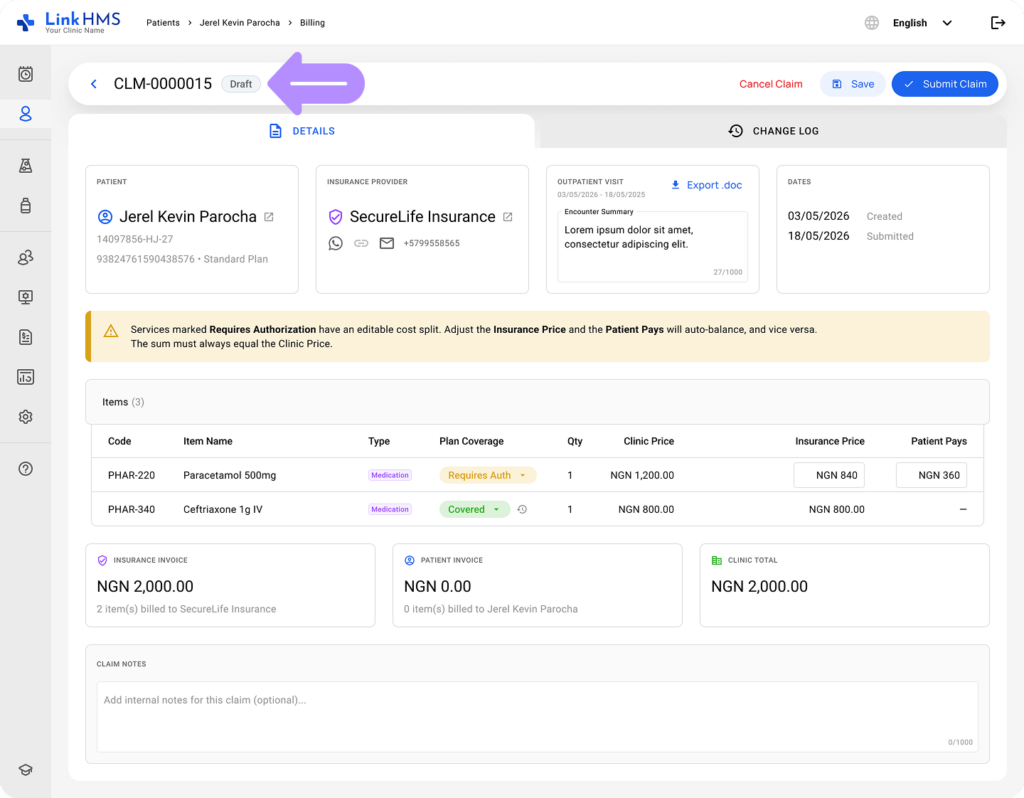
- If needed, edit the claim before submission by following the guide on how to edit a created claim before submission.
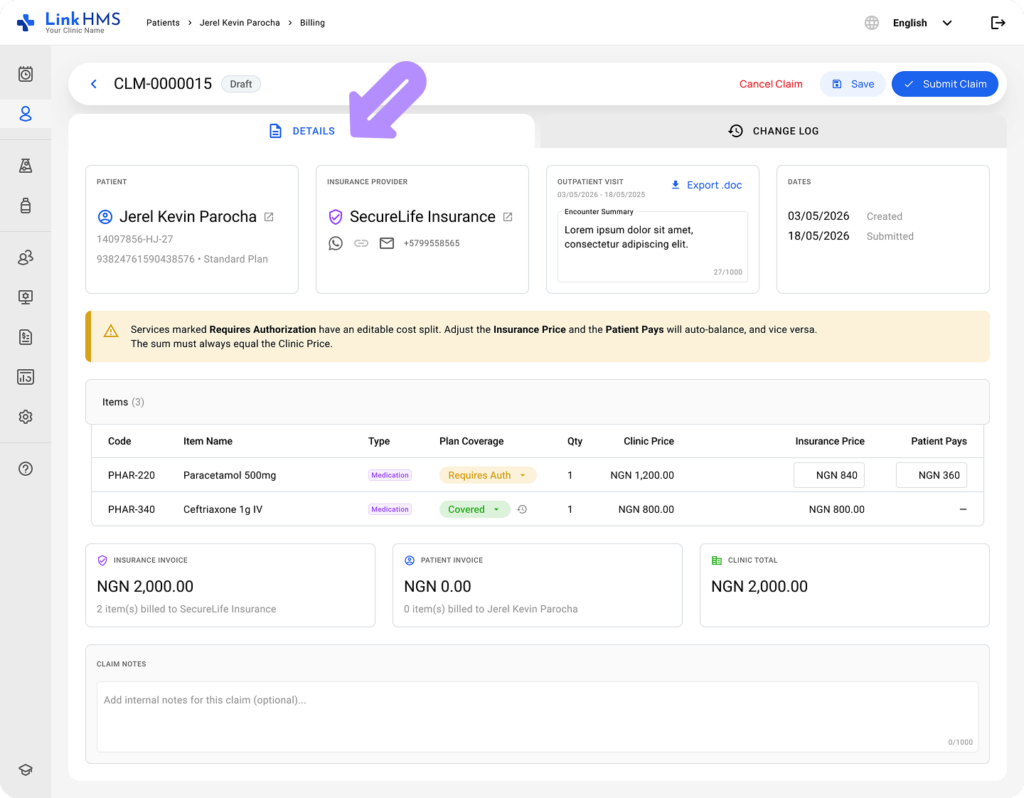
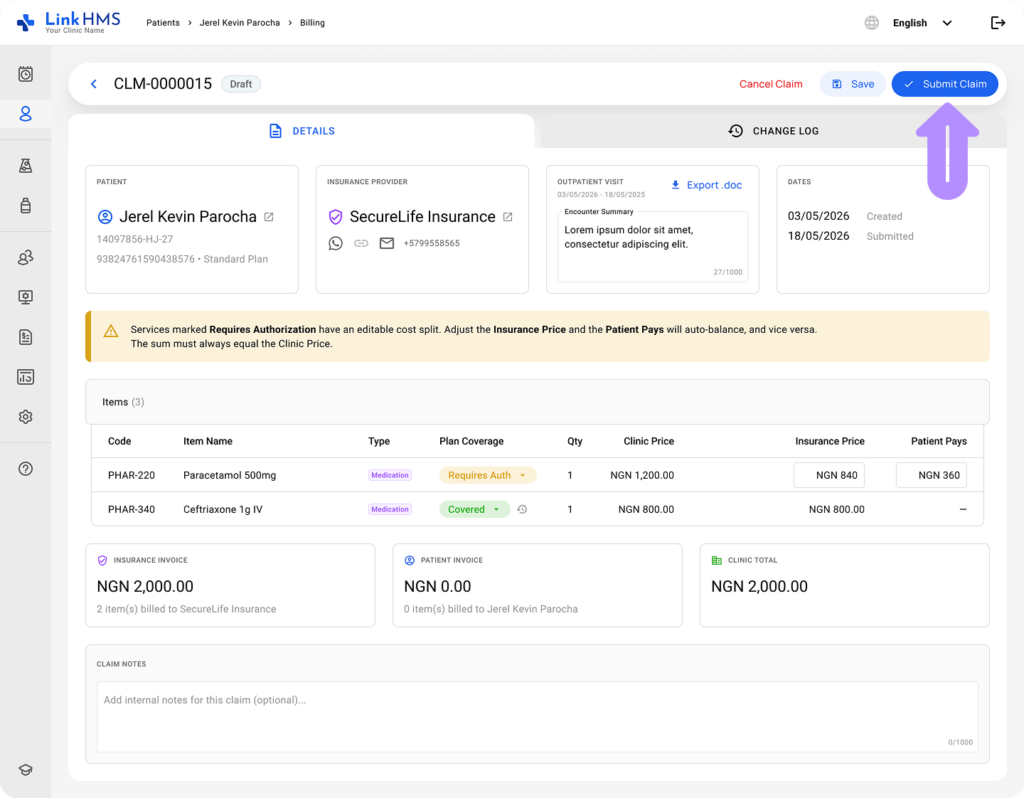
- Once the claim is ready and sent to the insurer via your usual channel (email, portal, phone, or other), click Submit claim to mark it as Submitted and reflect its current status.
💡Notes
Submitting a claim in LinkHMS updates its status to Submitted. You still need to send the claim to the insurer through your usual channel. The submission method depends on the insurer’s claim submission requirements, as different insurers may accept claims through different channels.
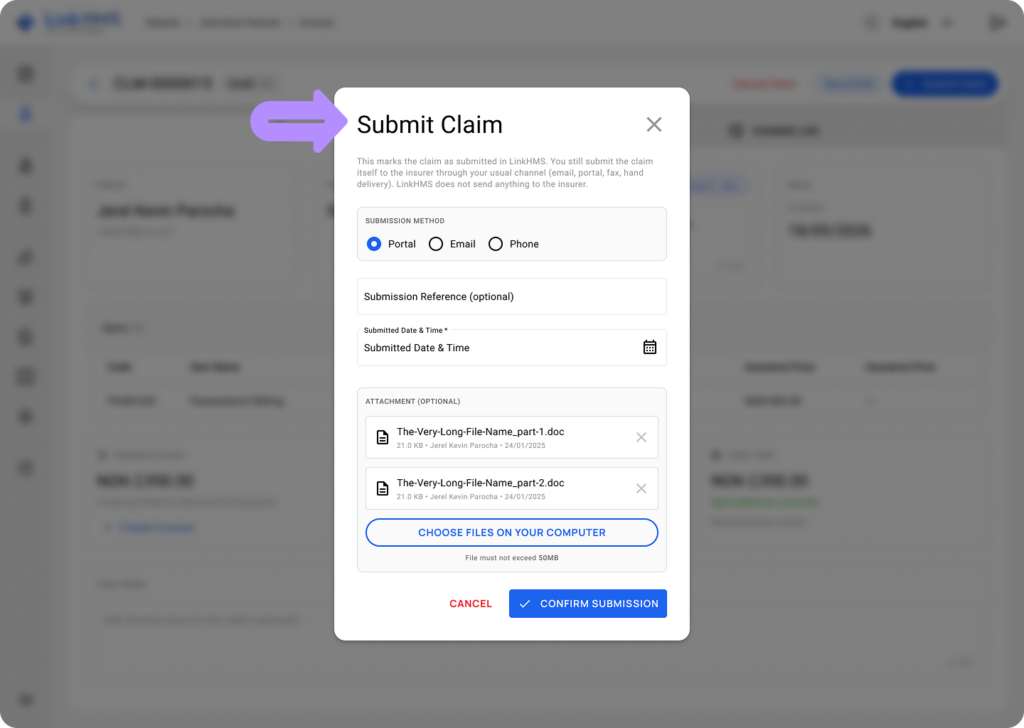
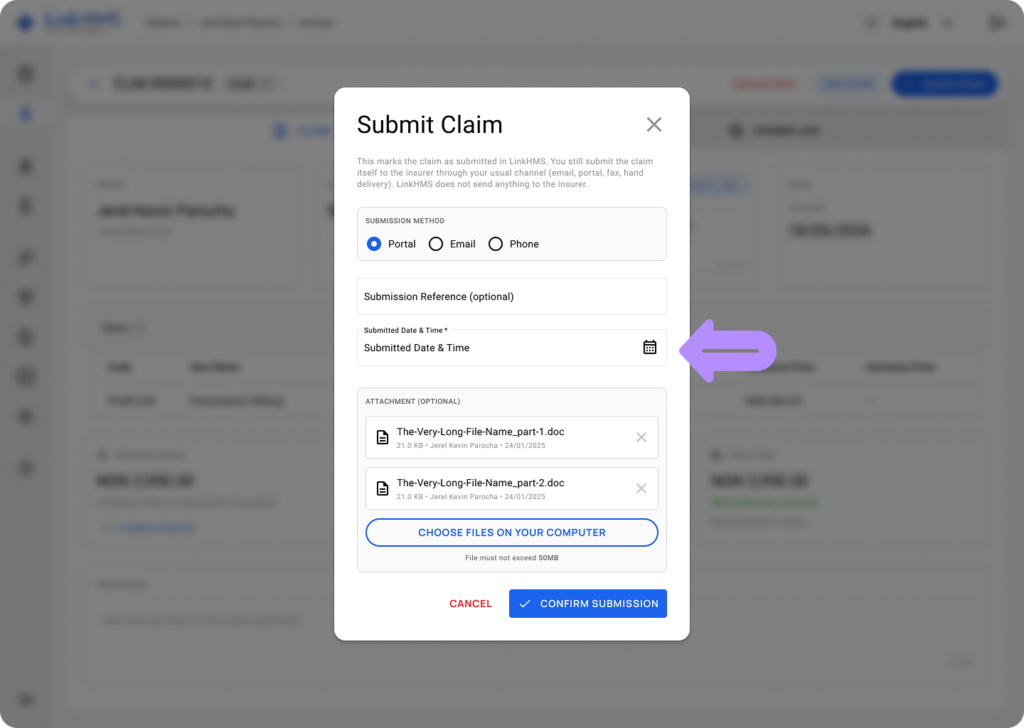
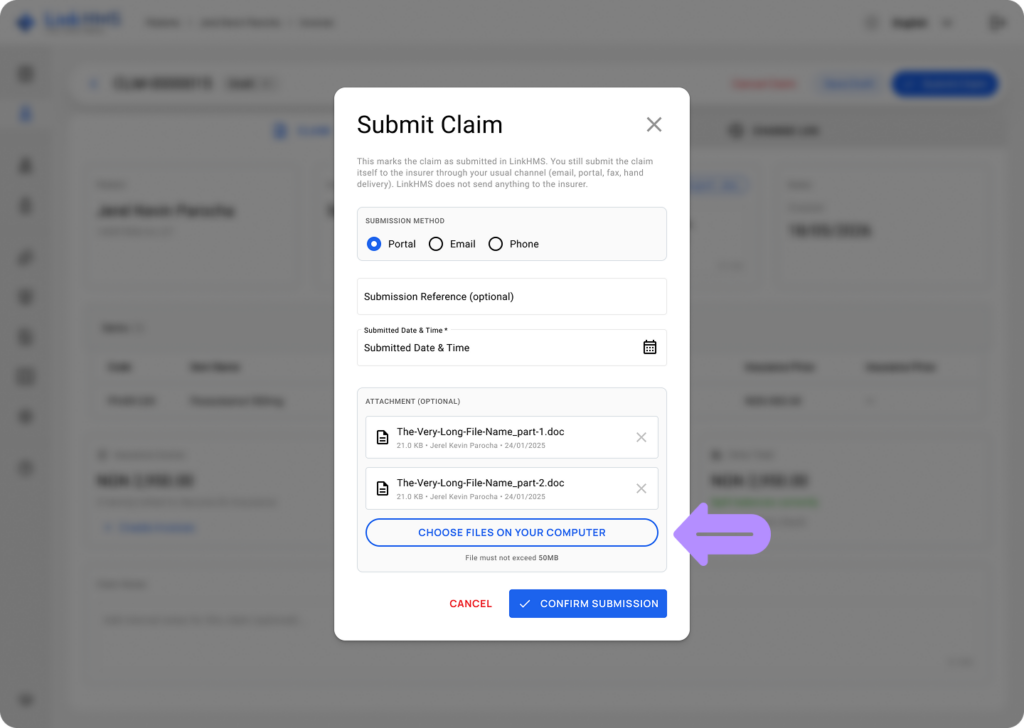
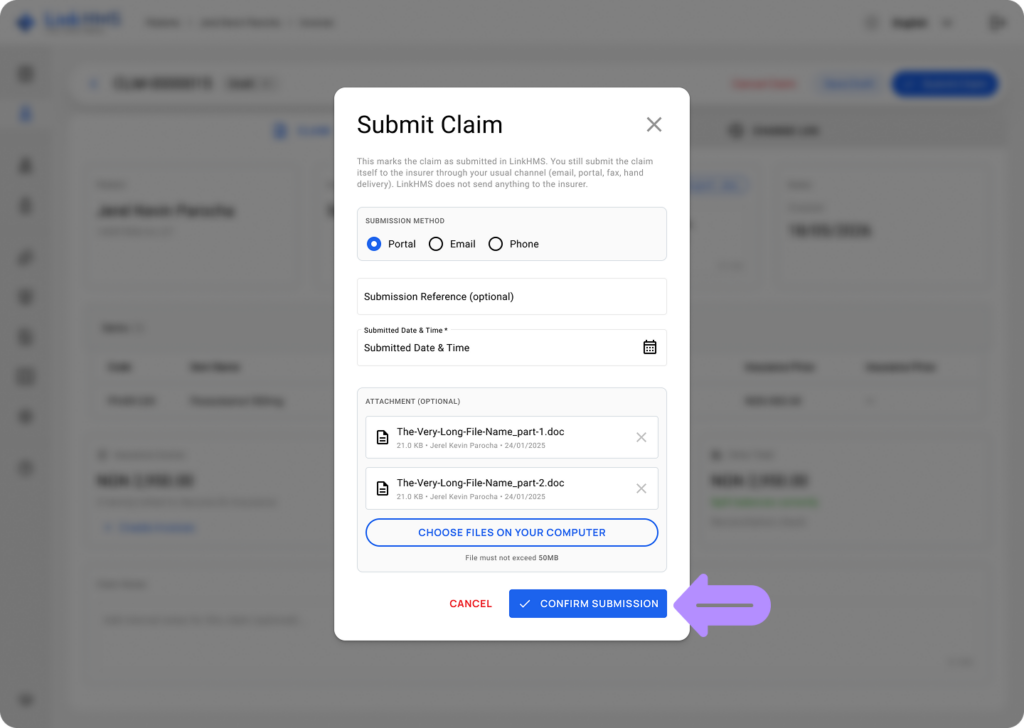
- Use the Submit Claim pop-up to save the submission details.
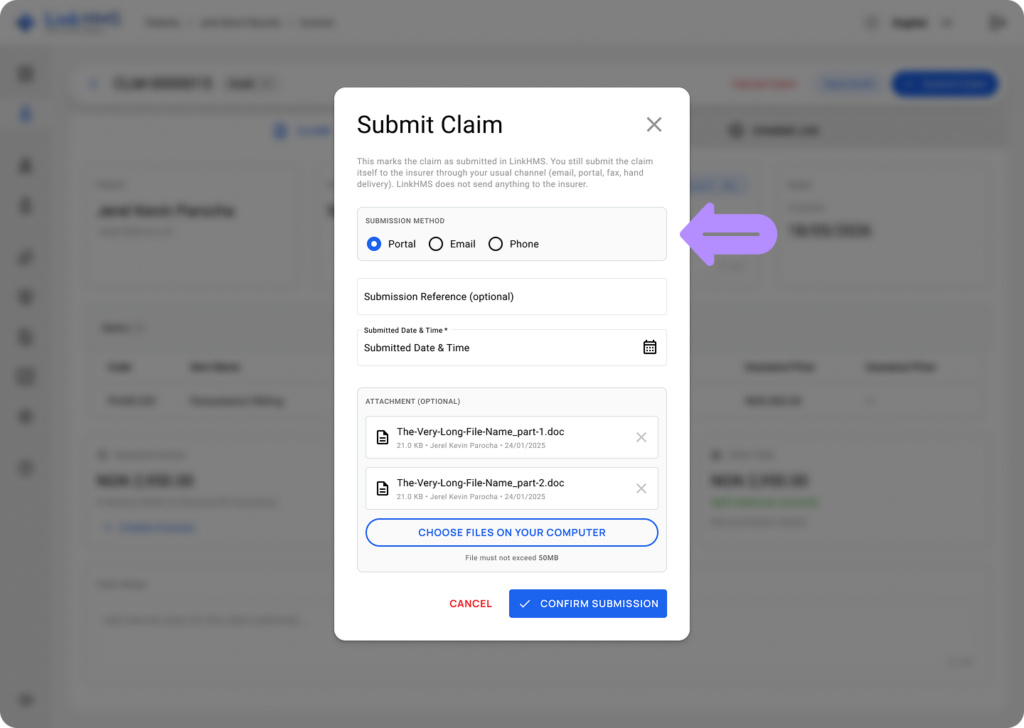
- Select the submission method: Portal, Email, or Phone.
- (Optional) Add a submission reference number.
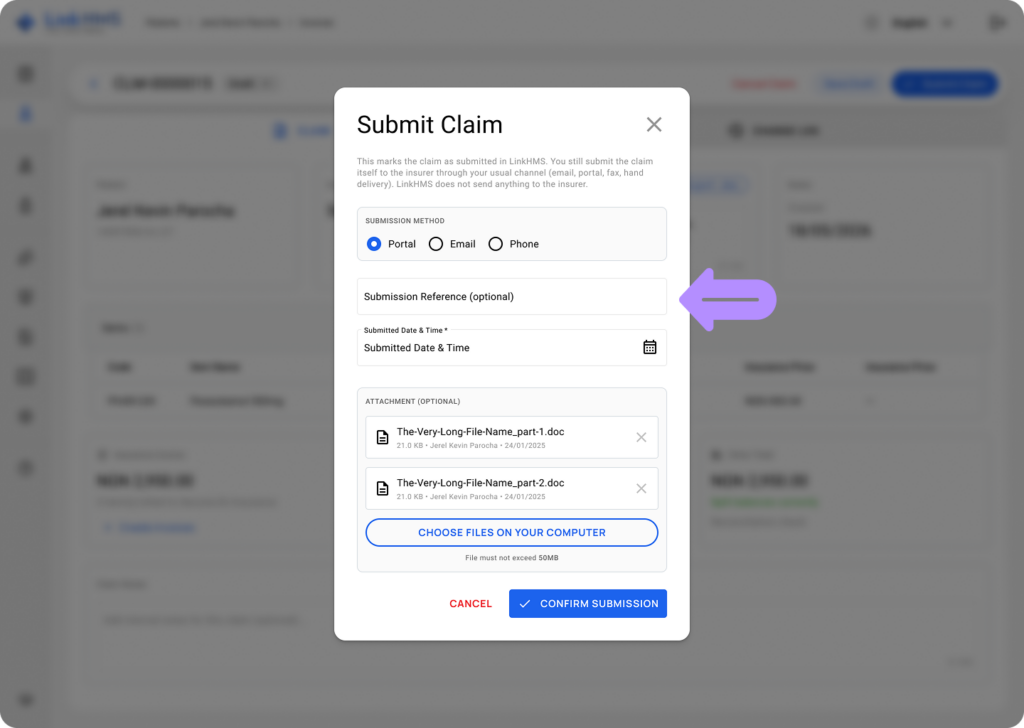
- Review the submitted date and time (automatically updated by the system).
- If necessary, use the Choose Files on Your Computer button to upload supporting attachments or documents in PDF, doc, docx, txt, or png format (up to 50 MB).
- Click Confirm Submission to mark the claim as submitted to the insurance company.
💡Notes
When the insurer responds, record the decision directly in LinkHMS as Approved, Partial, Denied, or Cancelled, and the claim status updates accordingly to reflect the outcome.