💡Notes
LinkHMS custom test functionality enables your lab team to create test templates for analyses not covered by built-in options, or to start from predefined templates and customize them as needed. You can handle any type of test required by your practice, complete with tailored parameters, reference values, and result fields.
Adding a Custom Test Template
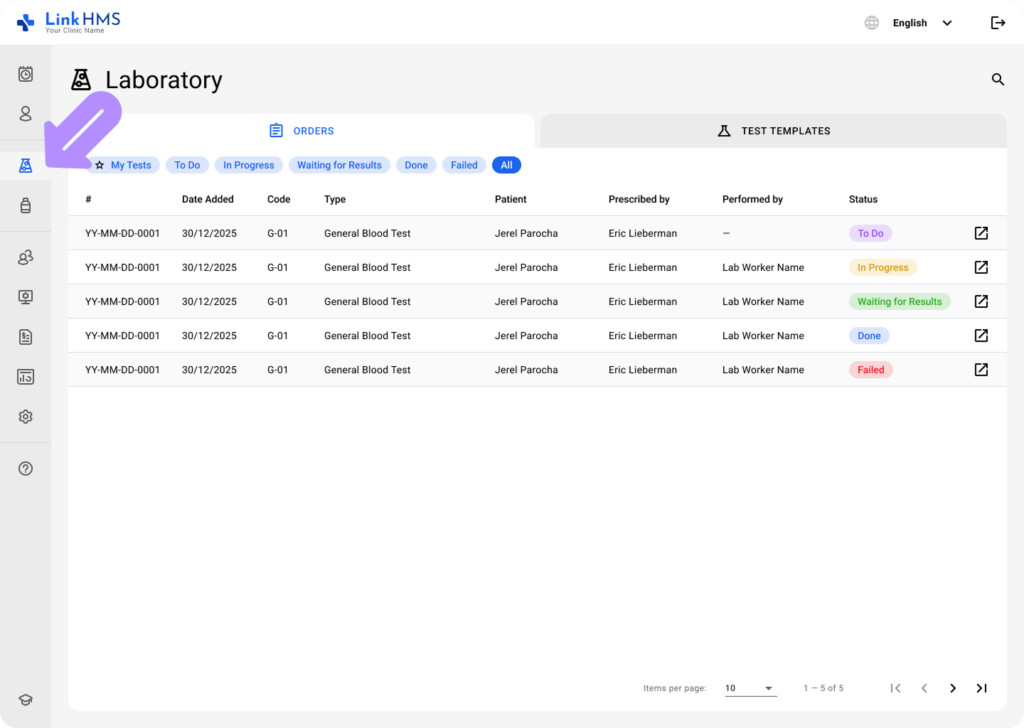
- Open Laboratory from the left-side menu.
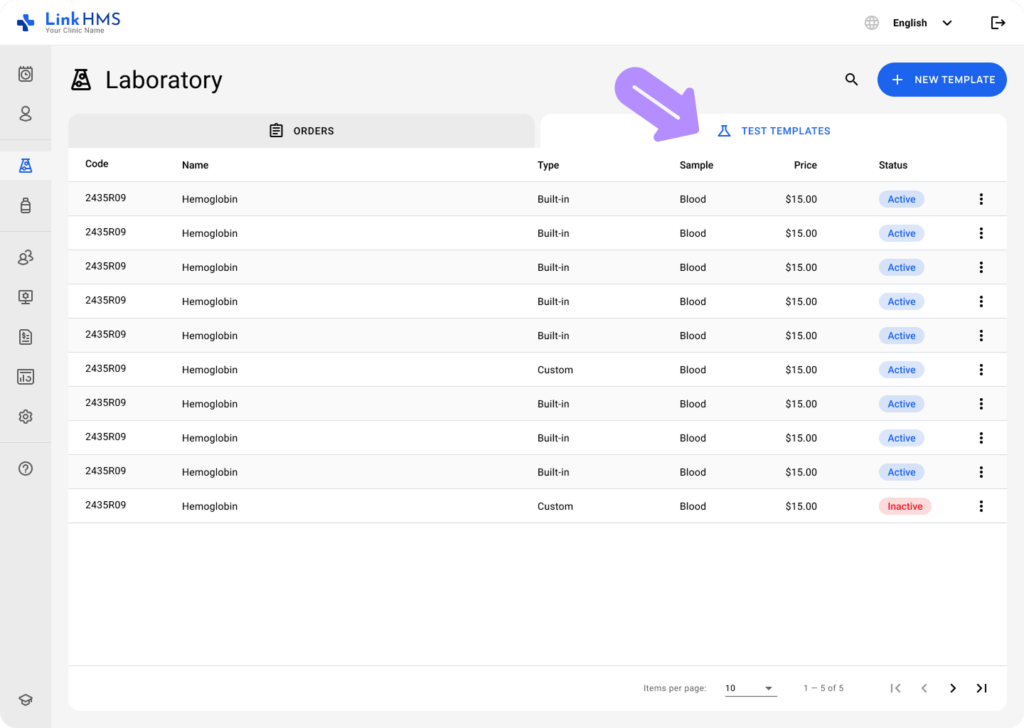
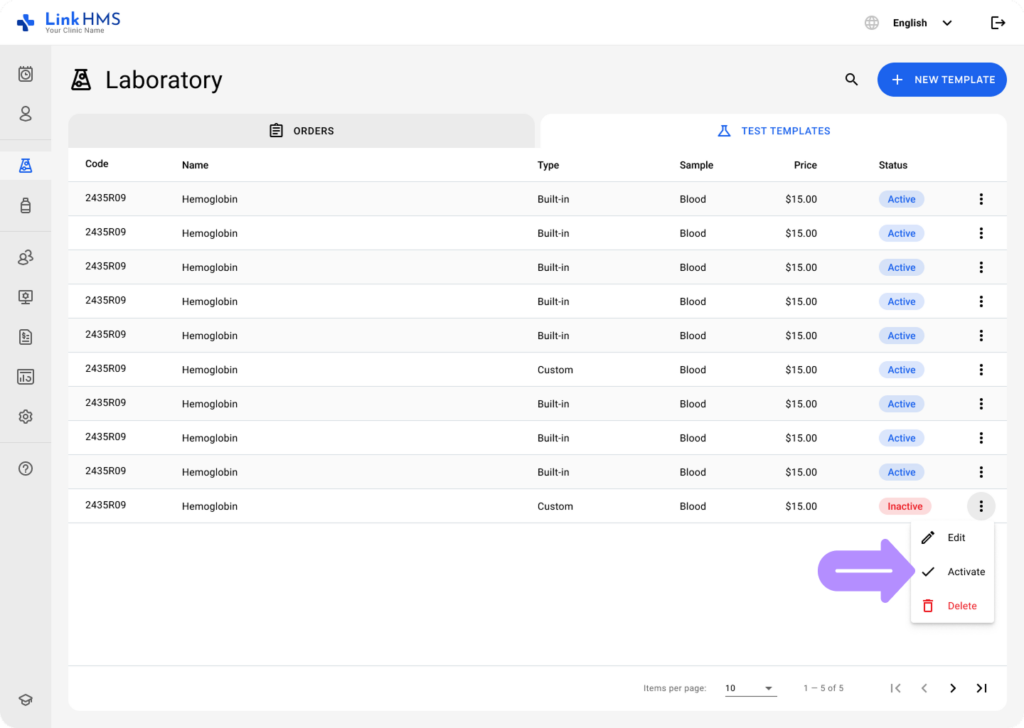
- Select the Test Templates tab that contains all built-in and custom templates for specific analyses. Lab specialists can store, reuse, and manage specialized tests alongside the built-in options. Each row in the table represents a test and displays key details such as code, name, type, sample, price, and status.
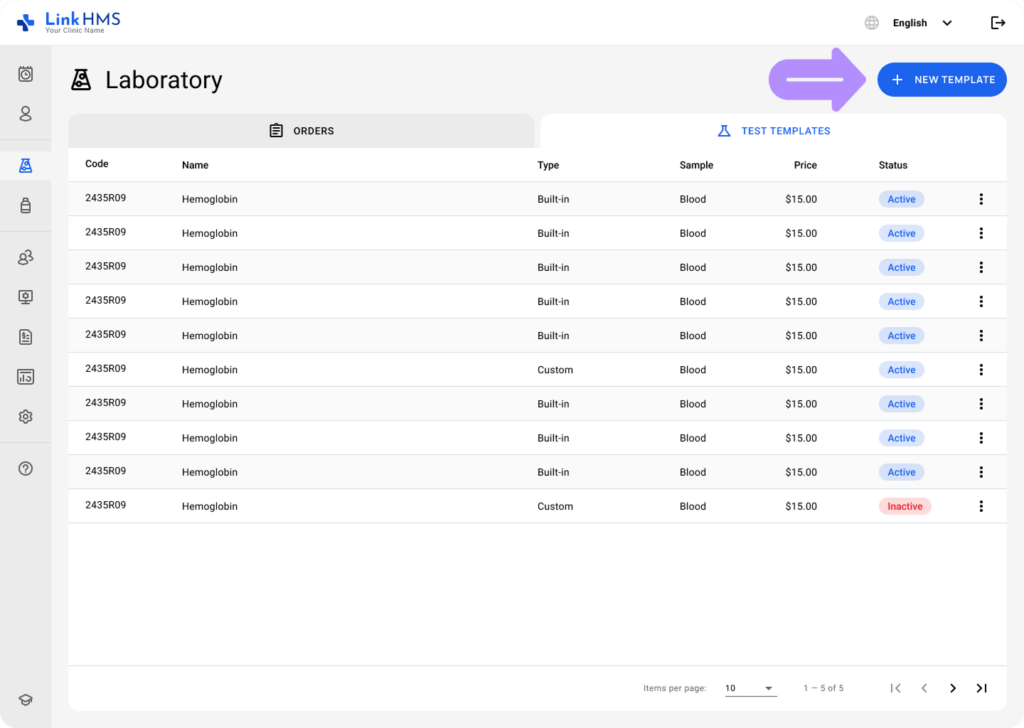
- Click the + New Template button in the upper right corner to add a new test.
💡Notes
There’s no limit to the number of new templates you can add to Test Templates. LinkHMS functionality allows your lab staff to work with both standardized and specialized analyses, starting from predefined templates or creating tests from scratch. For the ready-to-use templates, check the full list of pre-built test templates.
Creating a Test From Scratch
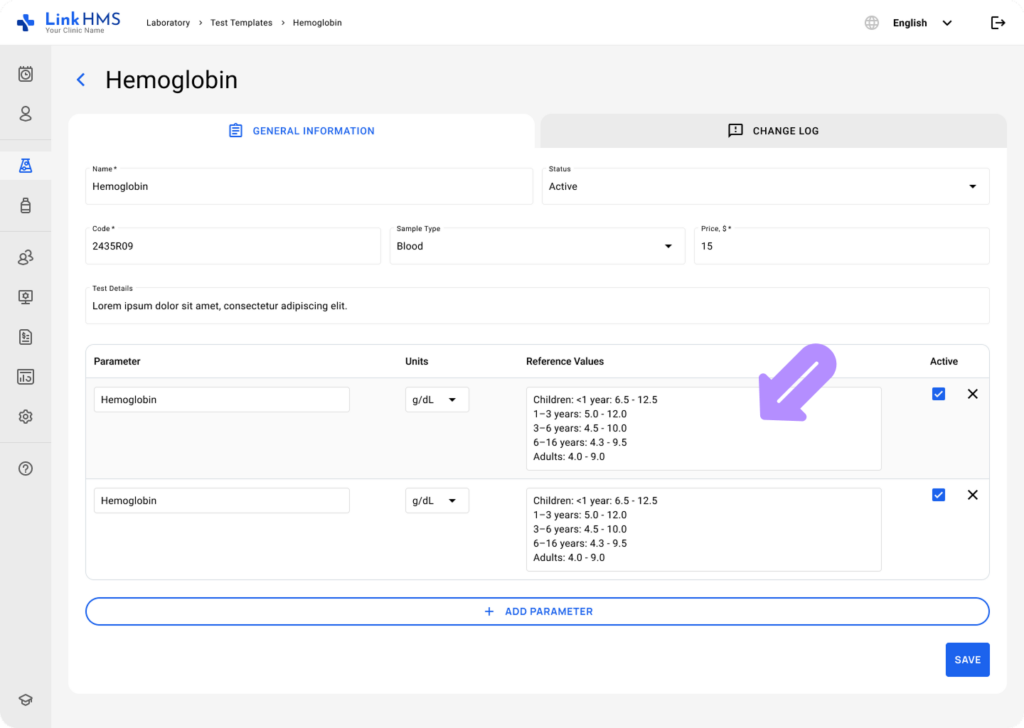
- To create a new custom lab test, start by filling in the name, code, and test price fields.
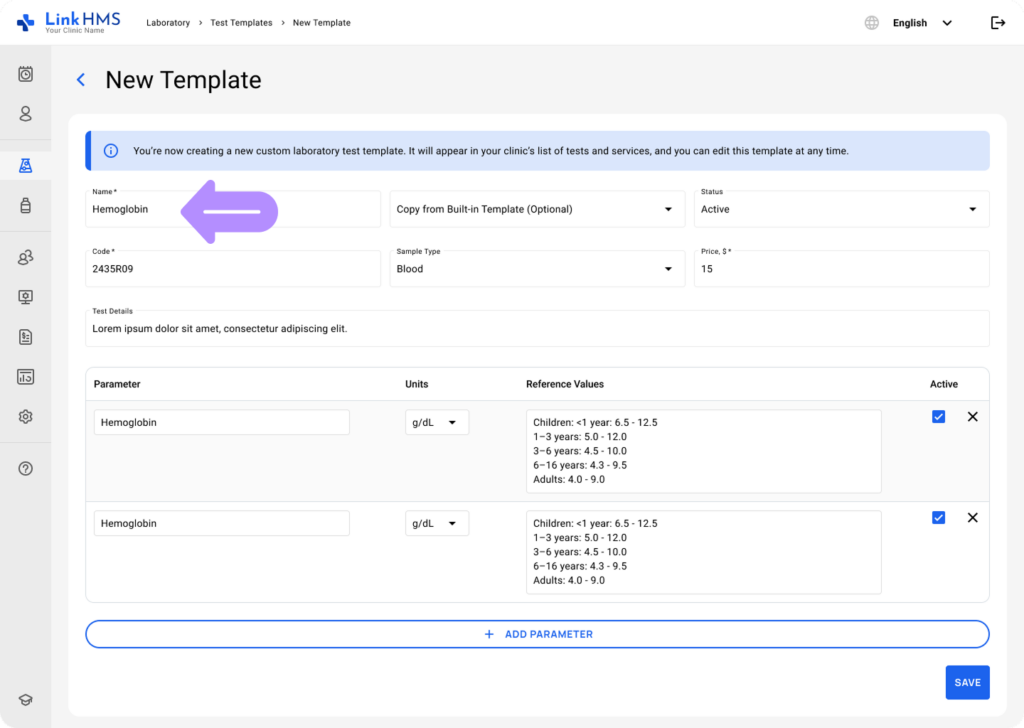
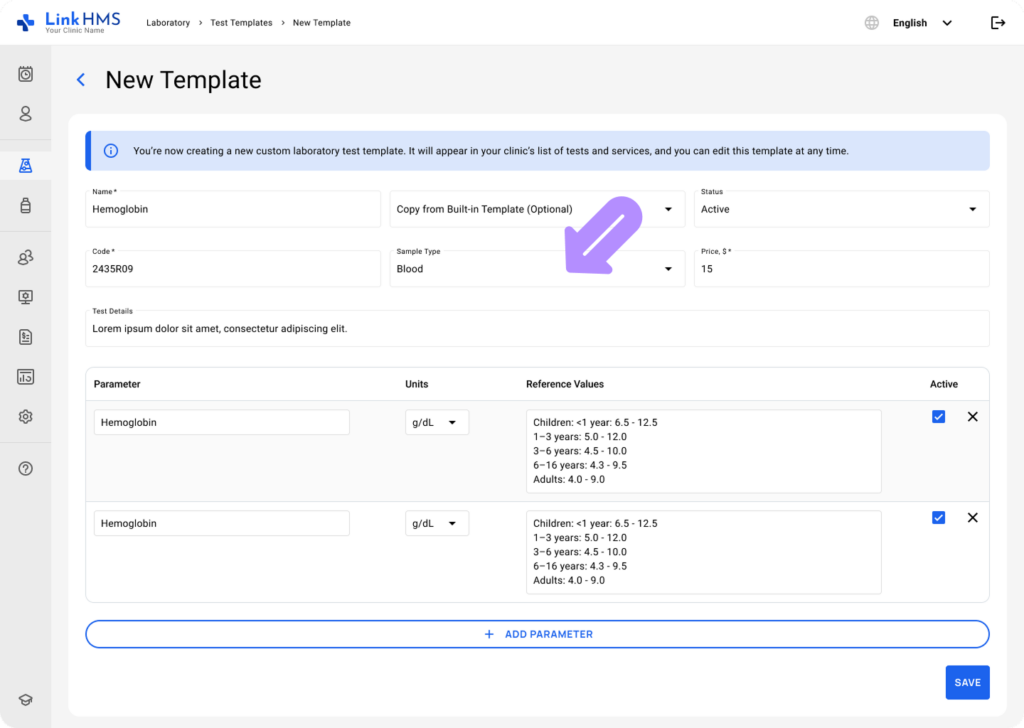
- From the dropdown menus, select the sample type and status.
- Enter additional test details and proceed with filling in the parameters and reference values.
- Specify the parameter and choose the unit from the dropdown.
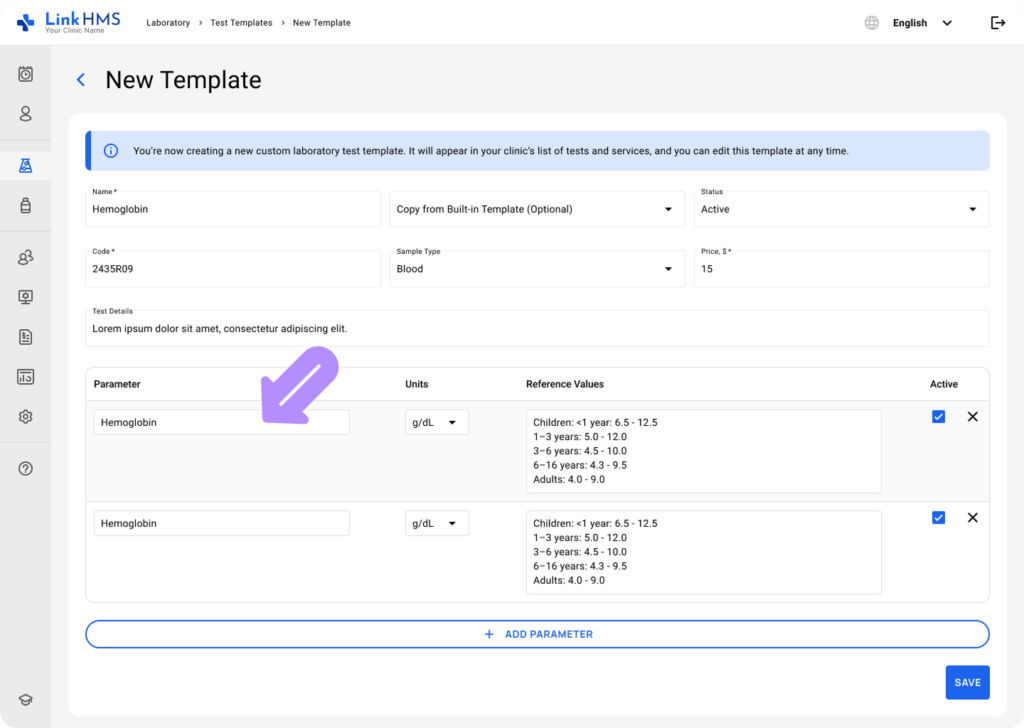
- Add the test reference values
💡Notes
Reference values for lab tests are the normal ranges of measurement used to interpret whether a patient’s test results are within limits or indicate a possible medical issue. They will be referred to not only by lab staff but also by doctors and other clinic staff for further diagnostics.

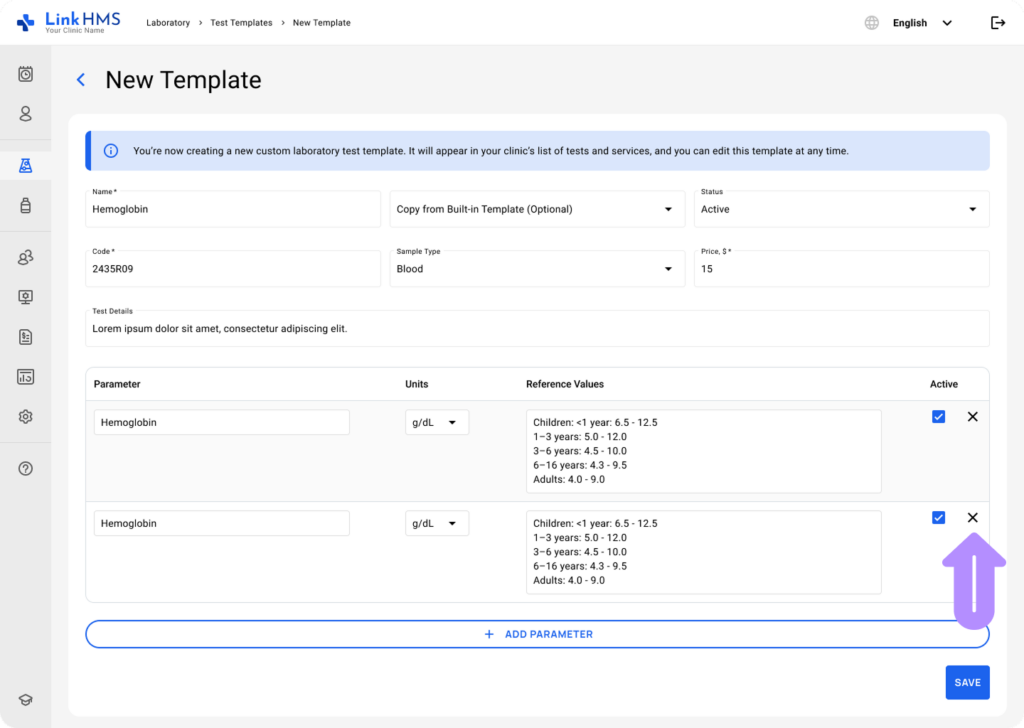
- Use the checkbox to set the active parameter status.
💡Notes
The test cannot be activated while all parameters are inactive. Activate at least one parameter to save the test.

- Use the + Add Parameter button to include more parameters.
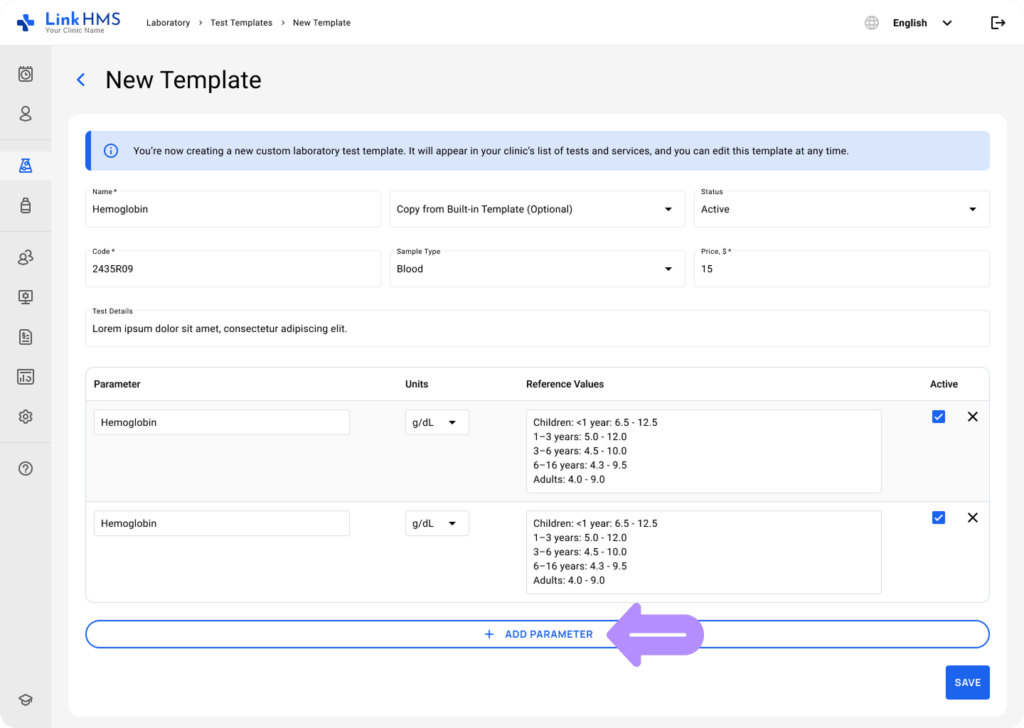
- Click X to remove the selected parameter.
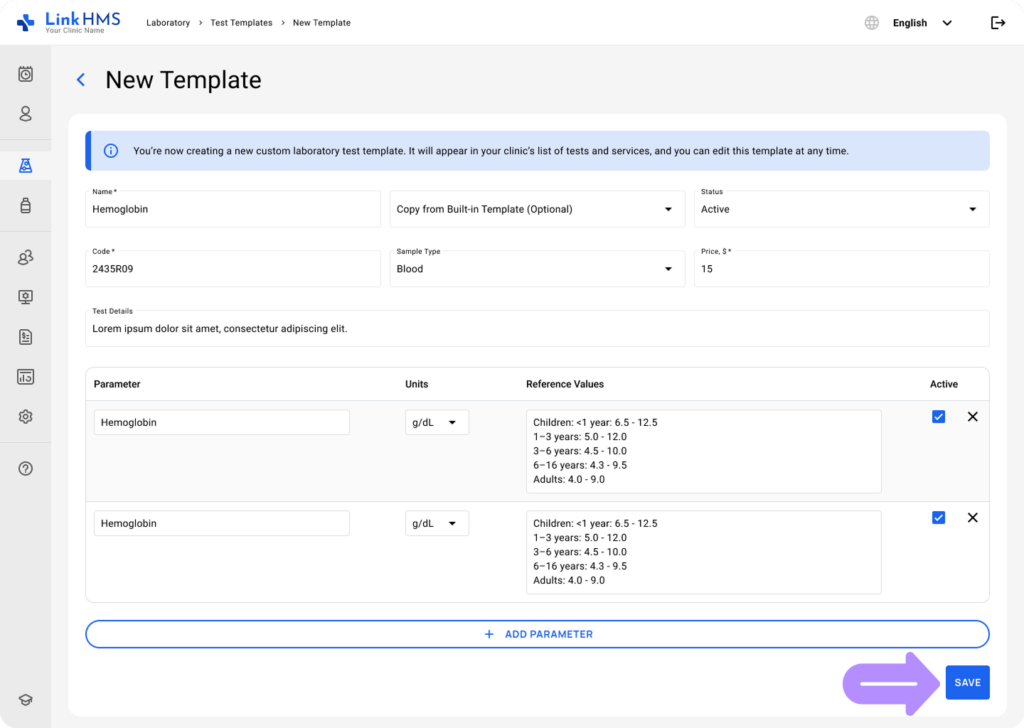
- Once you’ve filled in the required information, click Save to create a new test template.
💡Notes
The test will appear in the list of tests, where you can edit the template at any time. Once it’s marked with an active status, it is immediately available for analysis requests and further invoicing.
Creating a Test From a Pre-Built Template
💡Notes
You can create a test from a pre-built template and customize it to fit your needs, helping you save time while maintaining full control over test structure and settings.
- Use the Copy from Built-In Template field from the dropdown to select from available built-in test templates.
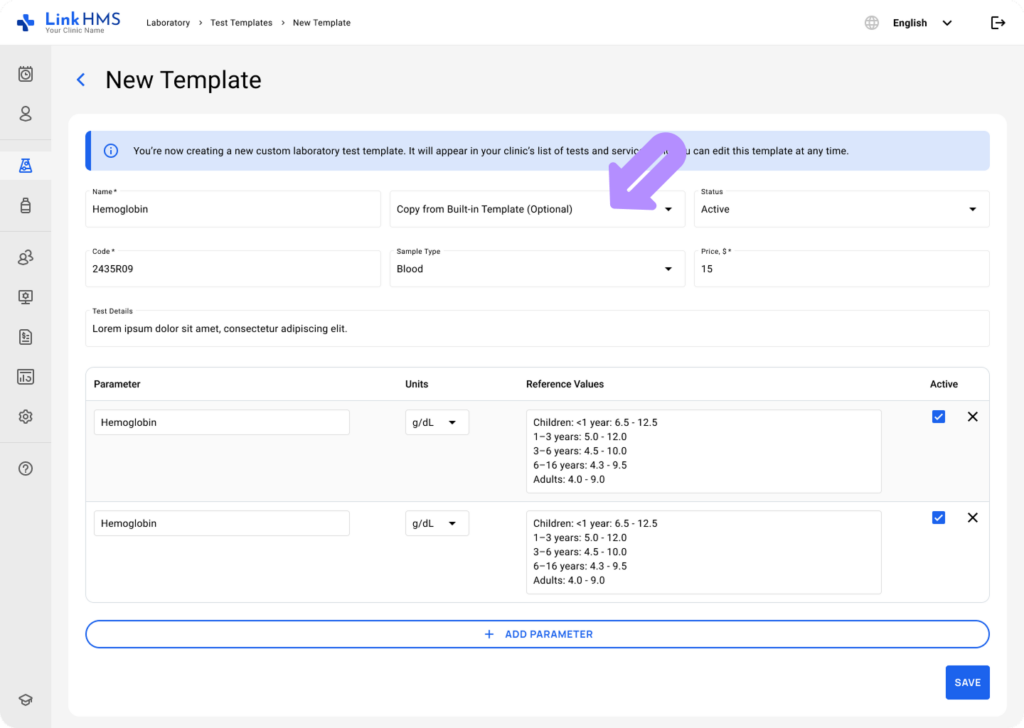
- Once a template is selected, the test is pre-filled with data from that built-in template.
- The Name, Code, Sample Type, and Test Details fields are automatically pre-filled with the corresponding values.
- All parameters from the selected built-in template are auto-loaded into the form, along with their units and reference values.
- All reference values become fully editable after the built-in template is applied.
- Proceed to edit fields, remove parameters, or add new ones as needed.
- Once you’ve edited the required information, click Save to create a new test based on the pre-built template.
Editing, Activating/Deactivating, and Deleting Custom Test Templates
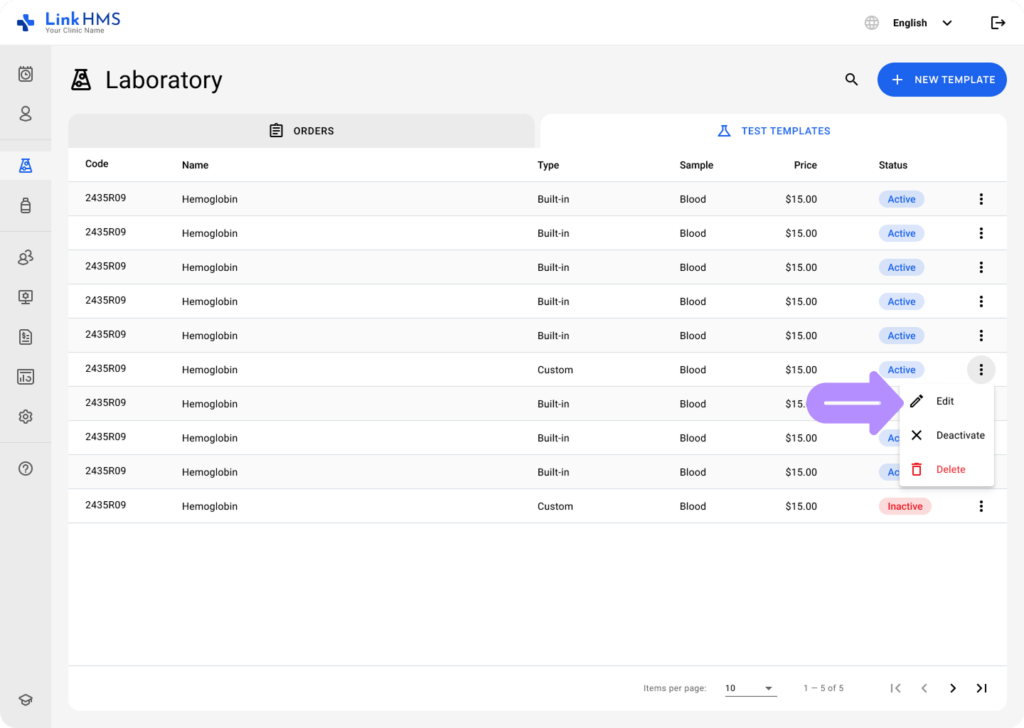
All custom templates are collected within the Tests Templates tab along with other built-in tests and can be edited, activated/deactivated, or deleted whenever required by lab specialists.
- Locate the necessary test to click or use the three-dot menu next to it to choose Edit.
- Edit the required fields and add or remove parameters.
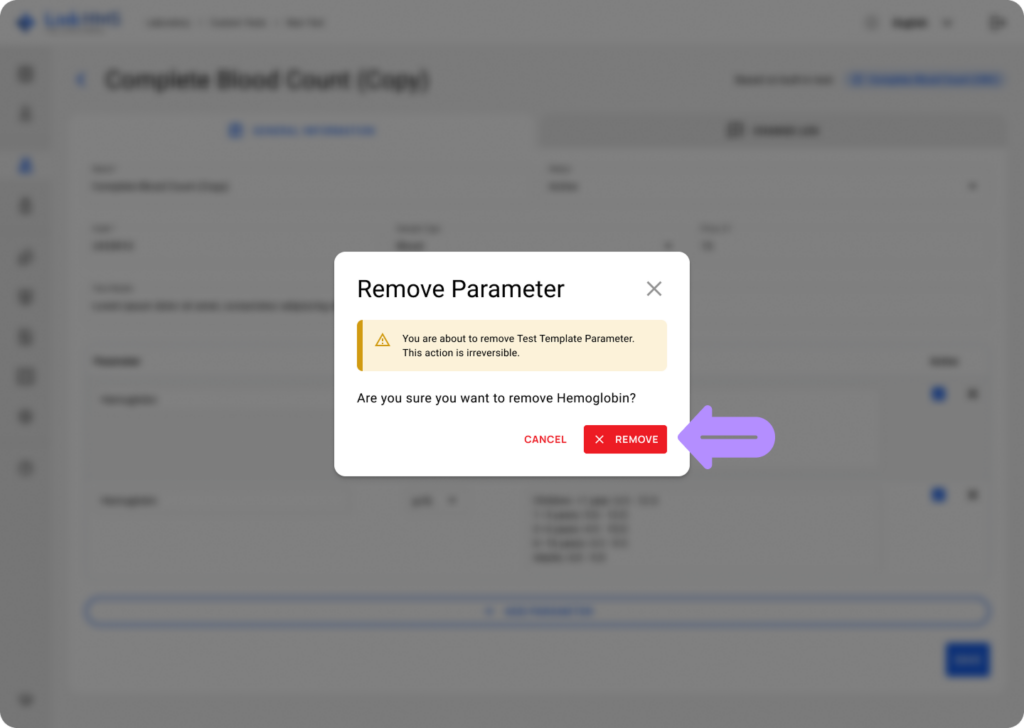
- If required, confirm the parameter deletion by clicking Remove.
- Click the Save button to confirm changes.

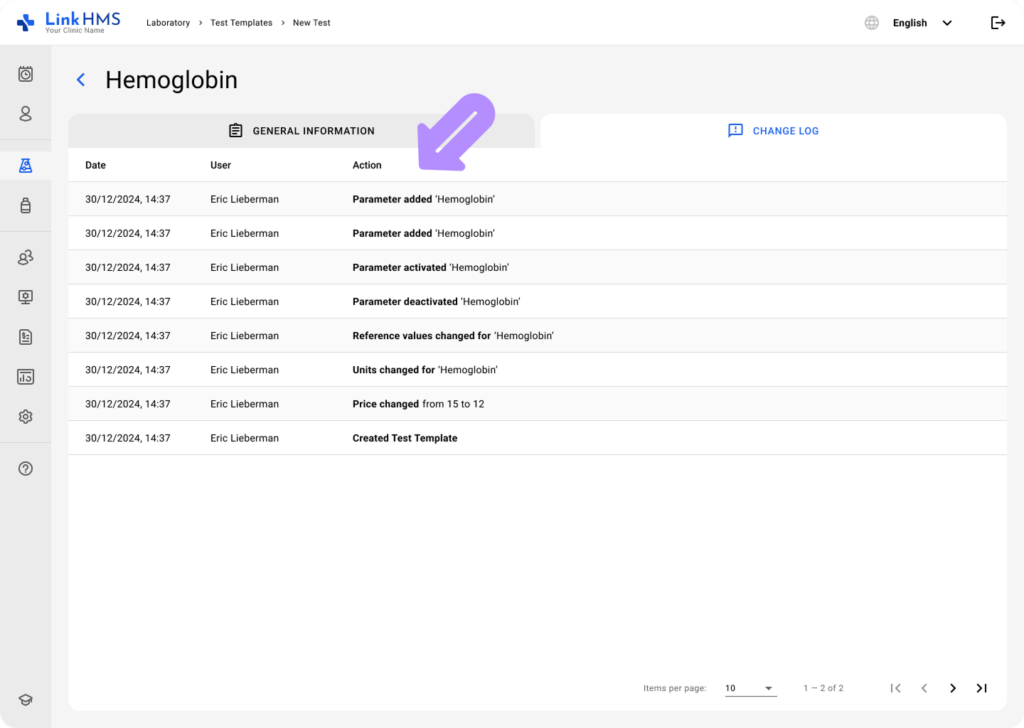
- Every change made to the test is saved in the change log.
💡Notes
Only Active templates will be visible for use in the system by other clinic staff.
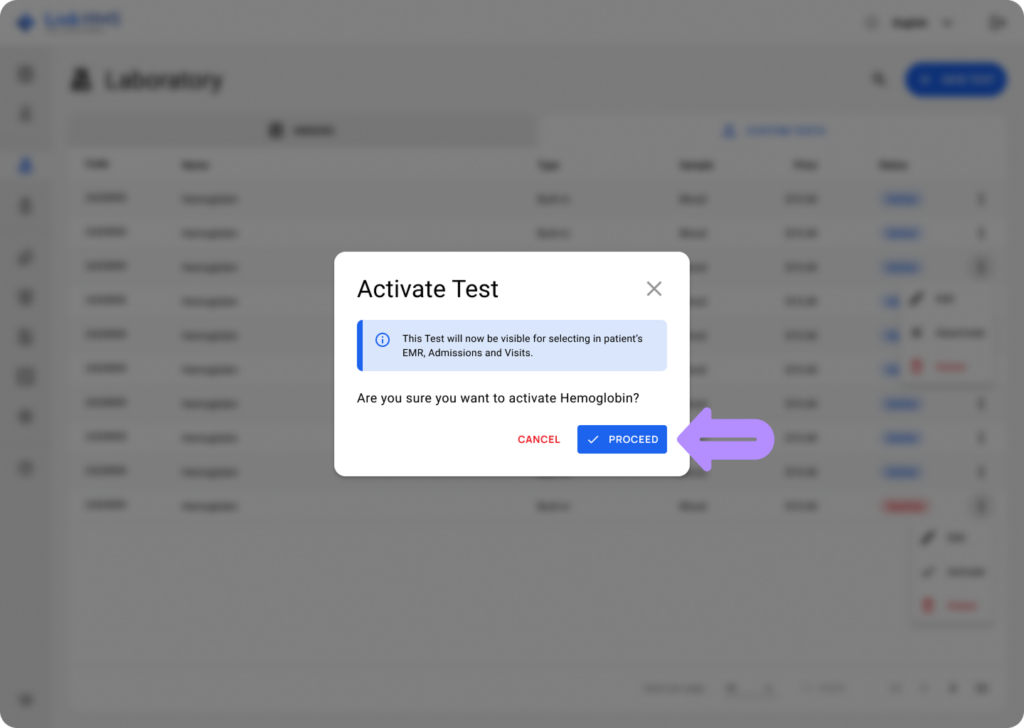
- Set the active status for the inactive custom tests that you’d like to perform in the Laboratory. Click the three-dot menu next to a required test and select Activate.
- Select Proceed to confirm the action.
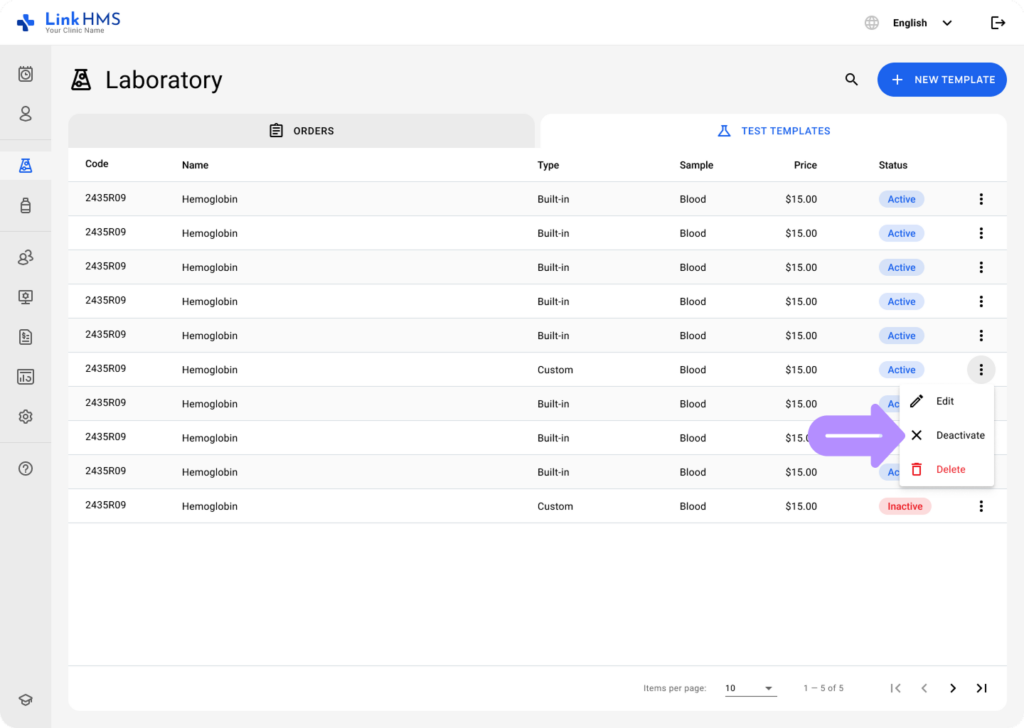
- Additionally, you can make a template inactive by selecting Deactivate to change its status.
💡Notes
Any deactivated template can be reactivated whenever required (repeat the activation steps from above).
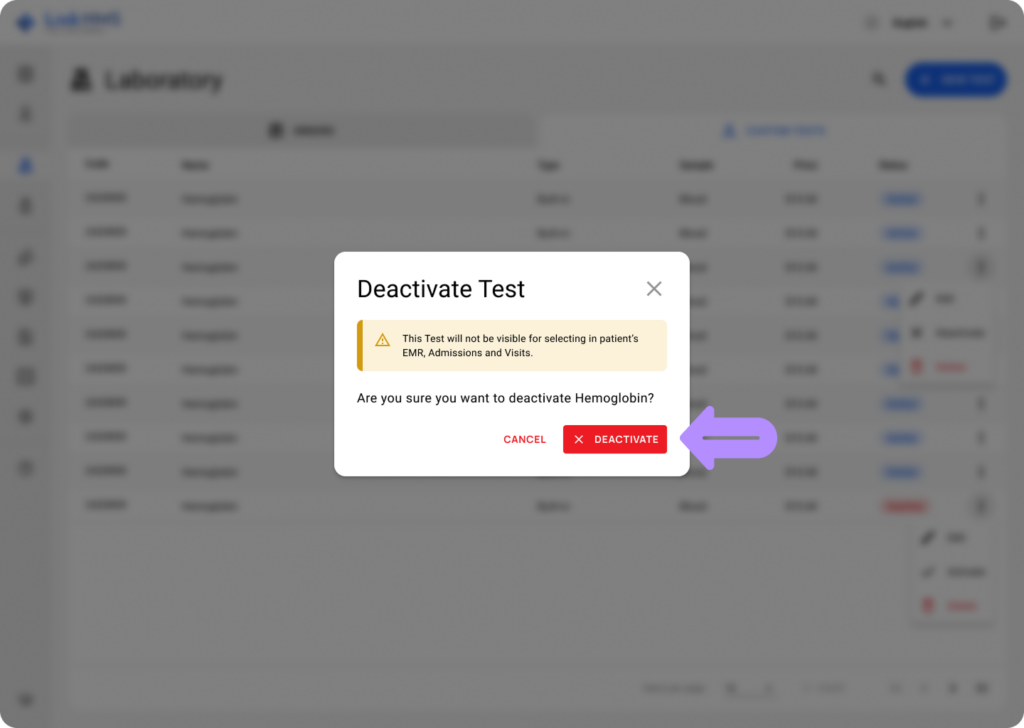
- Click Deactivate to set a new template status.
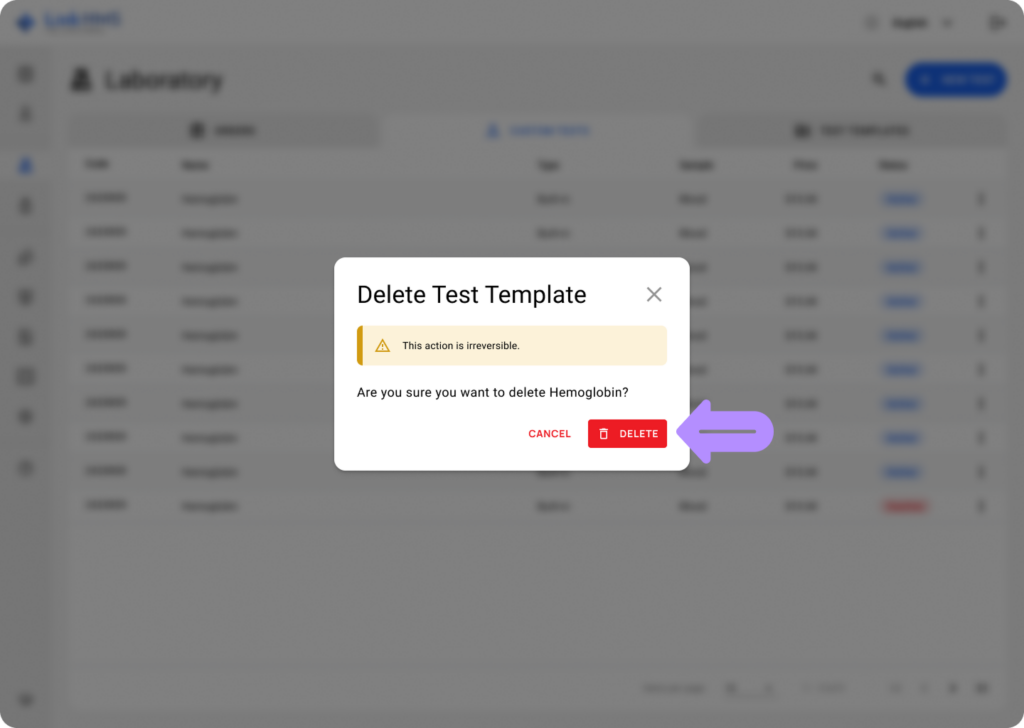
- If the custom test is no longer used in your laboratory, you can remove it. Select Delete from the three-dot menu next to the required template.
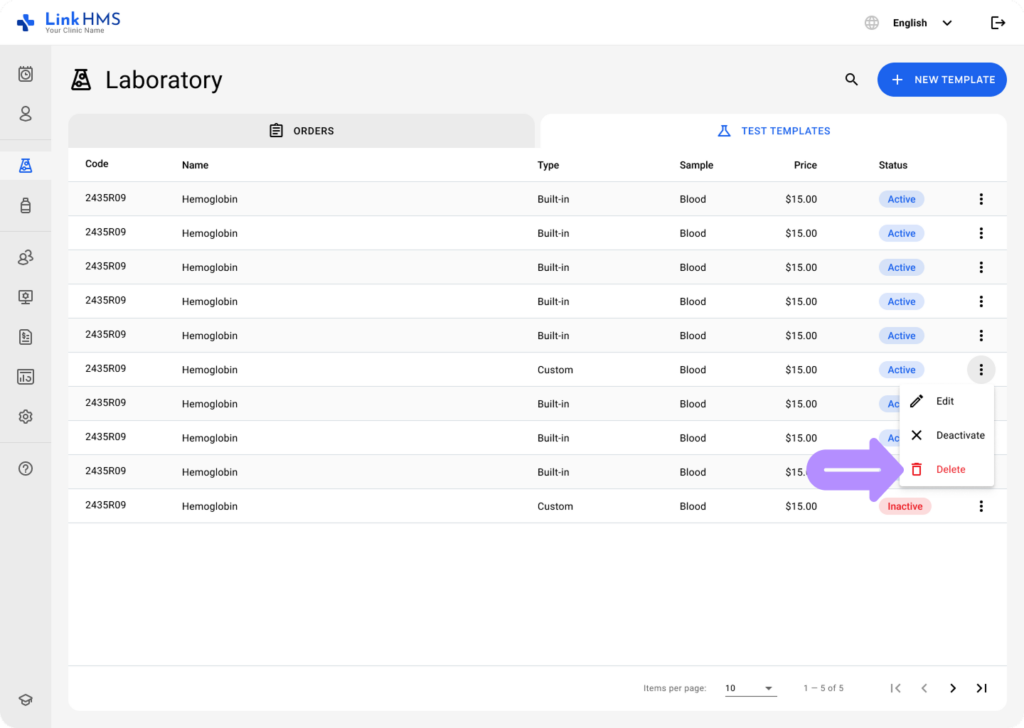
- Click the Delete button to proceed with removing the chosen test template. This action is permanent, and the template cannot be recovered.