Create Invoices for Doctor’s Prescriptions
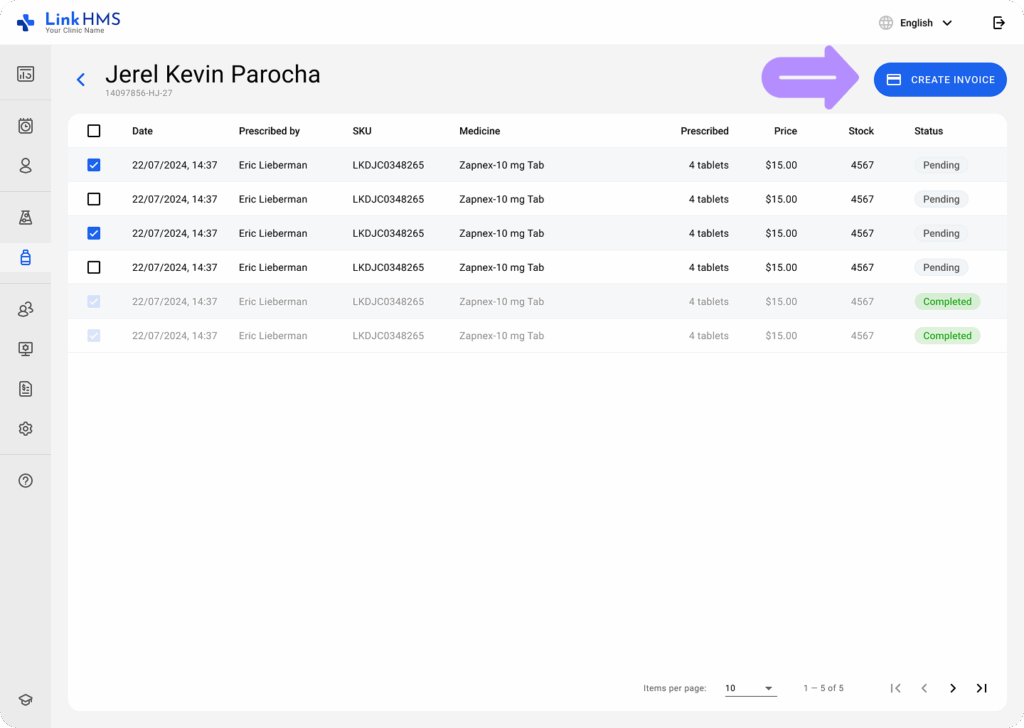
- Choose the Patient tab in the Pharmacy.
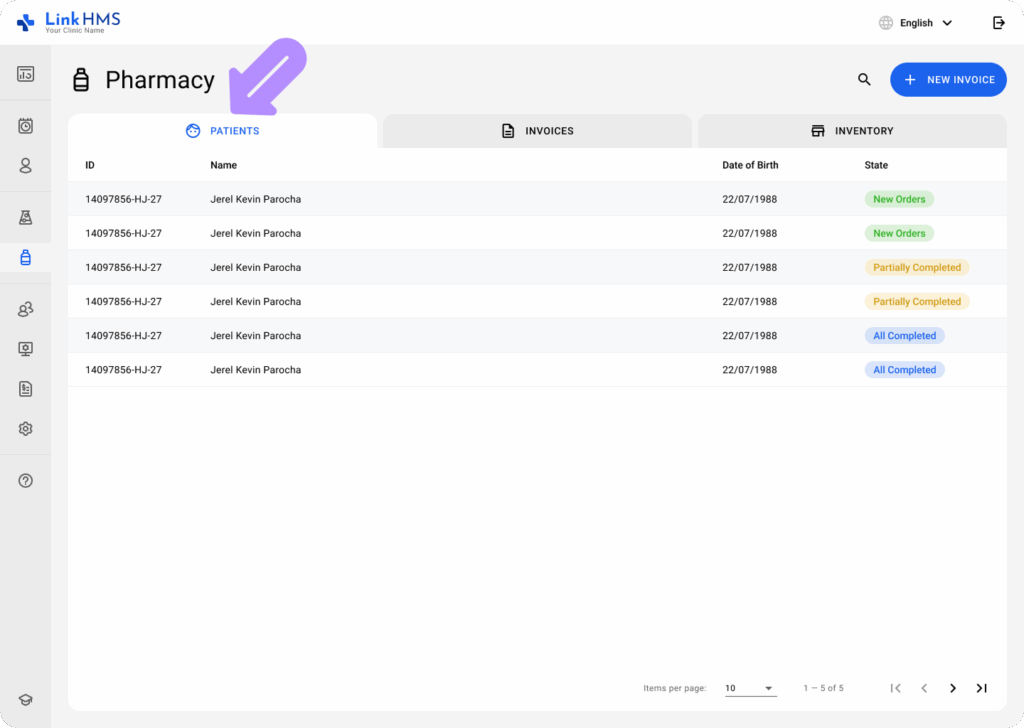
- Open the selected patient to view the detailed list of prescribed medicines.
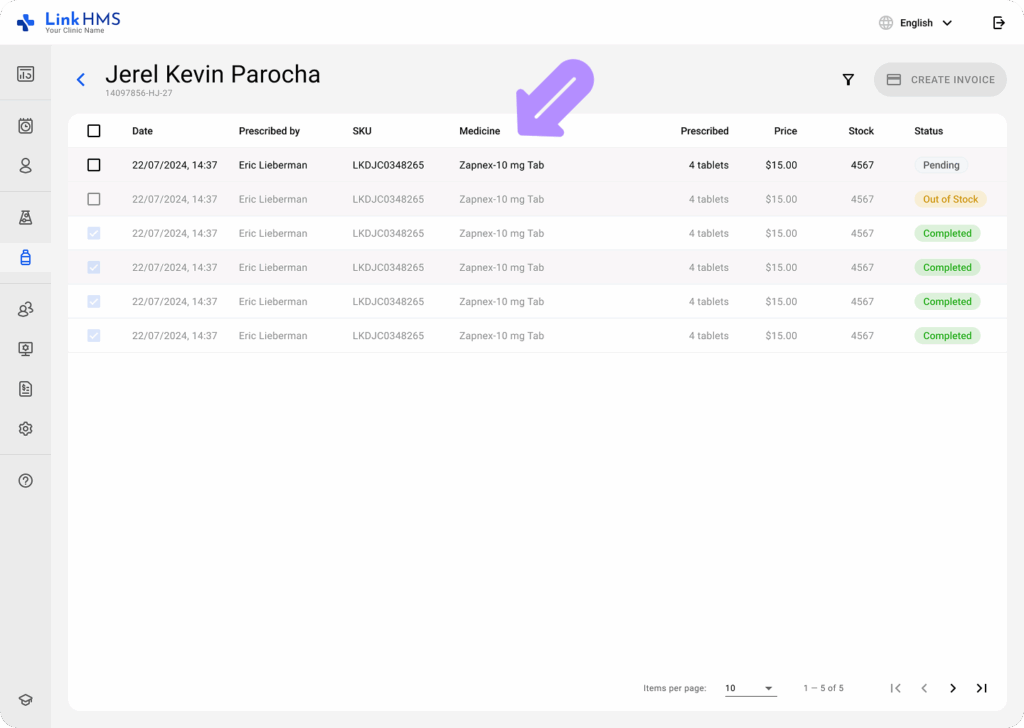
- Use the checkboxes to select specific medicines to be included in the invoice. To select all items at once, click the checkbox at the top.
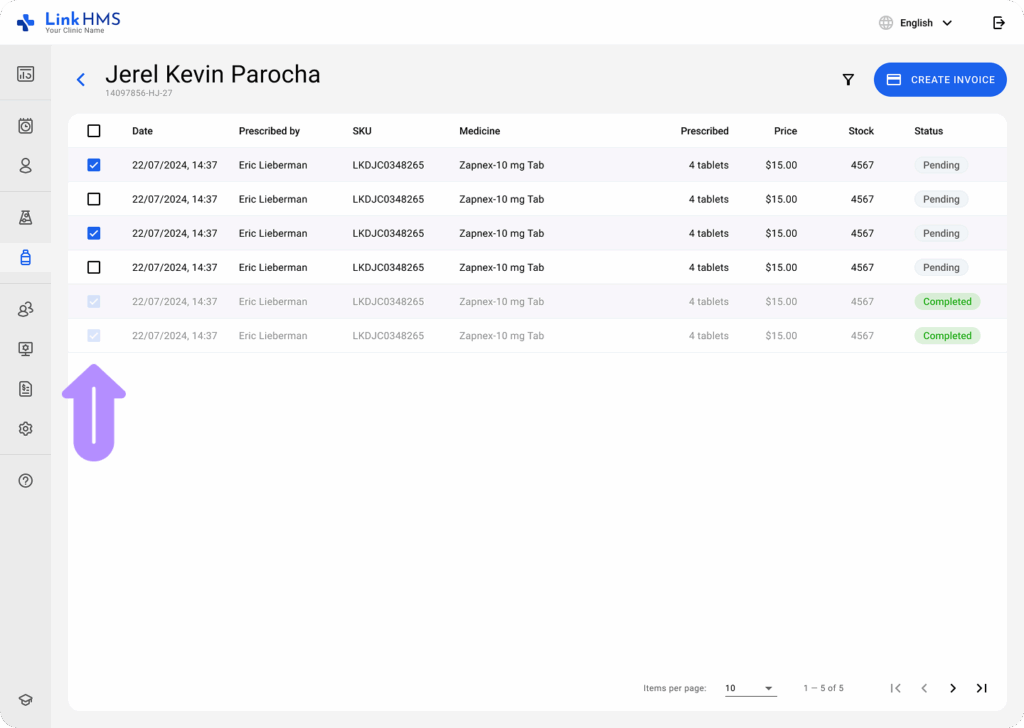
- Click the activated Create Invoice button to add the chosen medicine to the prescription invoice.
- Review the list of added medicines and select the quantity.
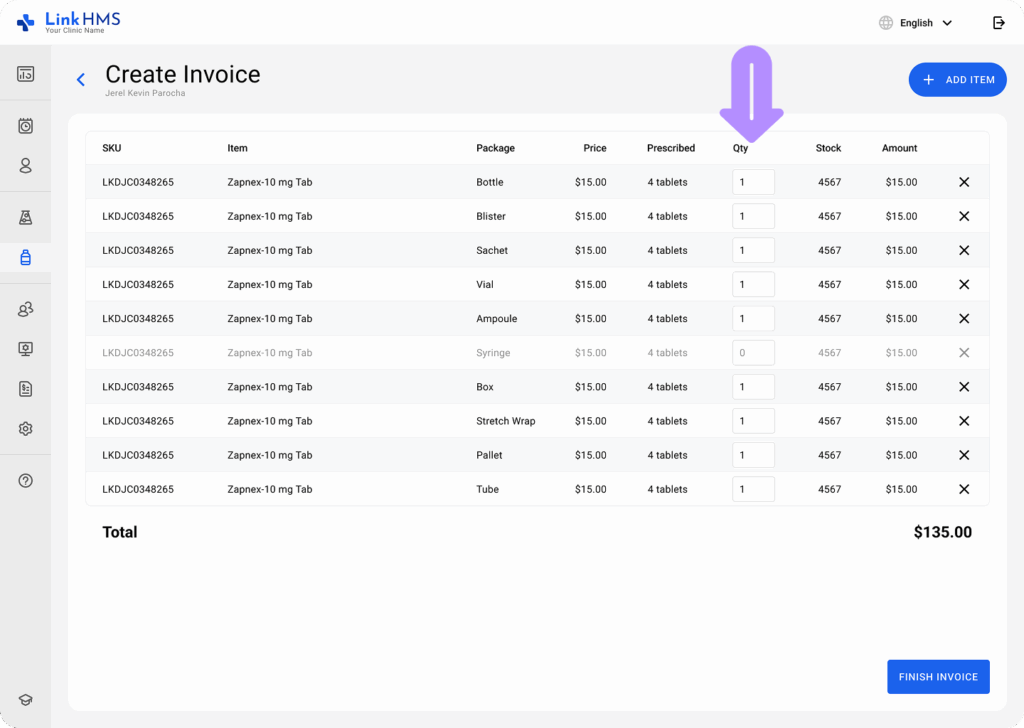
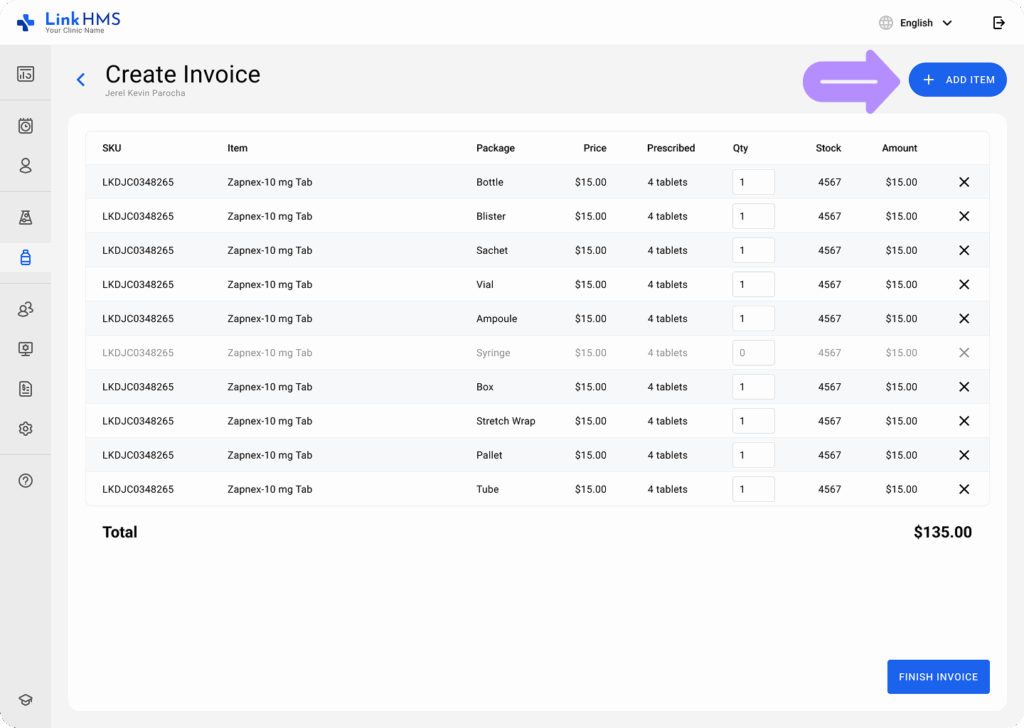
- Click + Add Item to include more if needed.
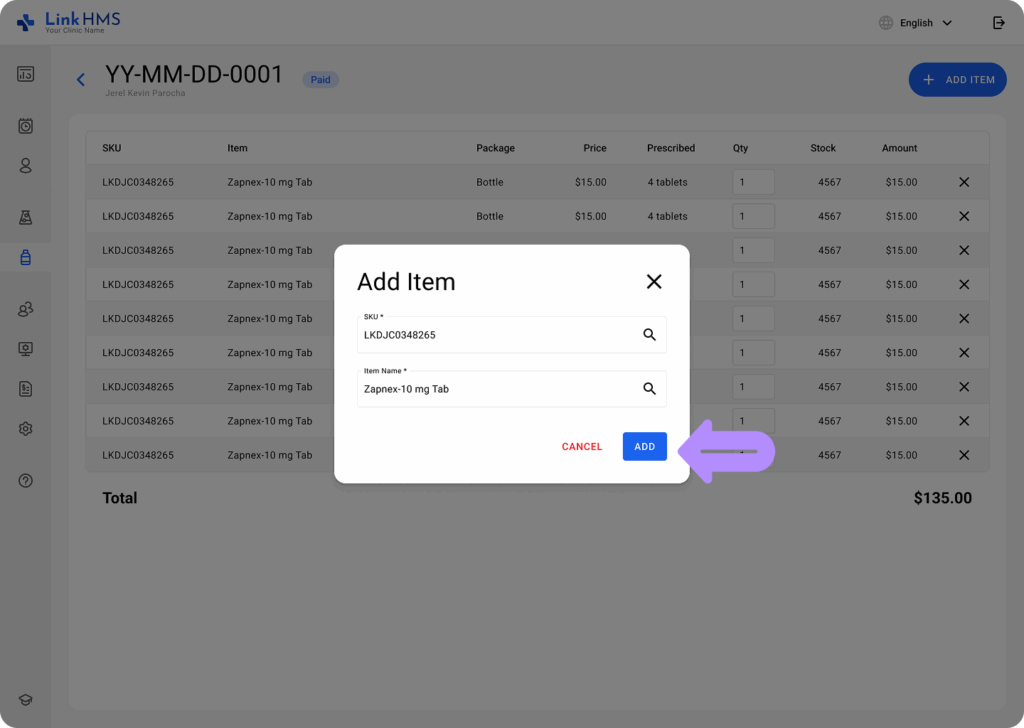
- Specify the SKU and Item Name, and click the Add button to include a new item in the invoice.
- If required, click X to remove an item.
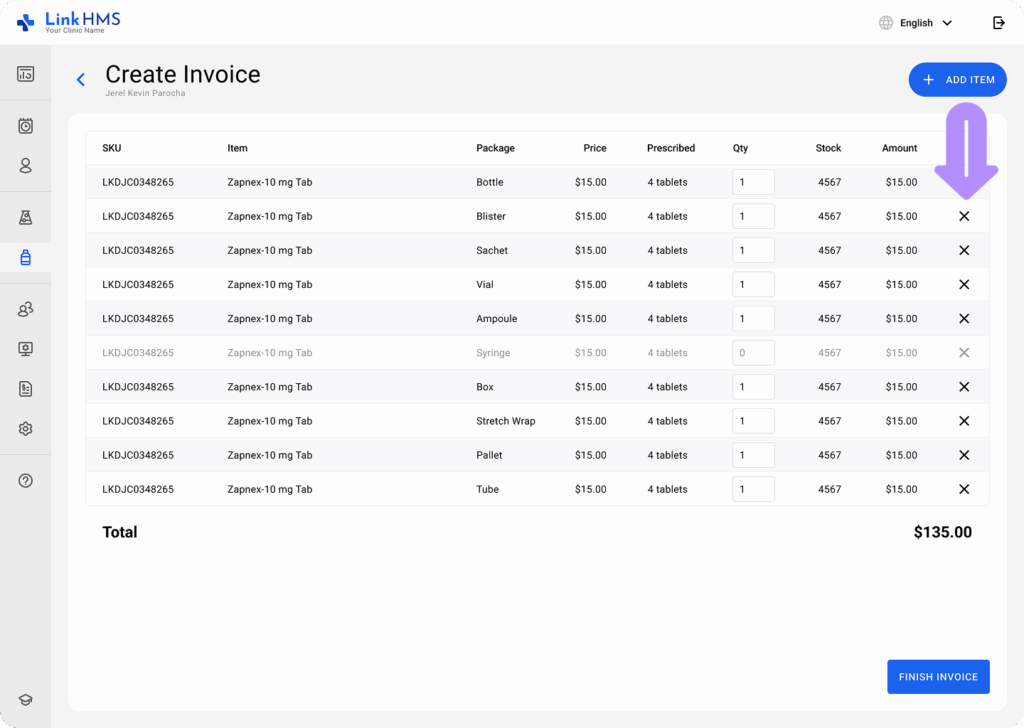
- Click the Finish Invoice button when the invoice is ready.
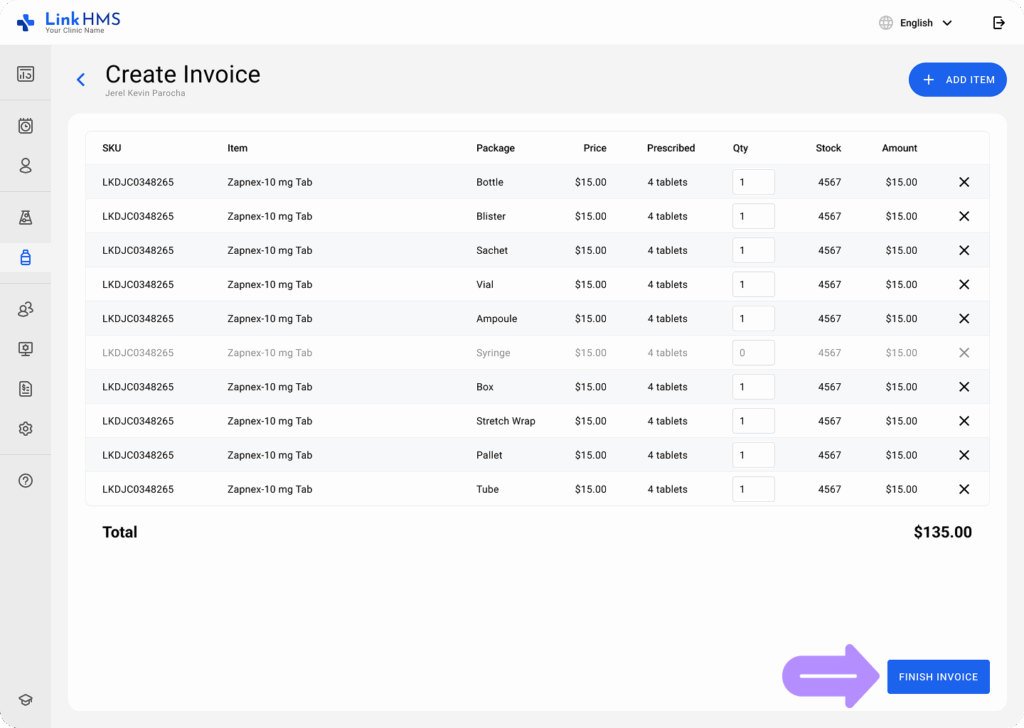
- A pop-up window appears to confirm the finalization of the invoice by clicking the Yes button.

- The new invoice with the status Unpaid automatically appears in the Invoice tab.
Manage Invoices
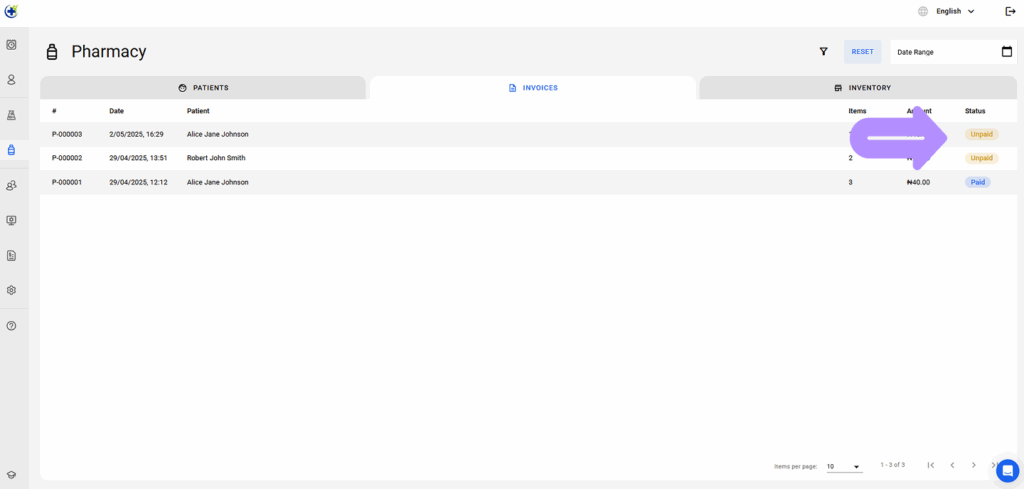
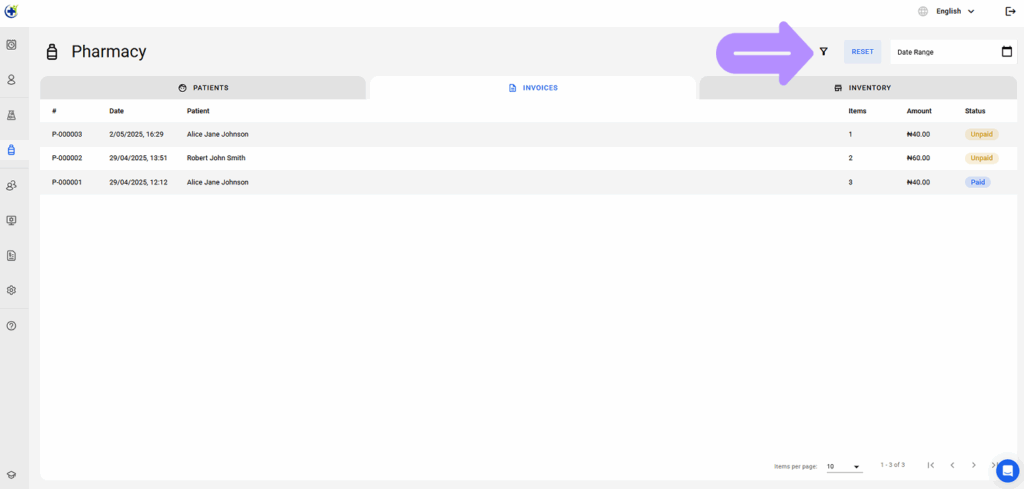
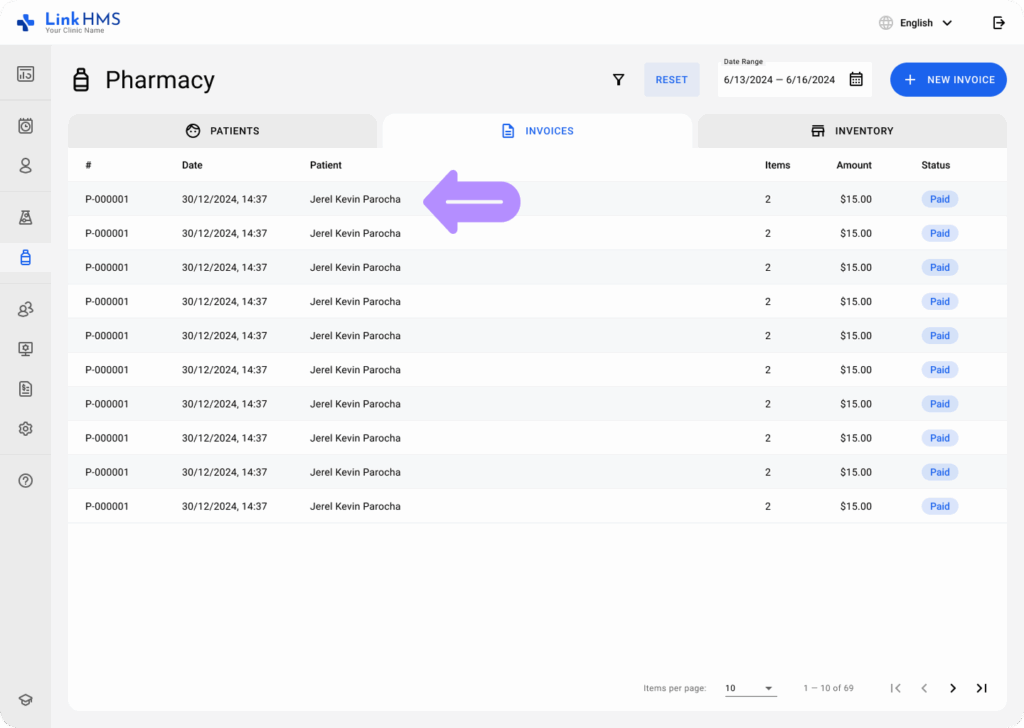
- Navigate to the Invoice tab, which contains a list of all invoices with details such as Invoice Number, Date, Patient, Number of Items, Total Amount, and Payment Status (Unpaid, Claimed, Cancelled, Paid).
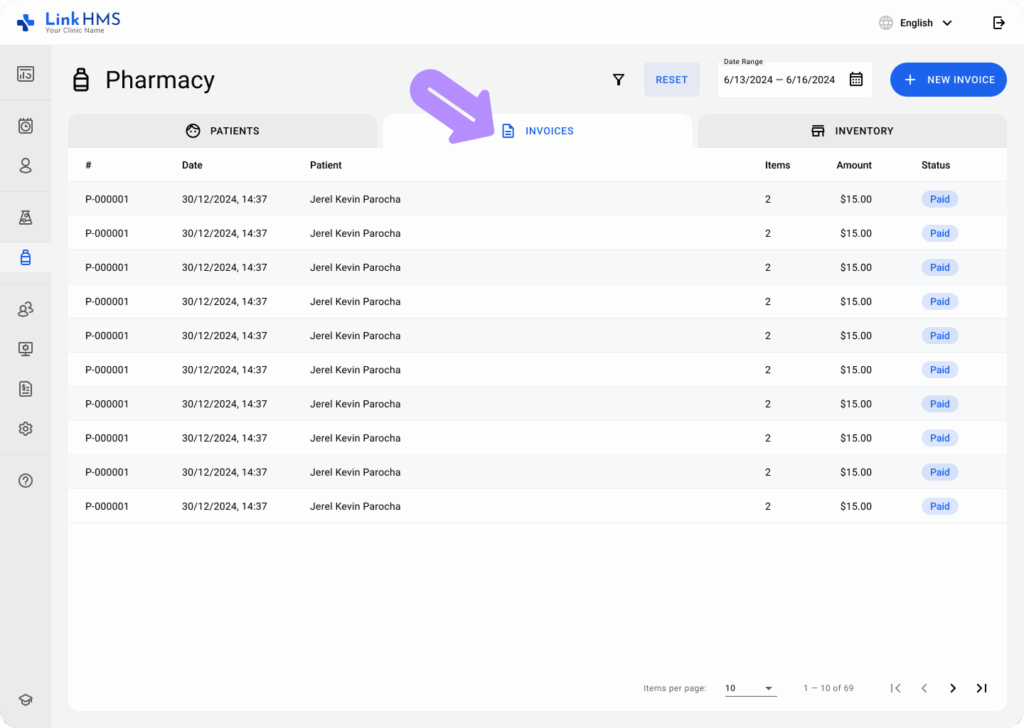
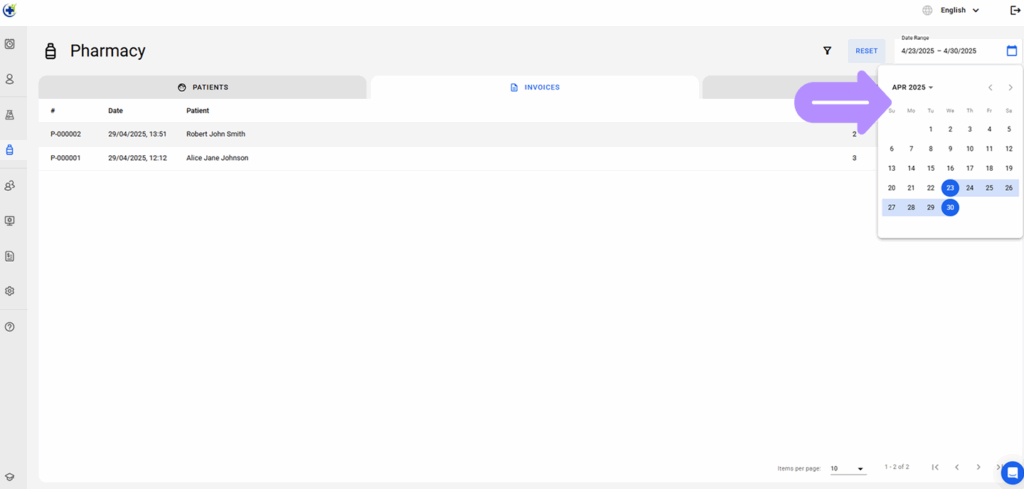
- Use the date range filter to find the invoice created within a specific time period.
- Use the Filter icon to sort and find the required invoices.
- To add more filters, click the + Add a Filter button.
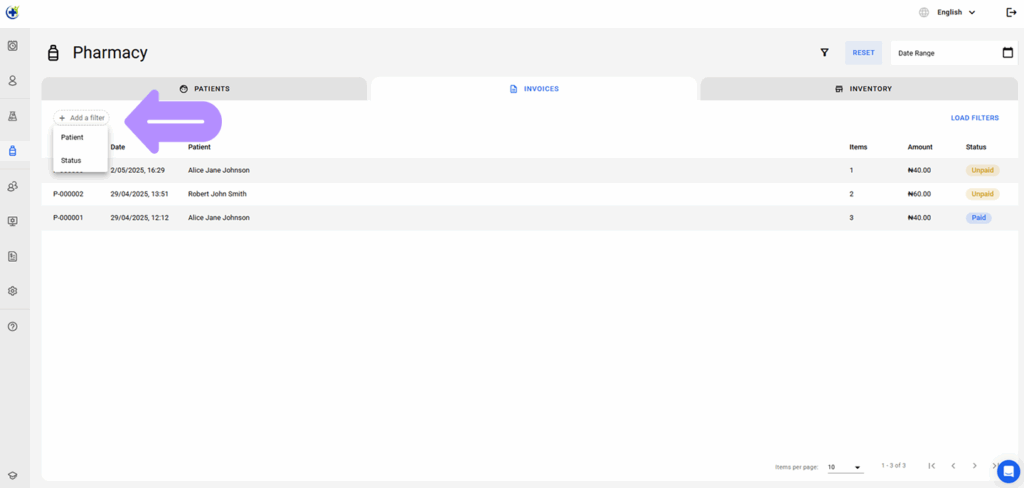
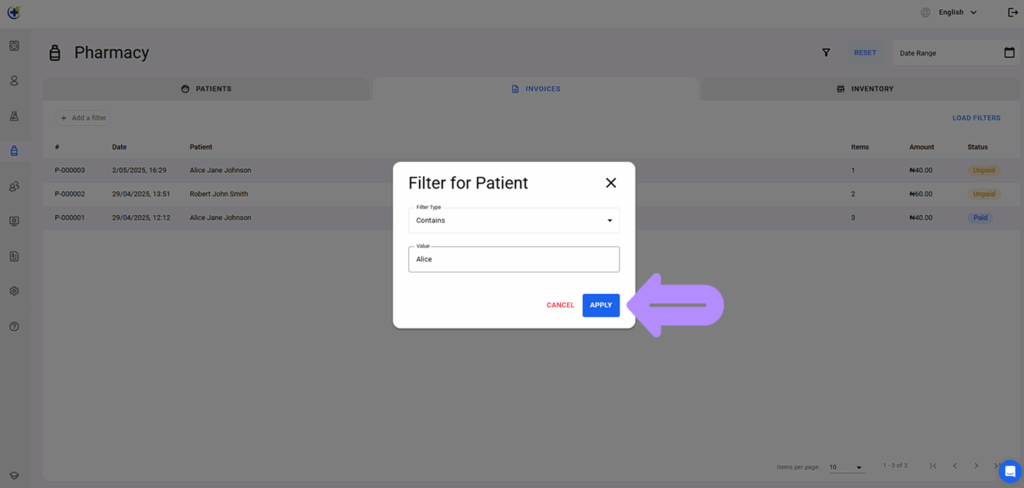
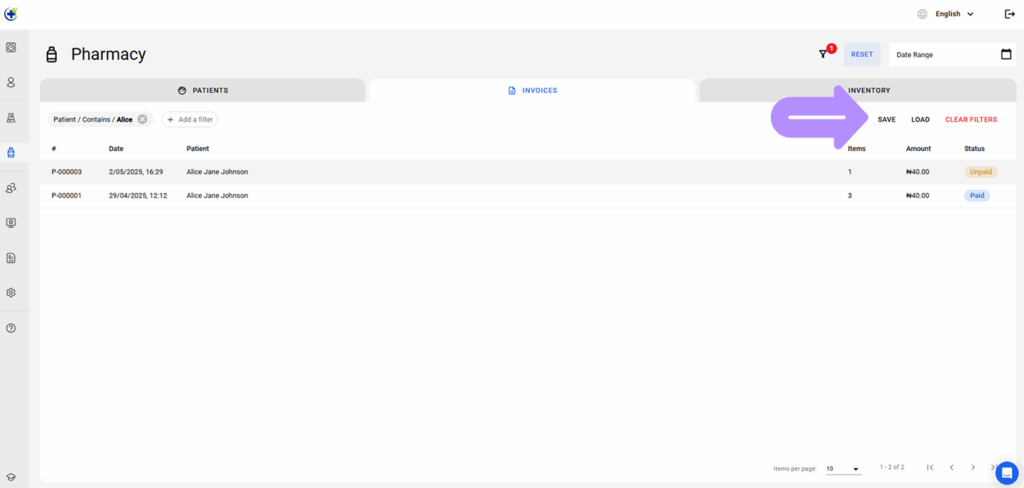
- Use the Patient filter to search for invoices by patient, then click Apply to see the results.
- Choose the Status filter to sort invoices by the payment status, and click Apply.
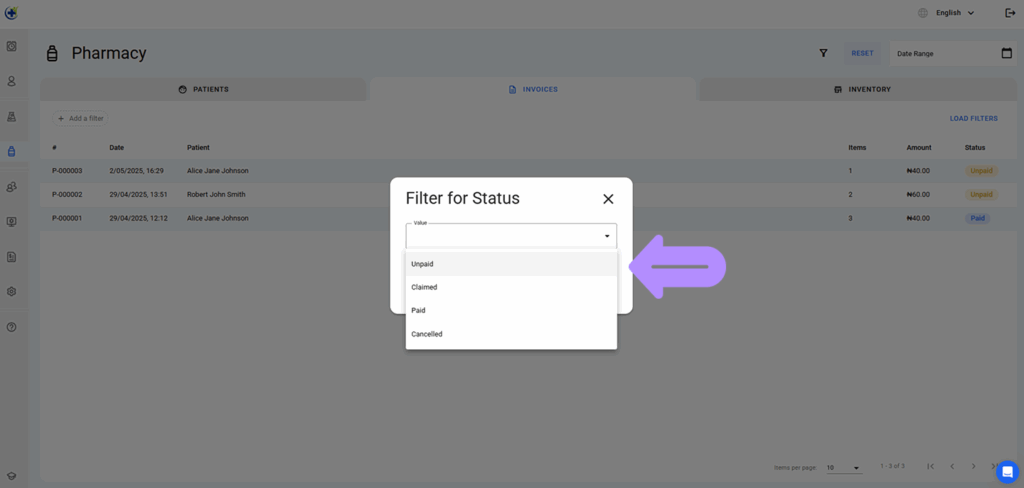
- Click Save to keep your filters, Load to add more, or Clear Filters to remove them.
- Open the selected invoice to view the detailed information.
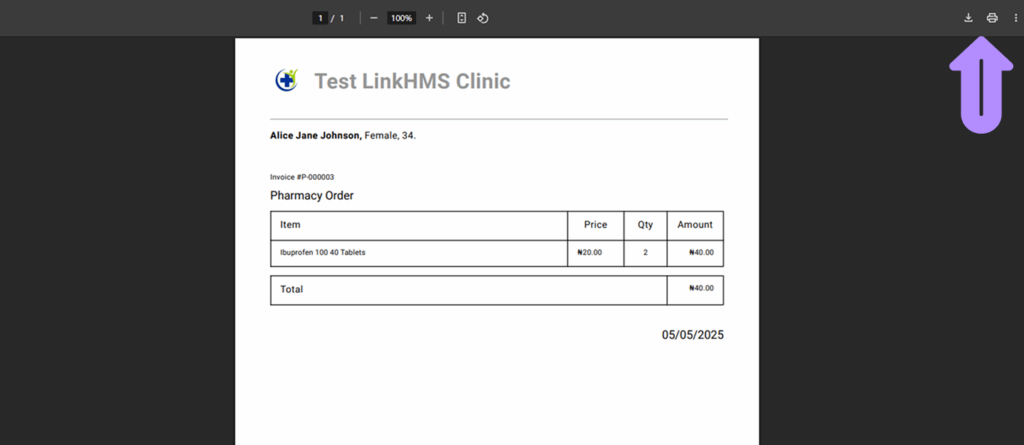
- View prescription order invoice details.
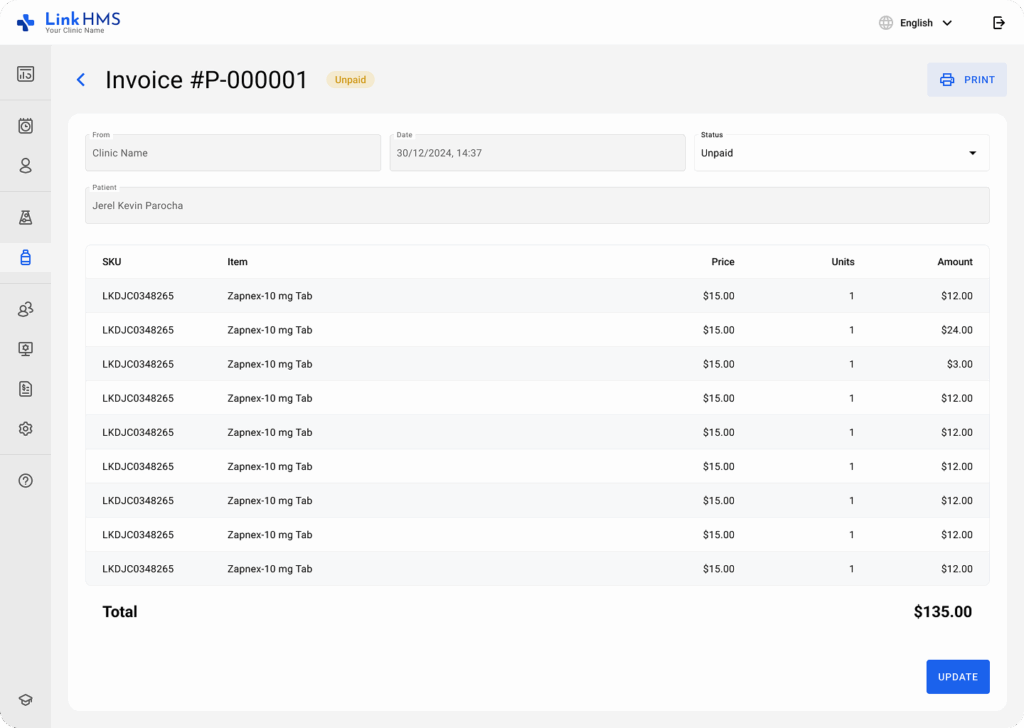
- Update the invoice status by using the dropdown menu: Unpaid, Paid, Claimed, or Cancelled.
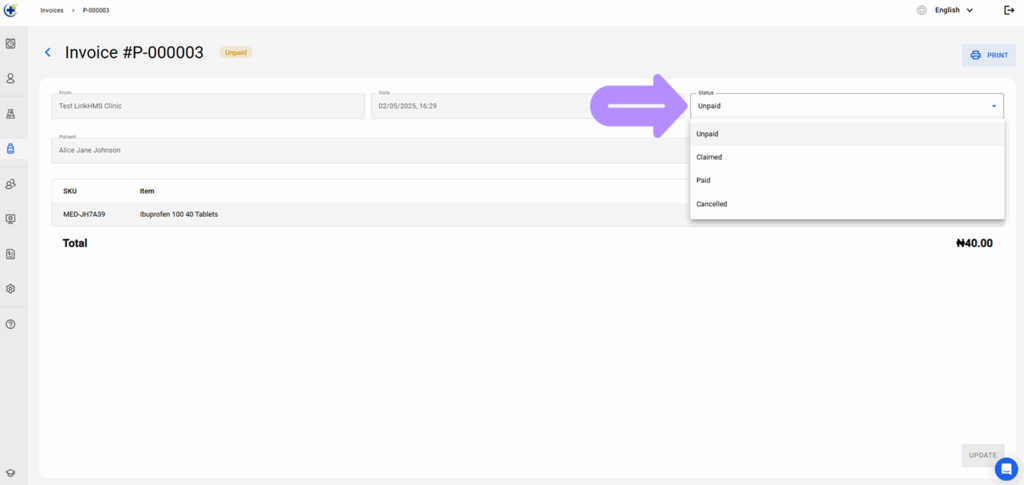
- Click the activated Update to save the changes and the status.

- Click Print to print the invoice or save it for the record.
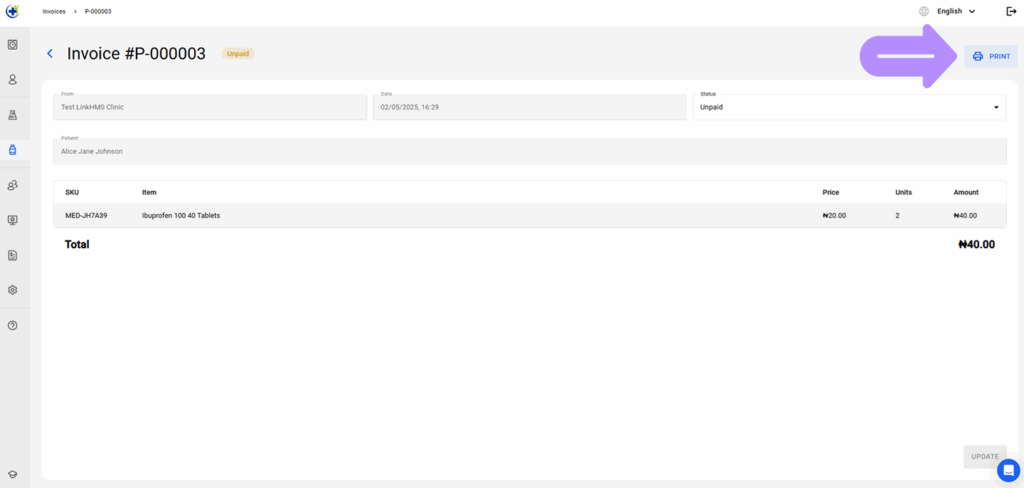
- Print or save the invoice using the browser’s options.