The LinkHMS calendar includes full-featured tools for managing visits and doctor availability. You can track visits from confirmation to completion, create new appointments, adjust time slots, and view doctors’ unavailable hours.
Viewing Doctor Schedules
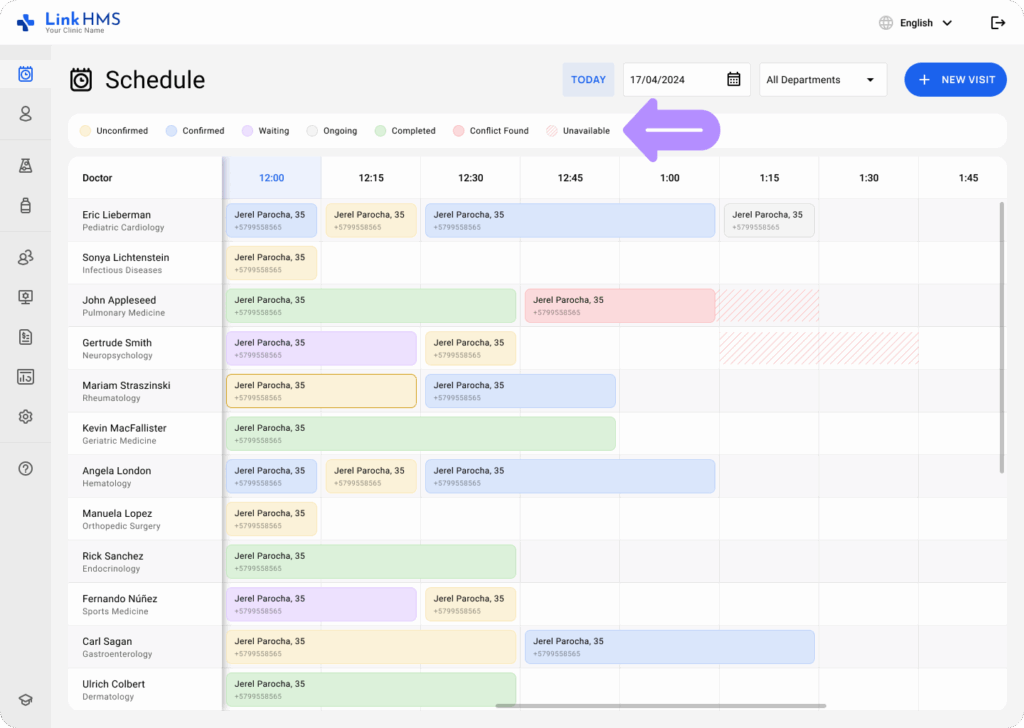
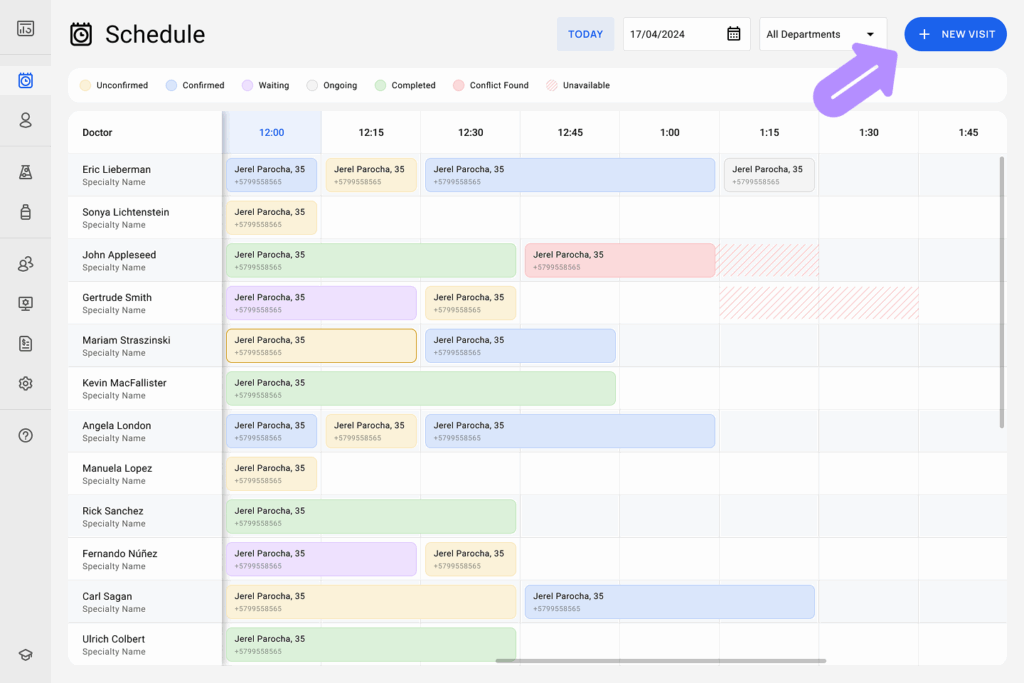
- The Schedule tab displays a grid with available doctors and their time slots. You can view a detailed schedule, including ongoing, completed, upcoming, and canceled appointments.
💡Notes
Color-coded statuses, such as Unconfirmed, Confirmed, Waiting, Ongoing, Completed, Conflict Found, and Unavailable, make it easy to identify the status of each visit and view slot availability. Unavailable slots are marked with red diagonal lines, indicating the times when doctors are not available for visits.
Viewing Visits by Date
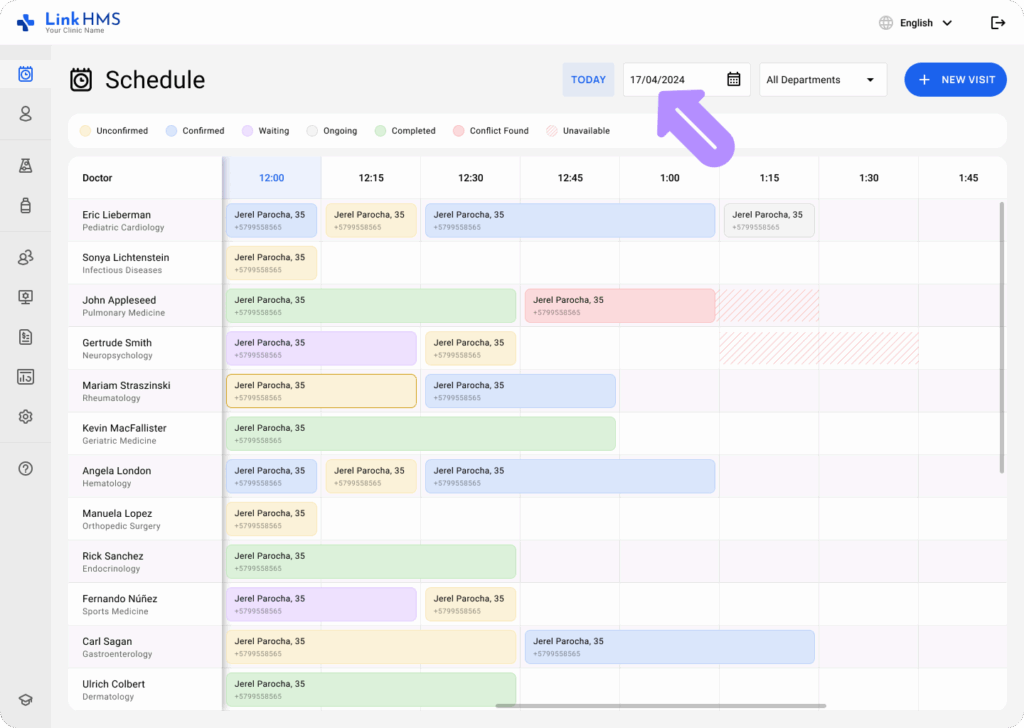
- Use the calendar dropdown on the upper right of the screen to select a specific date. The schedule will be updated to show the availability of doctors on that day.
Viewing Visits by Department
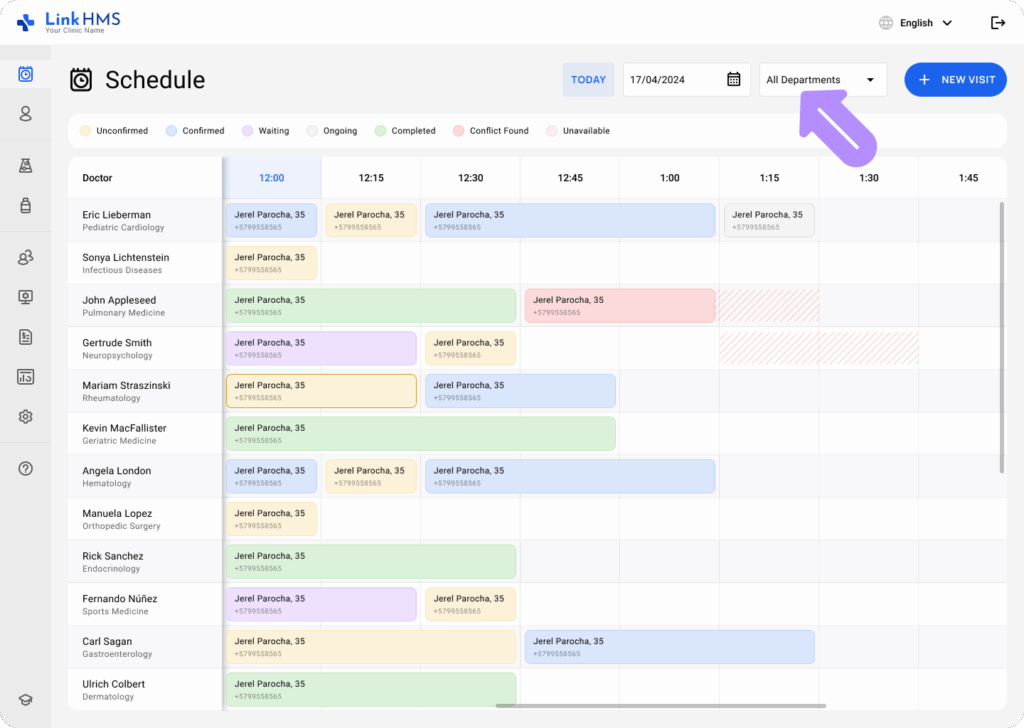
- Select a necessary department from the dropdown in the upper right corner. The schedule will then display the availability of doctors in that department.
Viewing the Schedule for the Required Doctor
- Click a specific doctor’s name in the left panel to open a detailed view of their schedule.
- Review all visits for the selected doctor on the specified date or time period and see available time slots for new appointments.
- If you need to schedule a patient’s appointment with the selected doctor, refer to the detailed guide on how to schedule visits with specific doctors.
Creating a New Visit
- Go to the top-right corner of the Schedule tab and click the + New Visit button.
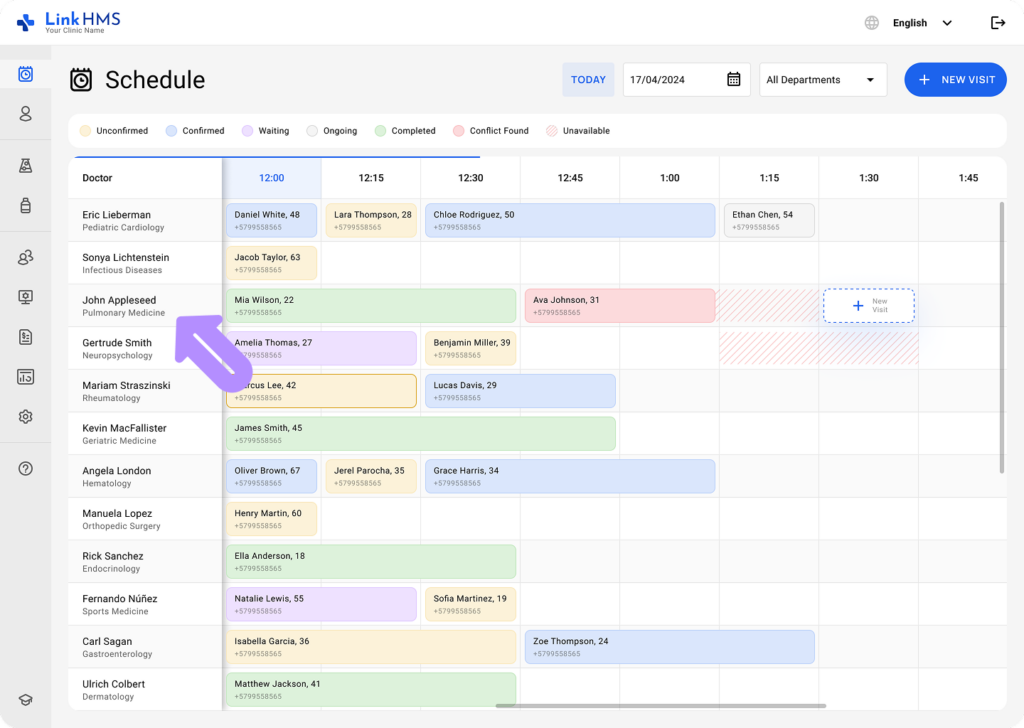
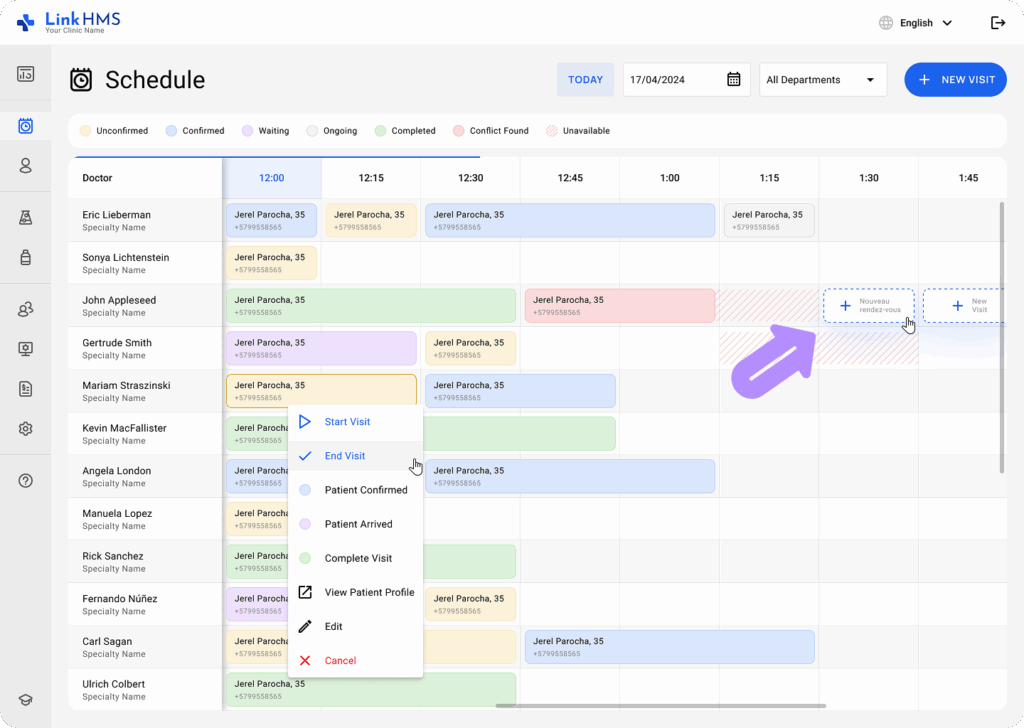
- Additionally, you can click on any available time slot in a doctor’s schedule, and the + New Visit button will appear to create a new appointment.
- Follow the required steps to complete the visit creation. For the full instructions, use the guide on how to create an outpatient visit.
Managing Visits
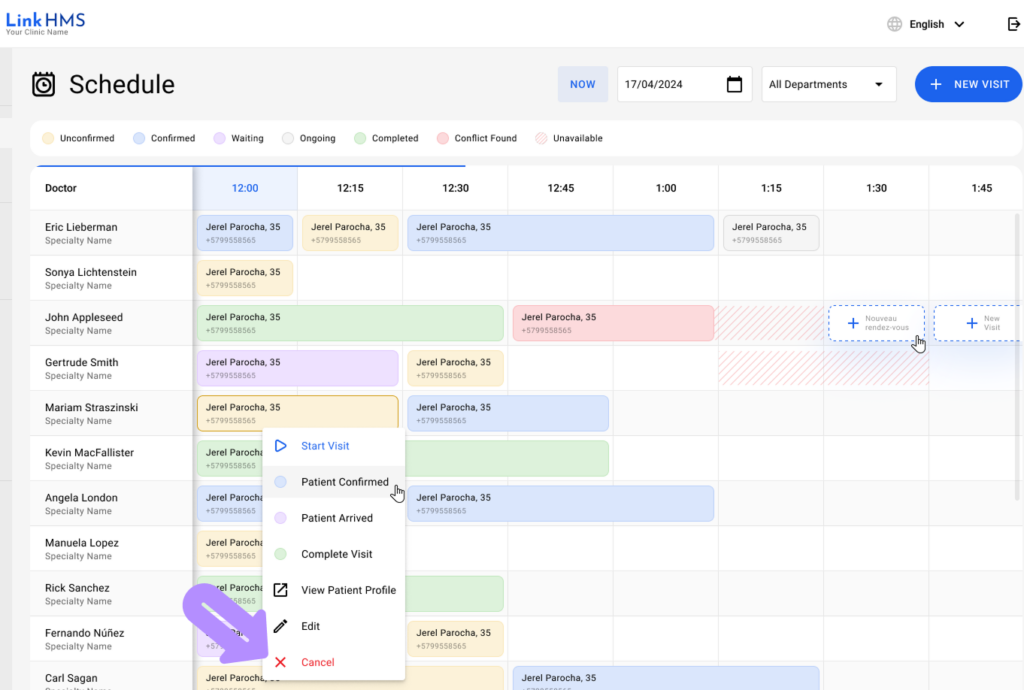
The calendar also includes the functionality to edit or cancel appointments, access patient profiles, and update the visit status as it progresses.
Editing the Visit Details
- If you need to update the visit details, click the necessary appointment and select Edit from the pop-up menu.
- Make necessary updates and click Update to apply changes.

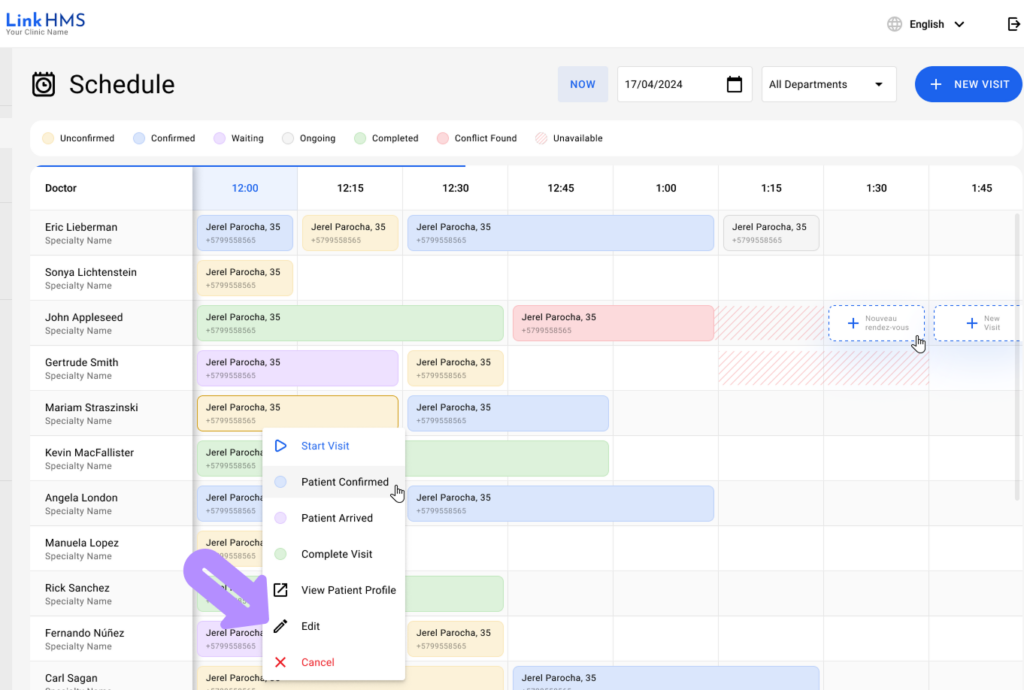
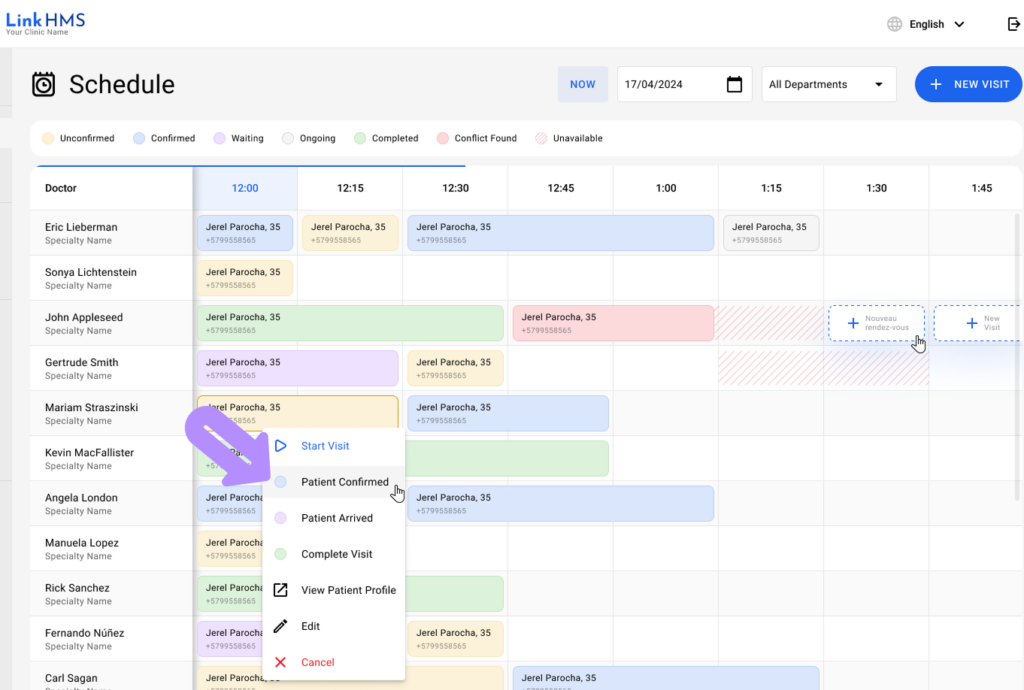
Updating the Visit Status
💡Notes
Visits are color-coded based on their status to provide a clear overview of the schedules for your medical practitioners.
- Click the scheduled visit to select the appropriate status from the pop-up menu.
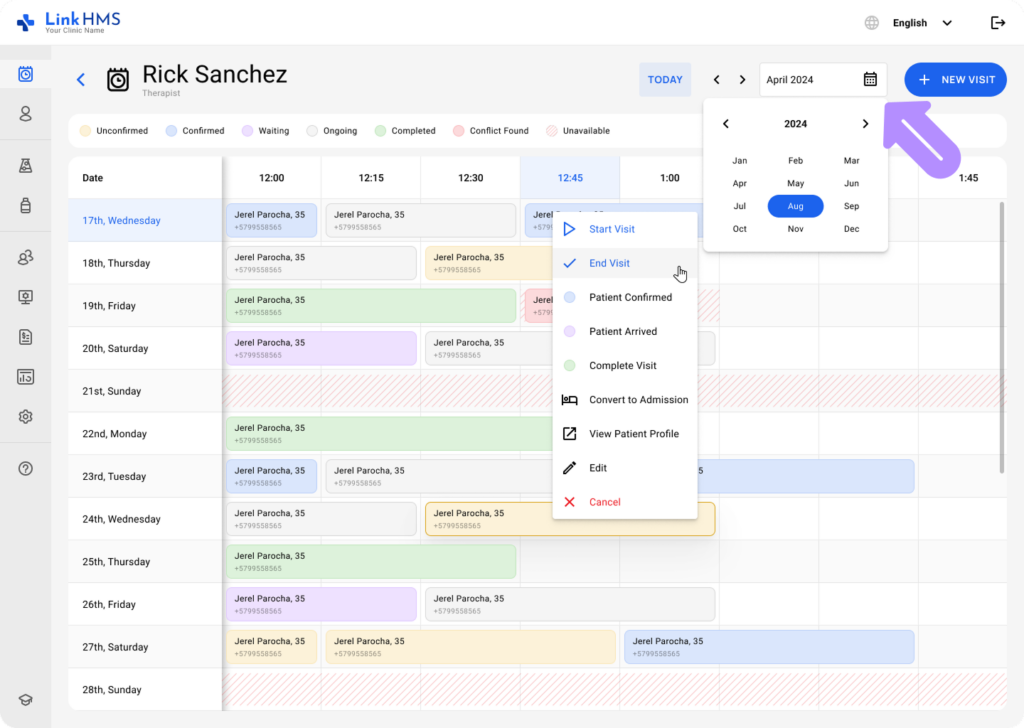
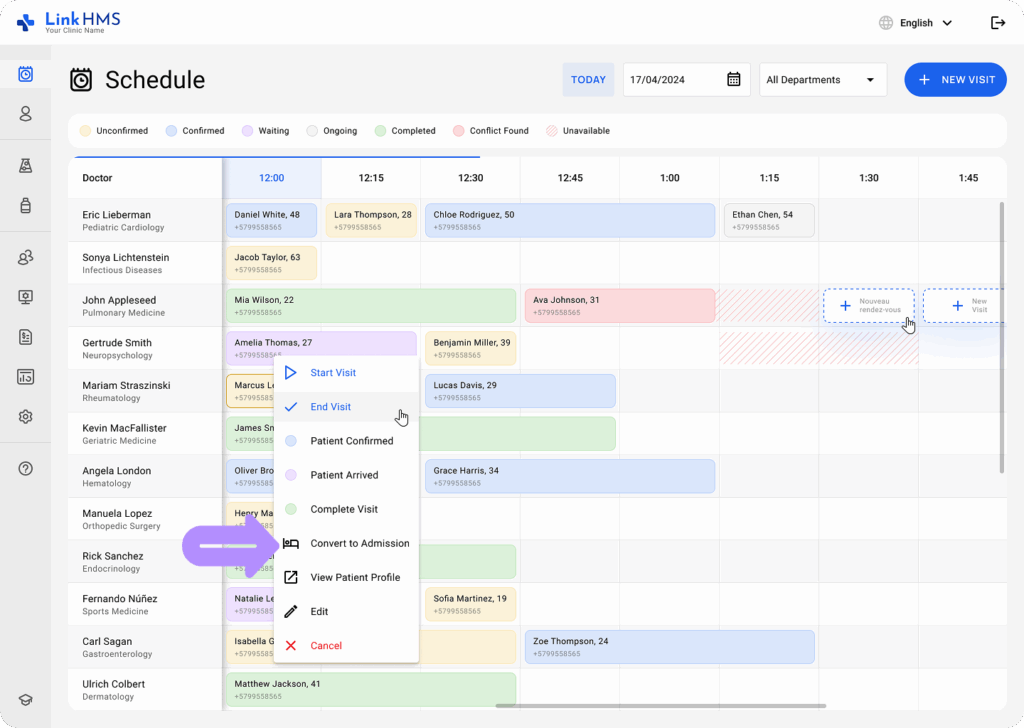
Converting the Visit to the Admission
💡Notes
If you already know the patient will need admission rather than outpatient care, you can convert the visit to an admission directly from the Schedule.
- Select the necessary visit and choose Convert to Admission from the pop-up menu.
- Click Proceed to confirm, as the visit record can’t be edited afterward.
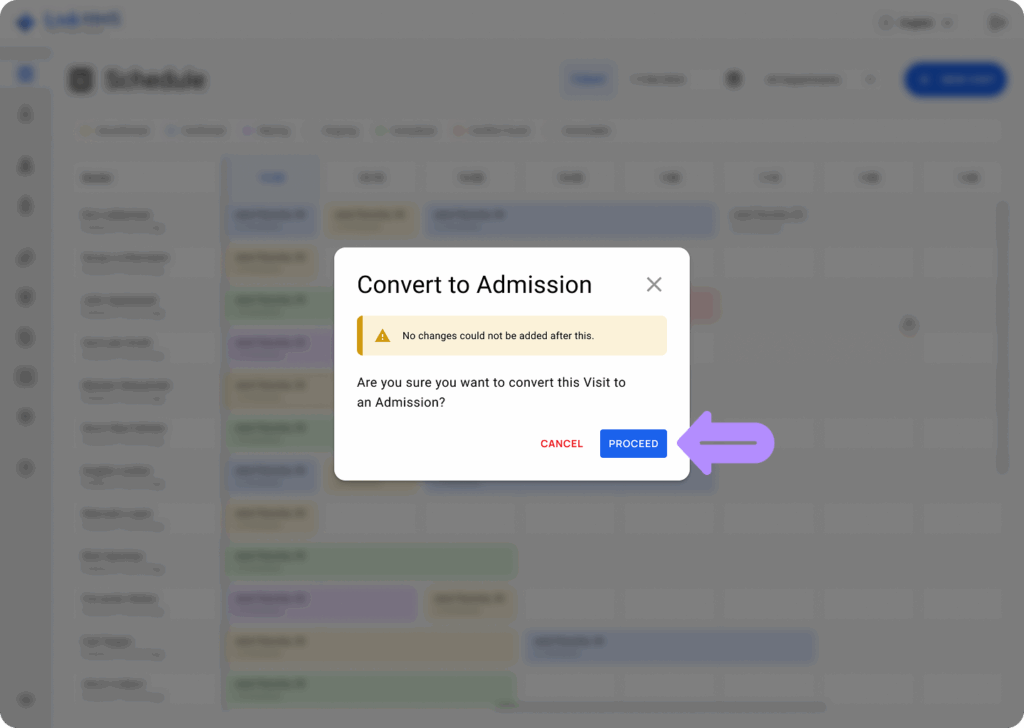
- The medical personnel can now continue the admission process and provide inpatient care. All information about the visit is brought into the admission for further treatment and documentation.
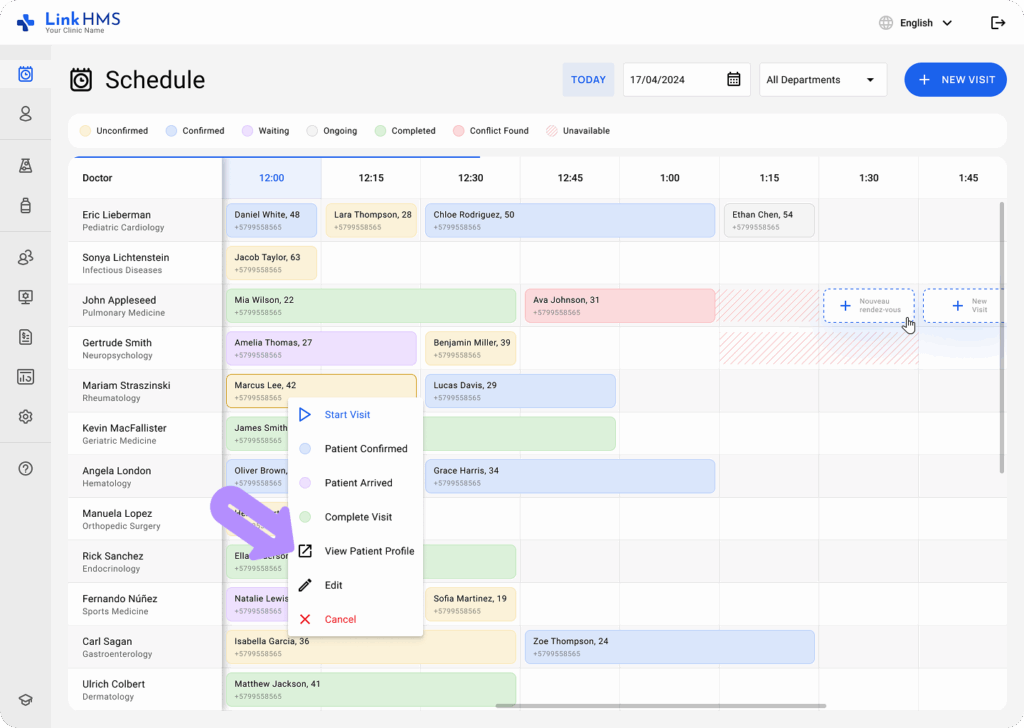
Viewing Patient Profile
- Open the visit pop-up menu and choose View Patient Profile to access the patient’s detailed health information.
Cancelling the Visit
- Click on the visit you want to cancel, then select Cancel in the pop-up menu.
- For additional details, check the guide on how to edit and cancel visits in the schedule tab.
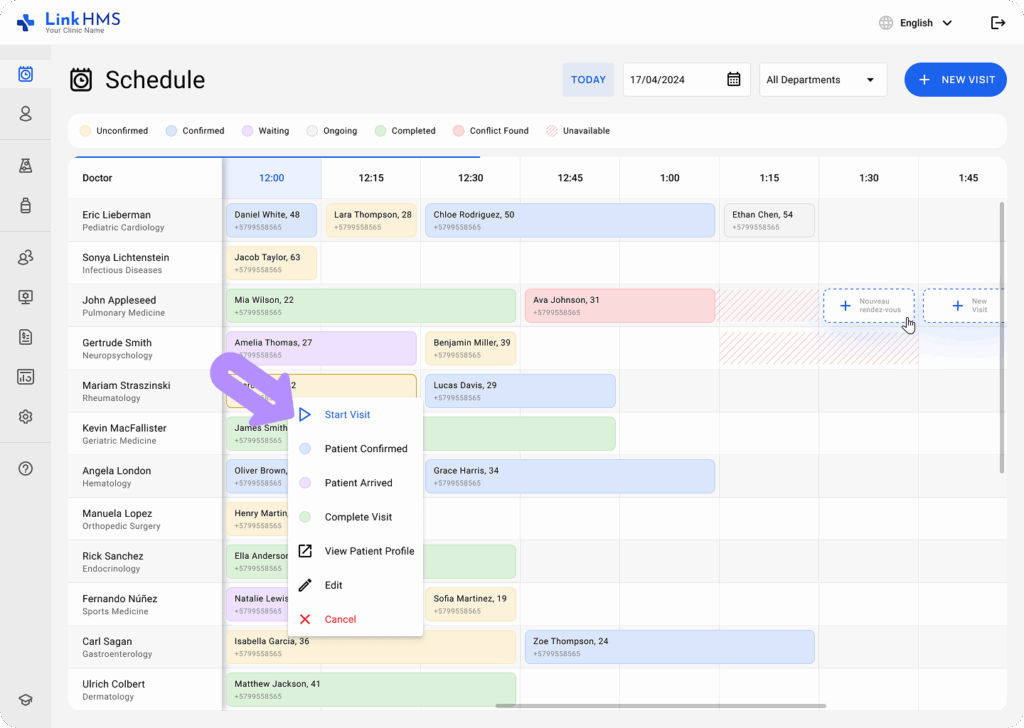
Starting and Ending Visits
- Start a visit directly from the Schedule tab by clicking the appointment and selecting Start Visit.
💡Notes
It allows the start of the visit by other clinic staff, such as receptionists, so that the doctor or nurse can retrieve it from the patient’s EMR to continue the visit.
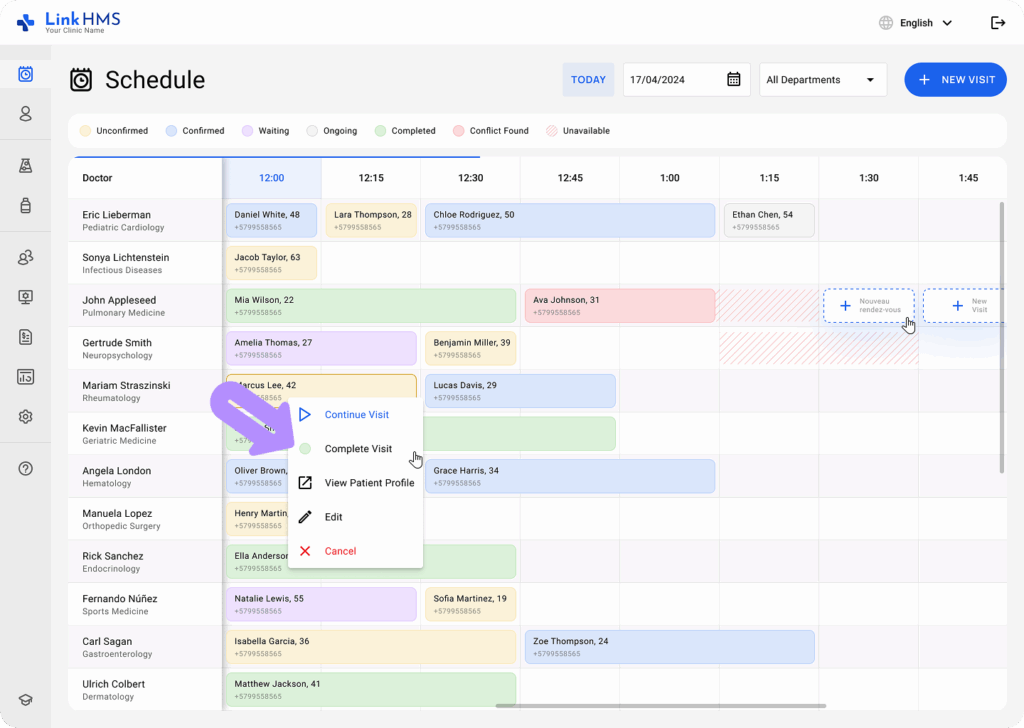
- Use the Continue Visit button to reopen and resume an ongoing visit that was previously started.

- Select the Complete Visit status to end the visit.
💡Notes
Once the visit is ended, it is marked as completed in the system, preventing any further edits by clinic staff.