💡Notes
When you add insurance details to the Patient profile, the patient is automatically assigned to the selected provider, and their insurance information becomes available during invoicing.
Insurance information is usually added when creating a new patient profile. If it is missing or needs updates, proceed with the following instructions.
Assigning the Patient to the Insurance Provider
You can attach an insurance provider to the patient’s profile in 3 main ways:
- When creating a new patient
- In the patient’s profile for existing patients
- When creating a new visit for the patient via the Calendar
You can specify the patient’s insurance provider during patient creation.
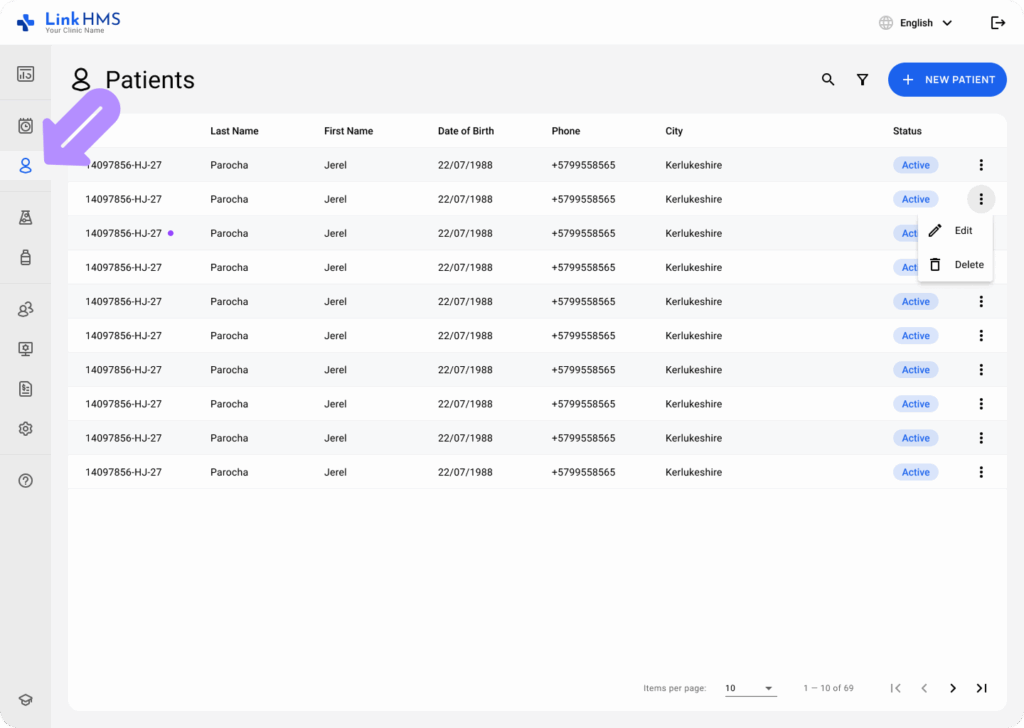
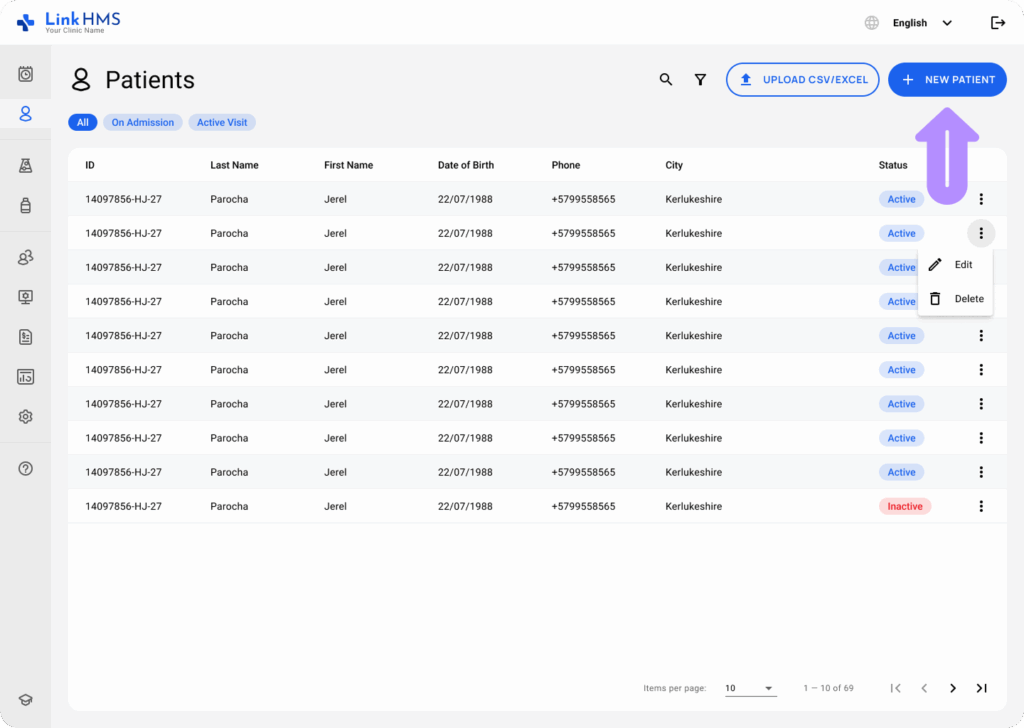
- Open the Patients tab from the left-side menu.
- Click the + New Patient button to add new patients.
- Fill in the required information about the new patient, including the insurance block.
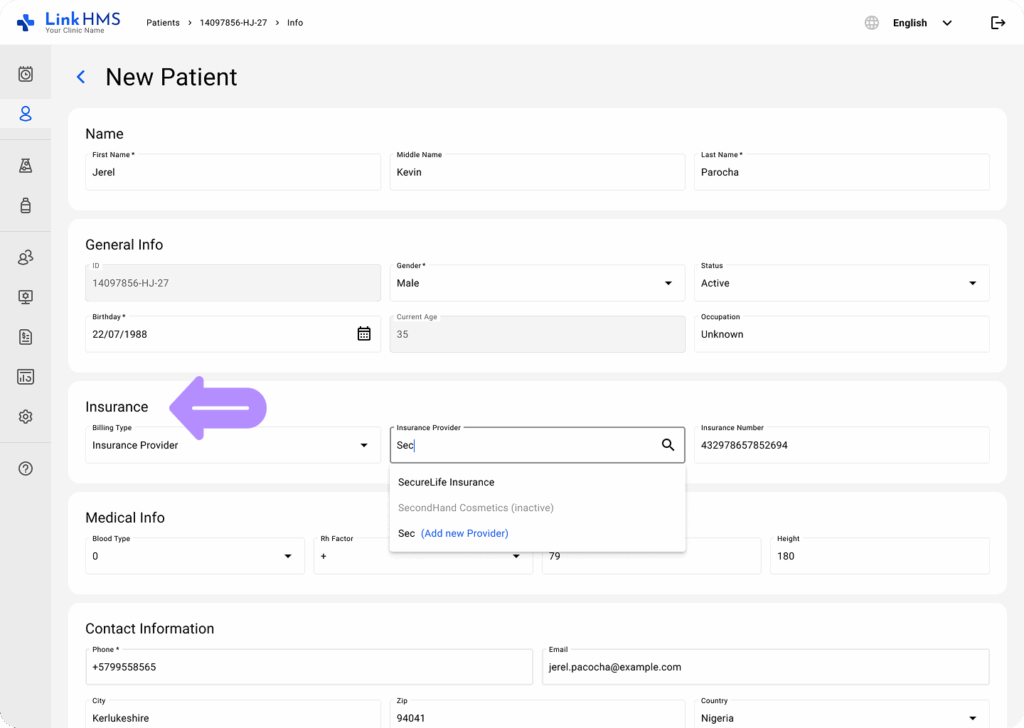
- Billing Type: Choose the Insurance Provider option from the dropdown menu (Other available options include Private and Other for different billing types)
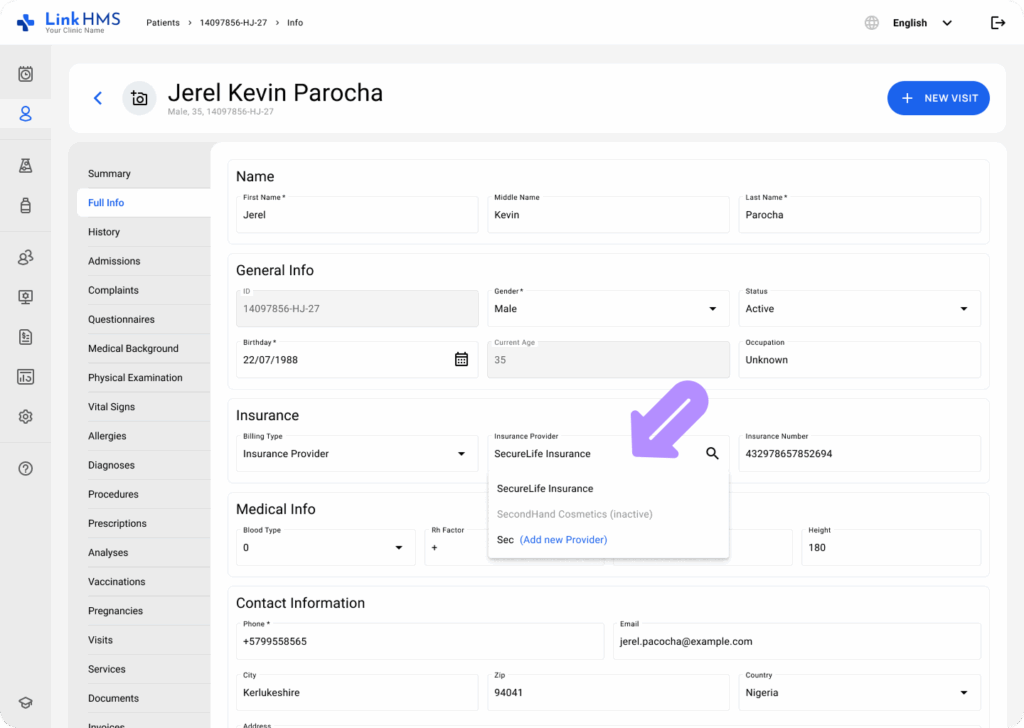
- Insurance Provider: Select the relevant provider from the dropdown menu. Clinic admins can also add a new provider if needed. Find the complete guide on creating and editing insurance providers.
- Insurance Number: Specify the valid insurance number.
- Once the patient information is filled in, click the Save button.

Here is how to add an insurance provider to the existing patient profile.
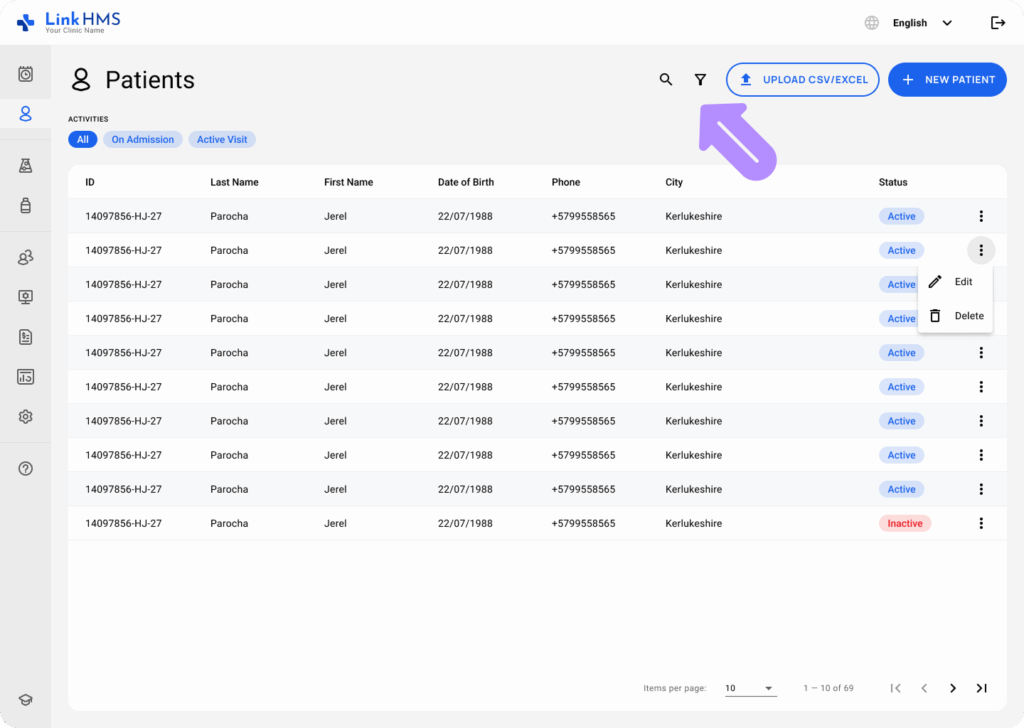
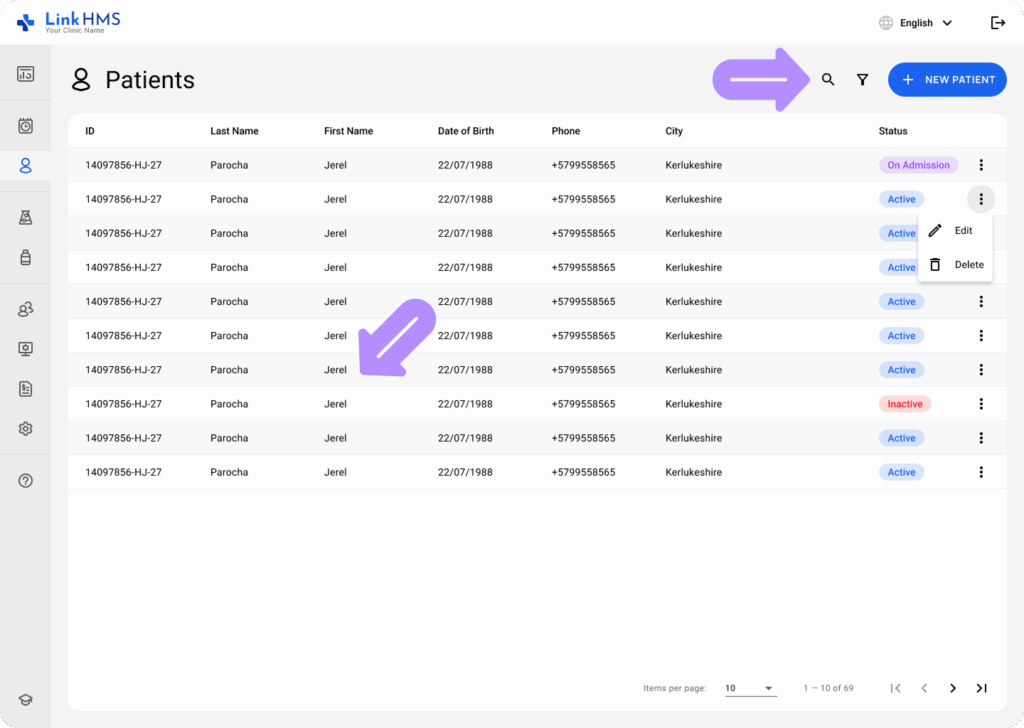
- Find the required patient in the Patients tab and click to open their profile. If necessary, use the search bar or apply filters to refine the results.
- Navigate to the Full Info tab.
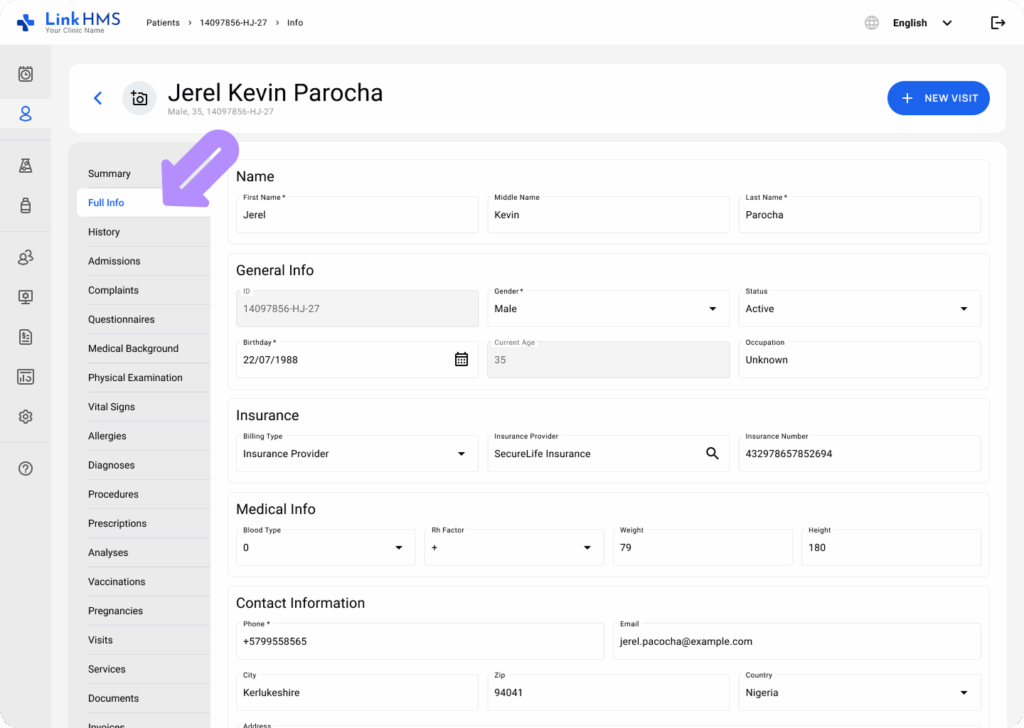
- Locate the Insurance block and complete or update the patient’s insurance information in the following fields: Billing Type, Insurance Provider, and Insurance Number.
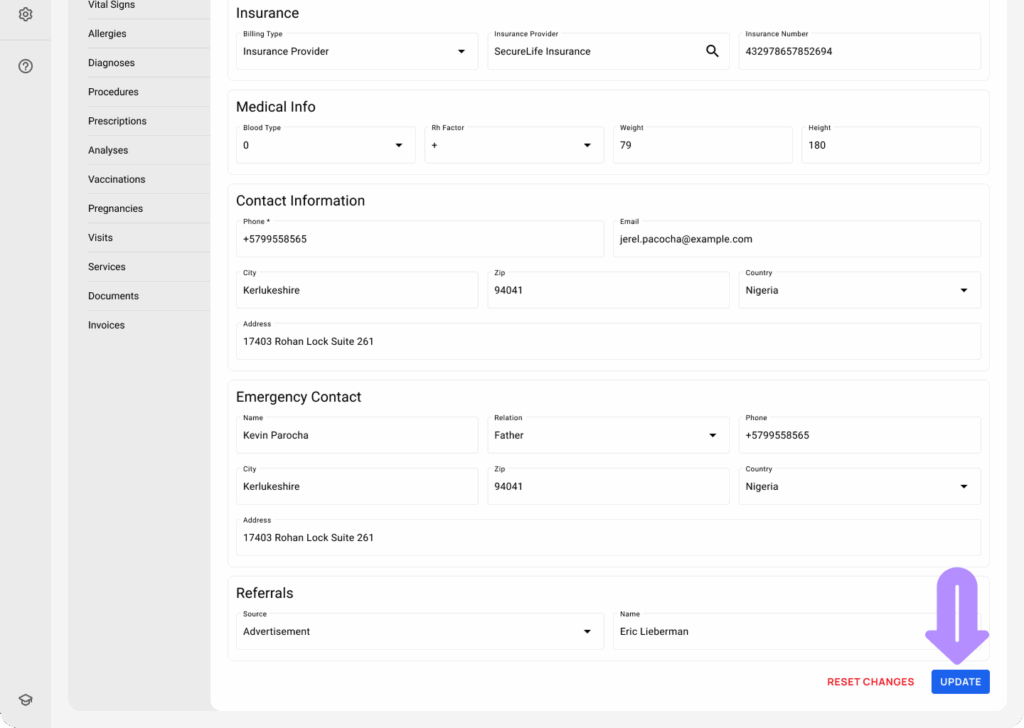
- Once all the required insurance information is entered, click the Update button to apply the changes to the Patient profile.
Also, you can assign the patient to a specific insurer when creating a new visit via the Calendar.
- From the Schedule tab, select the + New Visit button to start a new visit.
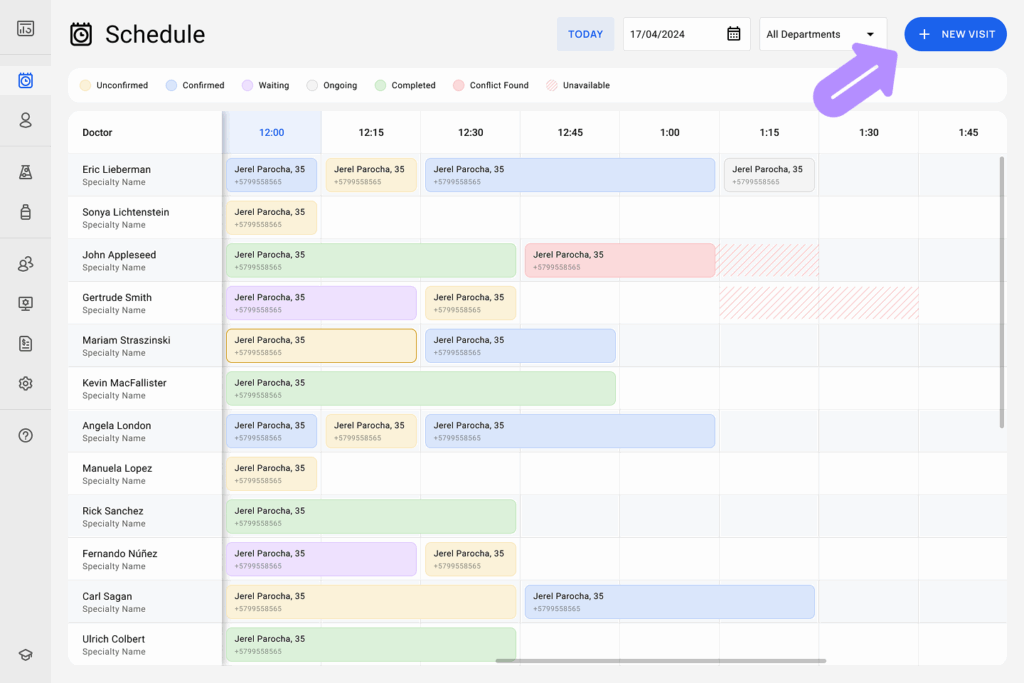
- You can open an available time slot in the doctor’s schedule and click + New Visit.
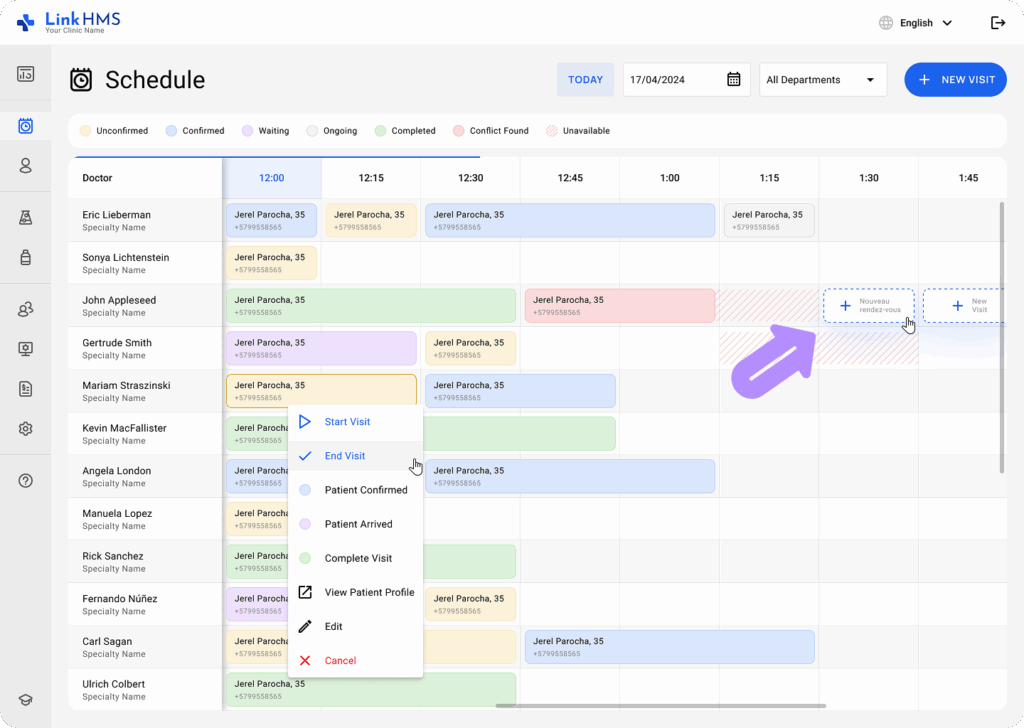
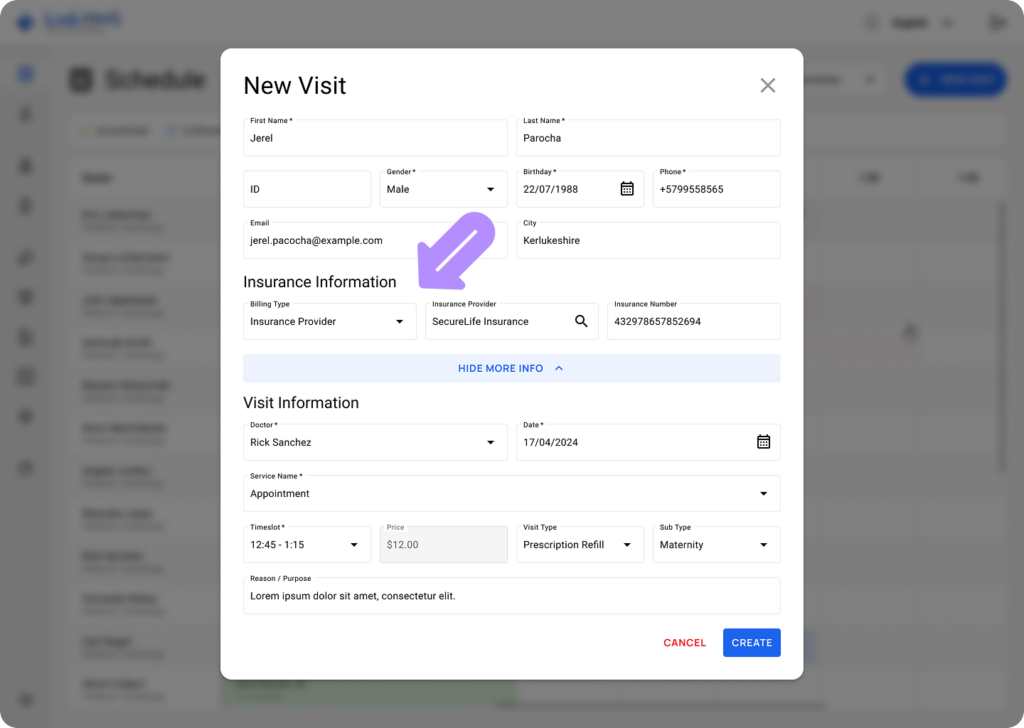
- Select the Outpatient Visit option.

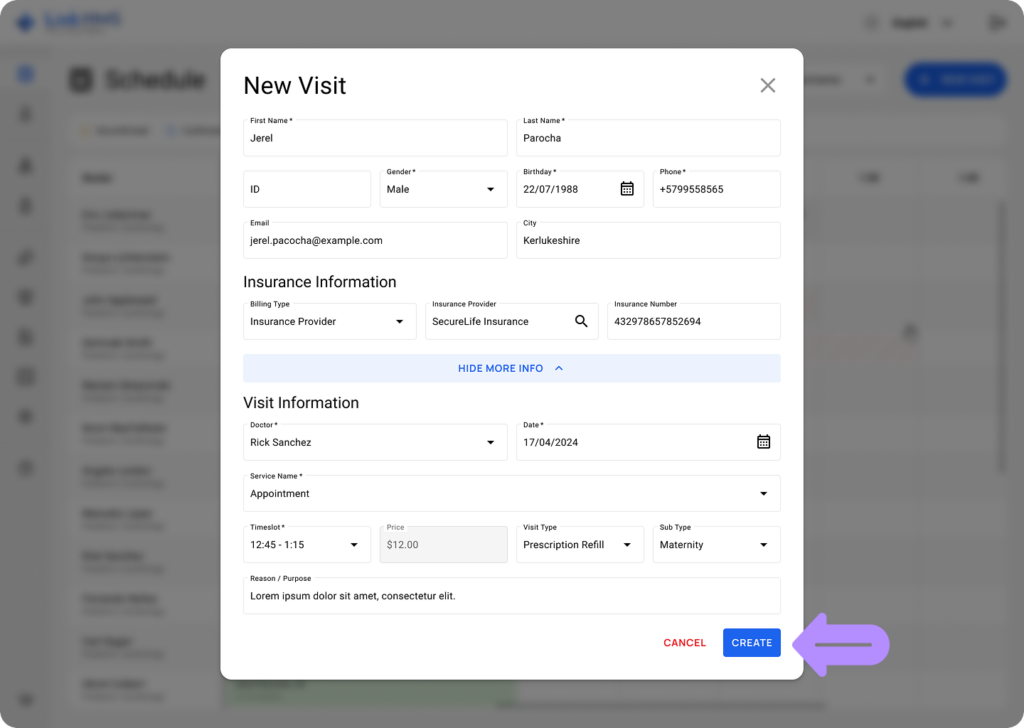
- Provide the necessary details for the appointment, including insurance information like Billing Type, Insurance Provider, and Insurance Number.
- Once the visit details are filled, click the Create button.
Viewing Patients Assigned to the Specific Insurance Provider
- The patient is automatically assigned to the chosen provider and appears in the provider’s patient list. Navigate to the Insurance Providers tab in the Administration module.
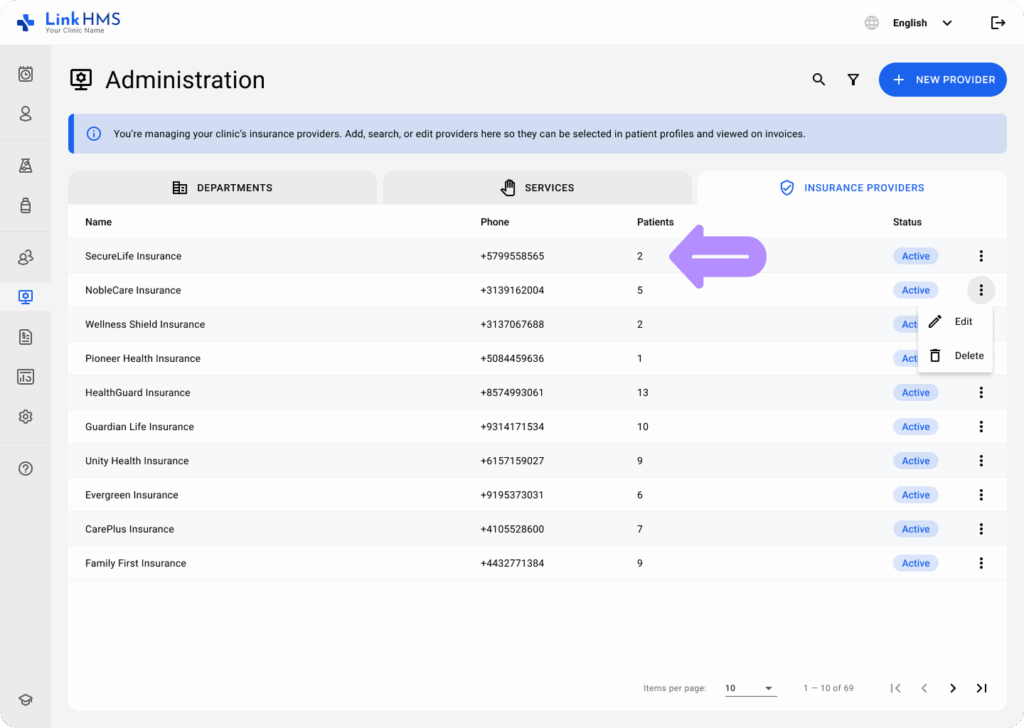
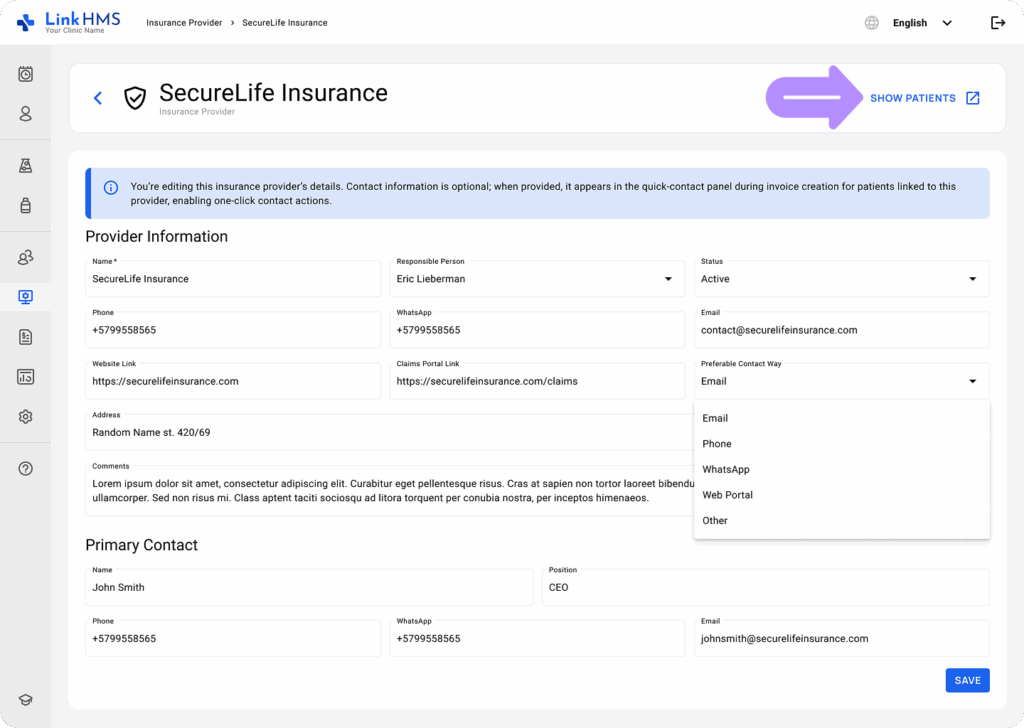
- Open the required provider, then click the Show Patients link to view the patients assigned to this provider.
- Alternatively, use the insurance filters in the Patients tab to display only patients associated with specific insurance providers.