Use the guide to support more personalized records and improve identification with patients’ photos in your clinic.
Adding Patient’s Photo
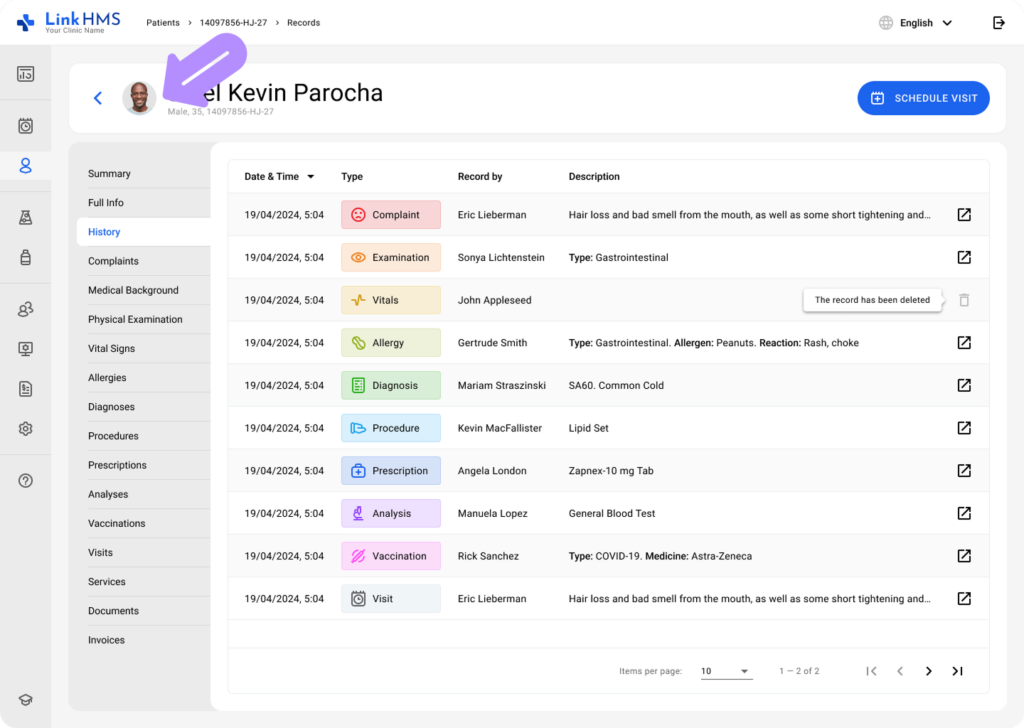
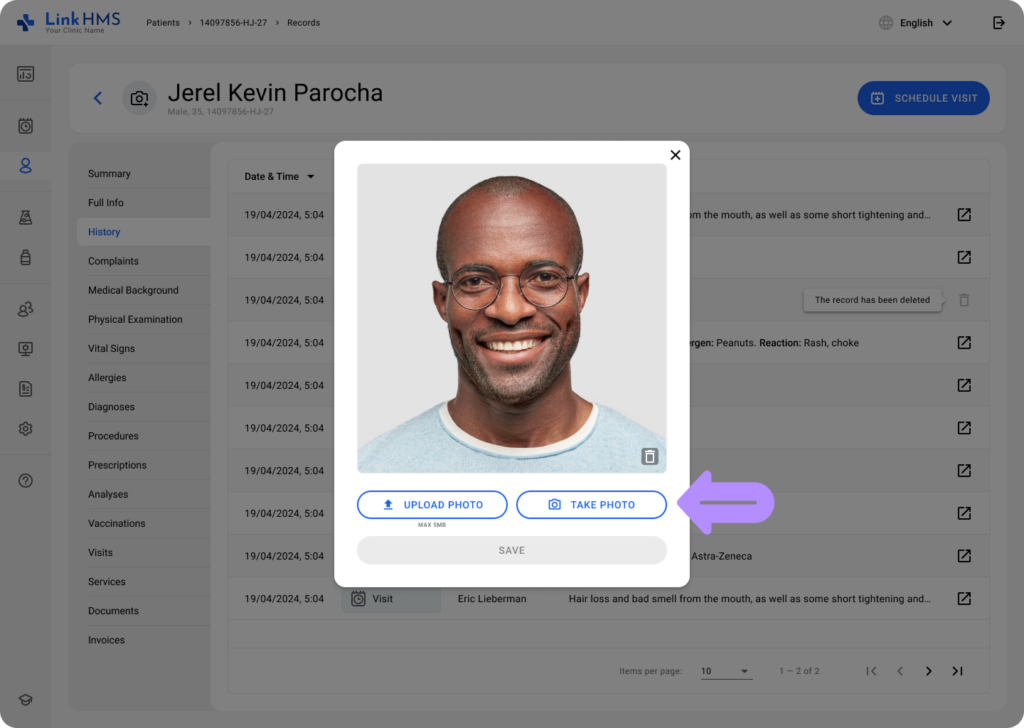
- Navigate to the Patient tab and click the Camera icon in the upper-left corner of the screen to add the photo.
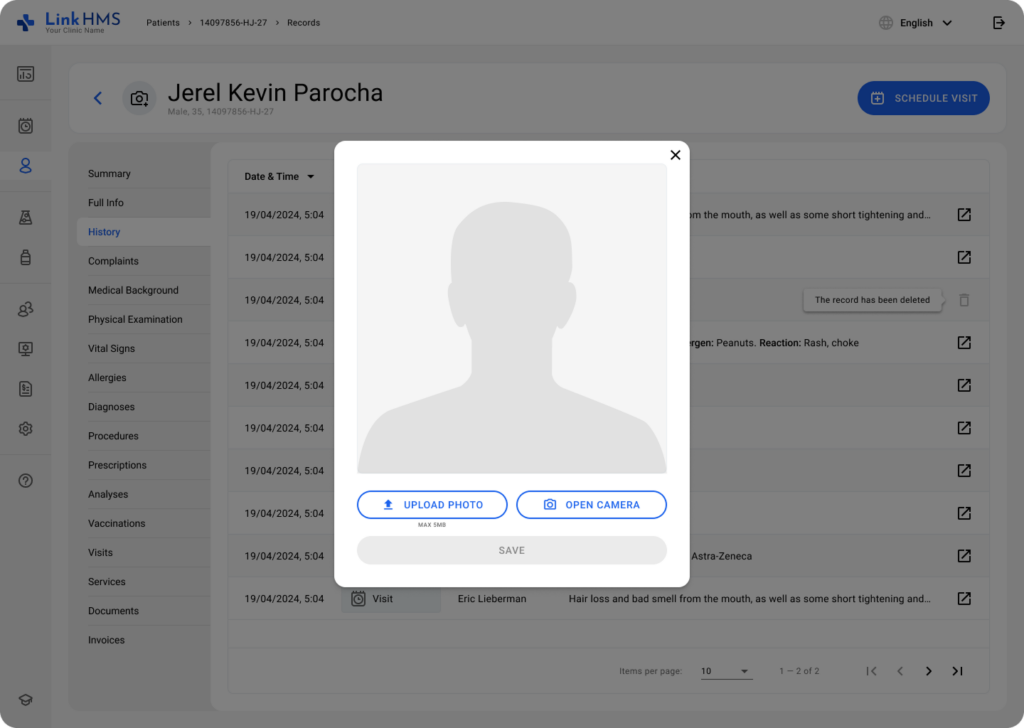
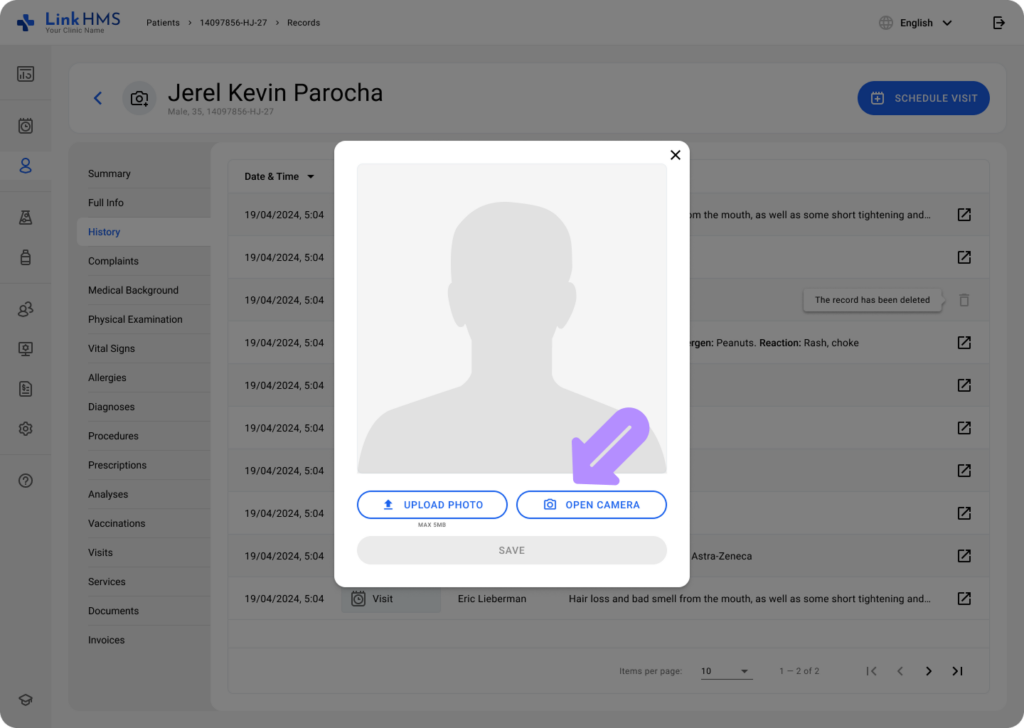
- A pop-up window appears where you can either Upload Photo or Open Camera to take an image.
Uploading the Photo
- Click Upload Photo to add to the patient’s photo
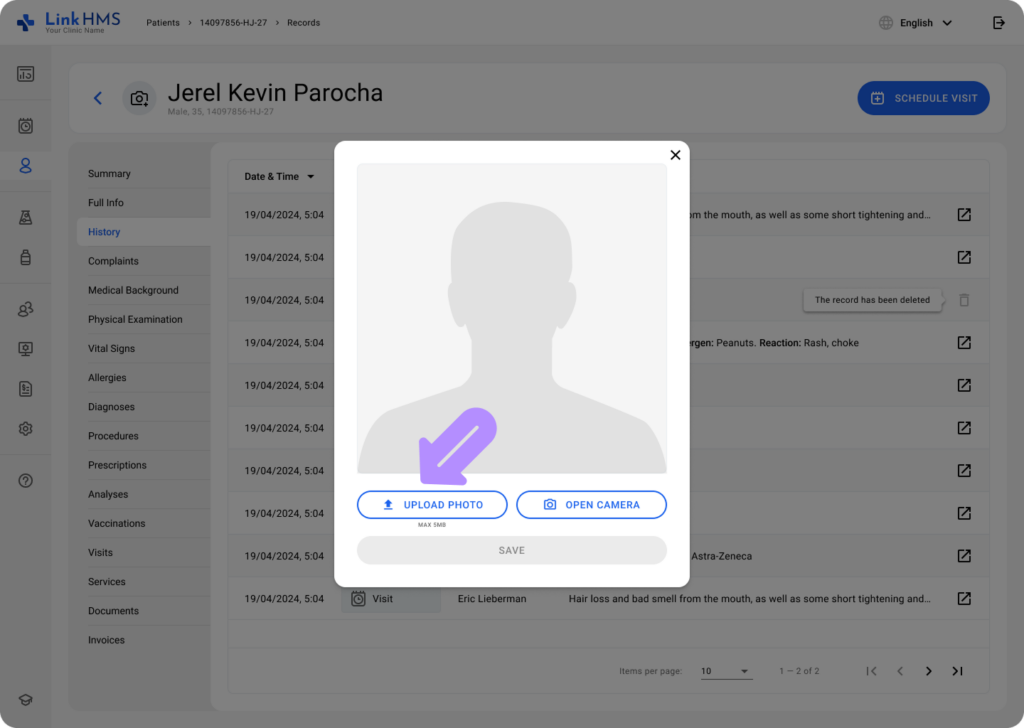
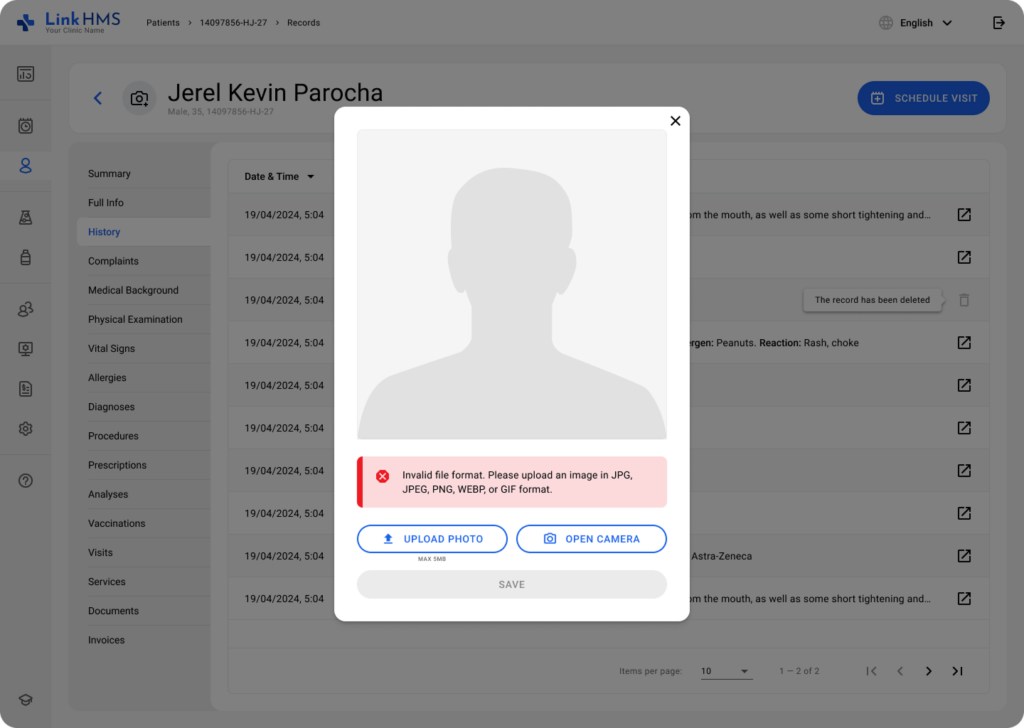
- Select an image from your computer to upload. The uploaded file must follow the supported formats and size limitations.
- Formats: JPG, JPEG, PNG, WEBP, or GIF.
- Size: max 5 MB
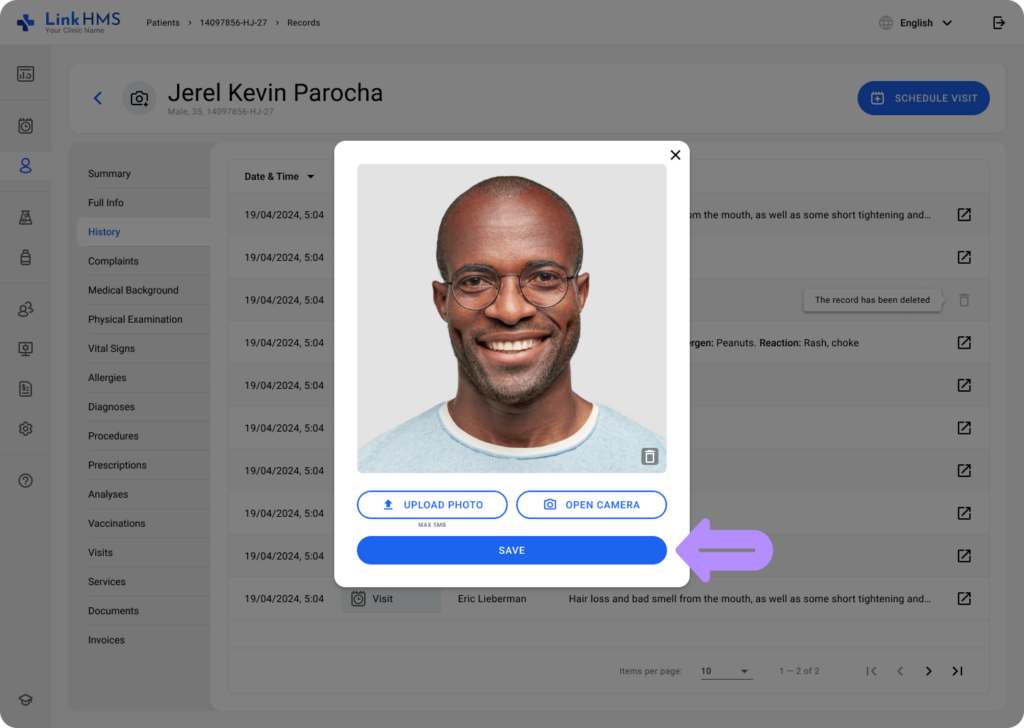
- Once uploaded, click the Save button.
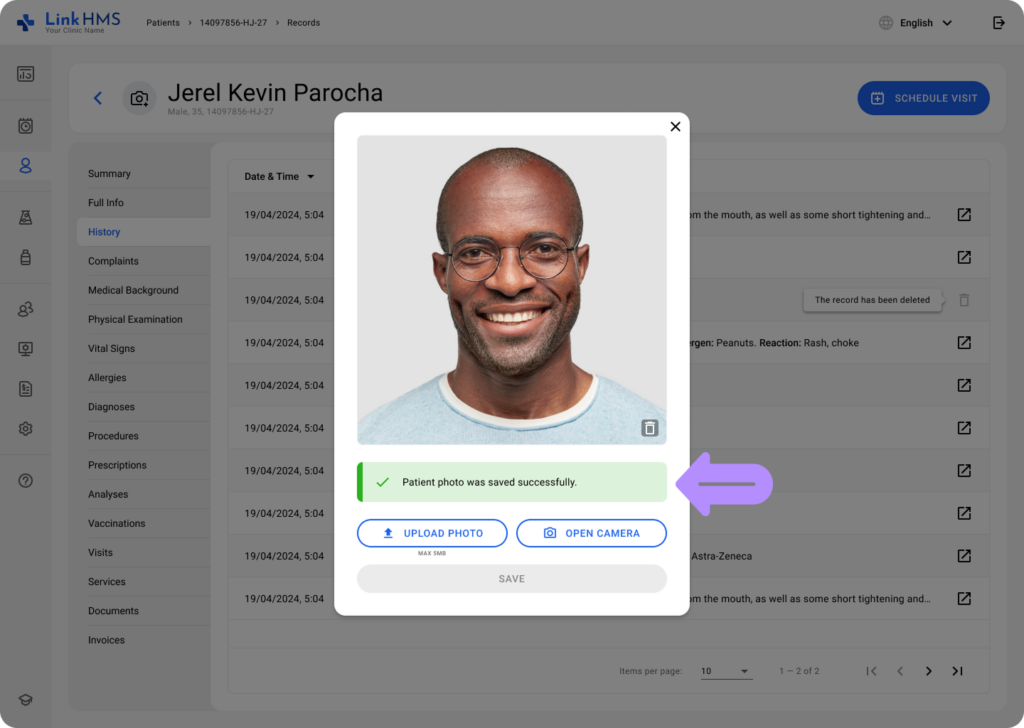
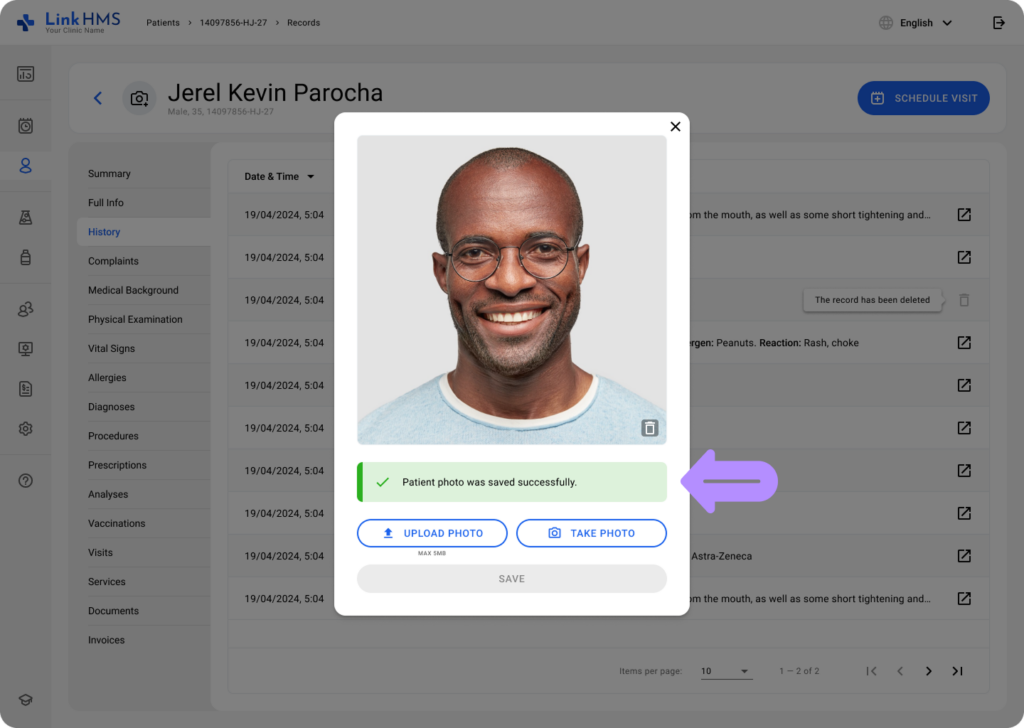
- Receive a message confirming that the photo was uploaded successfully.
Opening the Camera
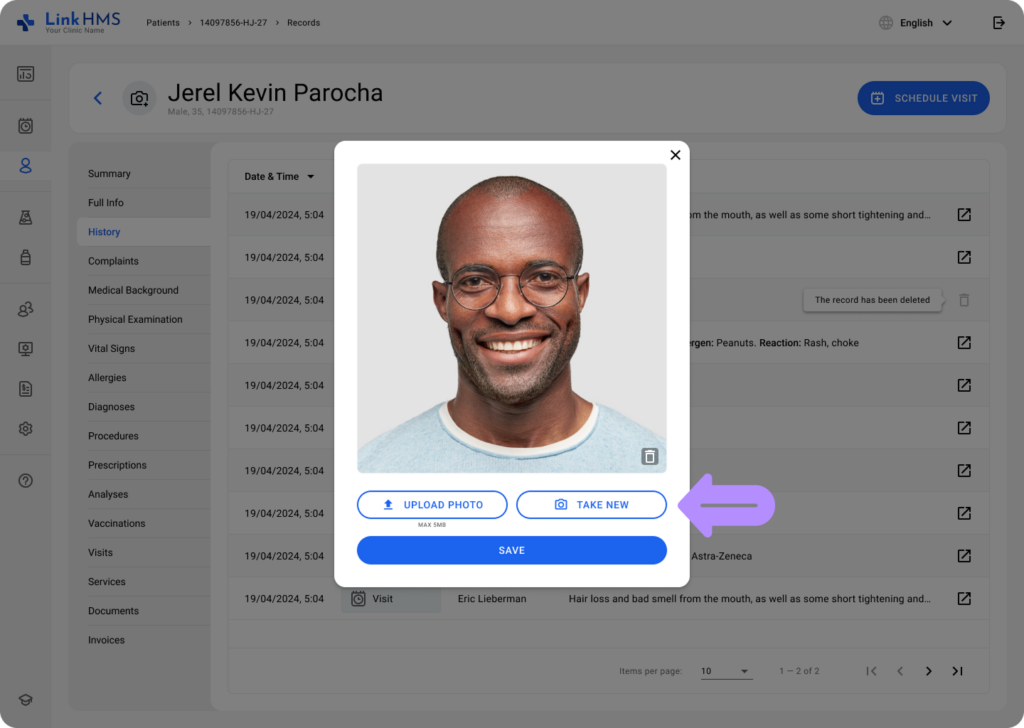
- Click Open Camera to take the image.
- Take a photo using your device’s camera:
- Click Allow to grant camera access in the pop-up near your browser’s address bar requesting permission.
- Position the device so the patient’s face is clearly visible in the live camera preview.
- Click the Take Photo button below the preview to take an image.
- Review the photo: Use Take New if you’re not satisfied with the photo.
💡Notes:
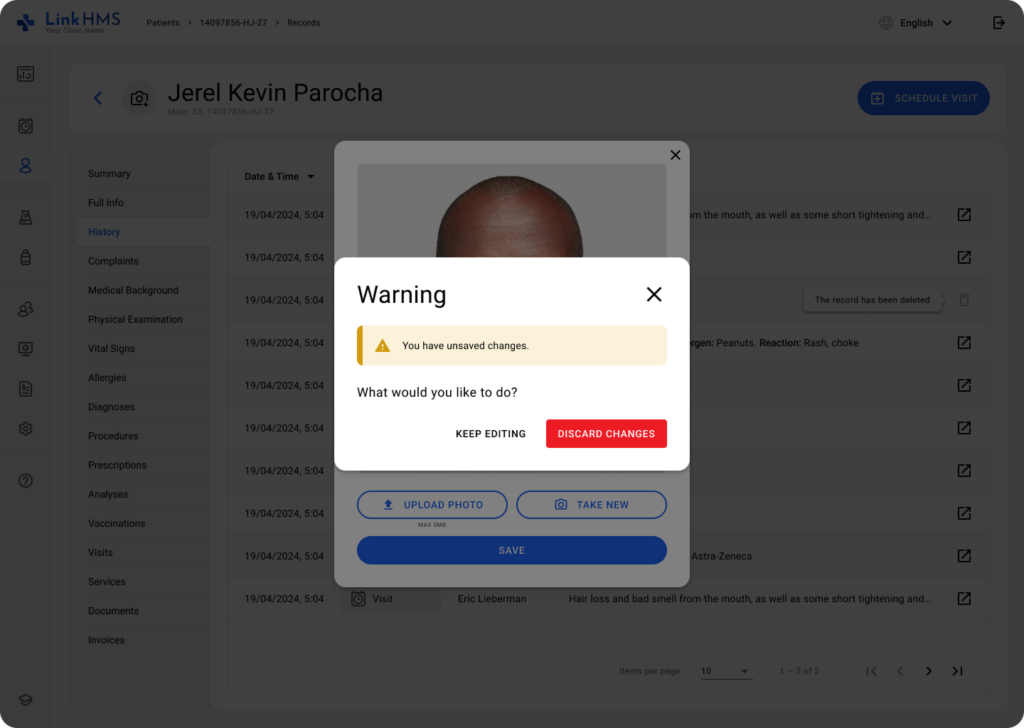
- If you have unsaved changes, you either choose to discard changes or keep editing.
- Click Save to proceed.

- A message appears to confirm that the patient’s photo was saved successfully.
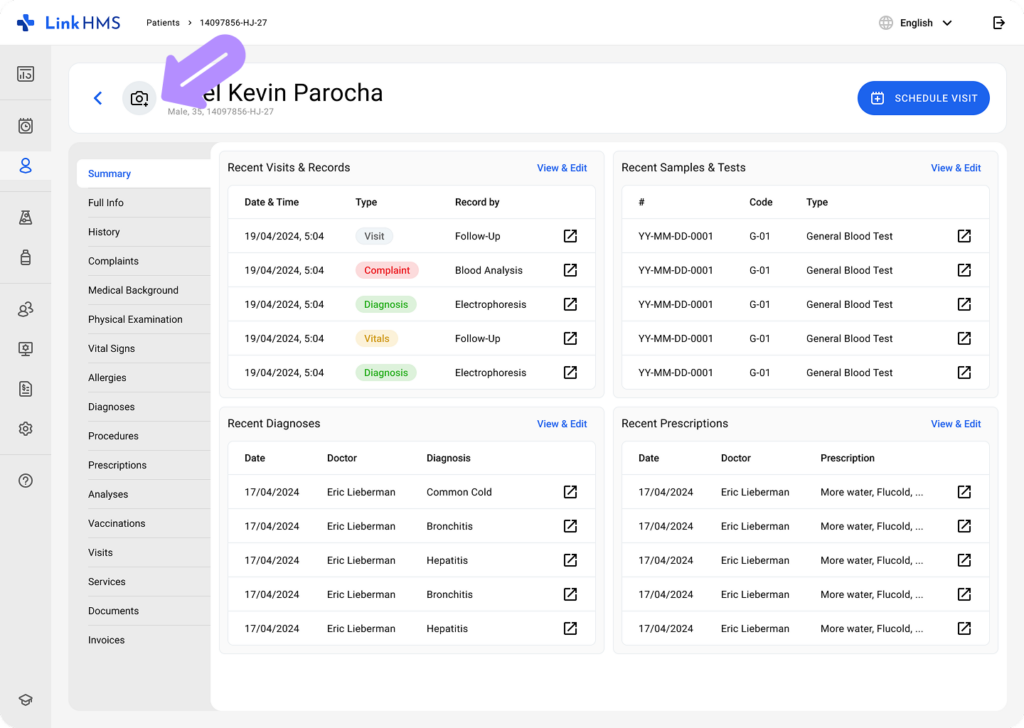
Viewing Patient’s Records
- Access the patient’s records completed with their photo.