You can create a new pregnancy record when:
- The patient’s gender is set to Female or Other.
- The patient has no ongoing pregnancy.
- Your role has permission to create pregnancy records. The Admin, Doctor, Nurse, and Individual Practitioner can add the pregnancy.
💡Notes
If the patient already has an ongoing pregnancy, the Add Pregnancy button is not activated. There is no option to add a second pregnancy. In that case, you add records inside the existing pregnancy record.
Adding a New Pregnancy
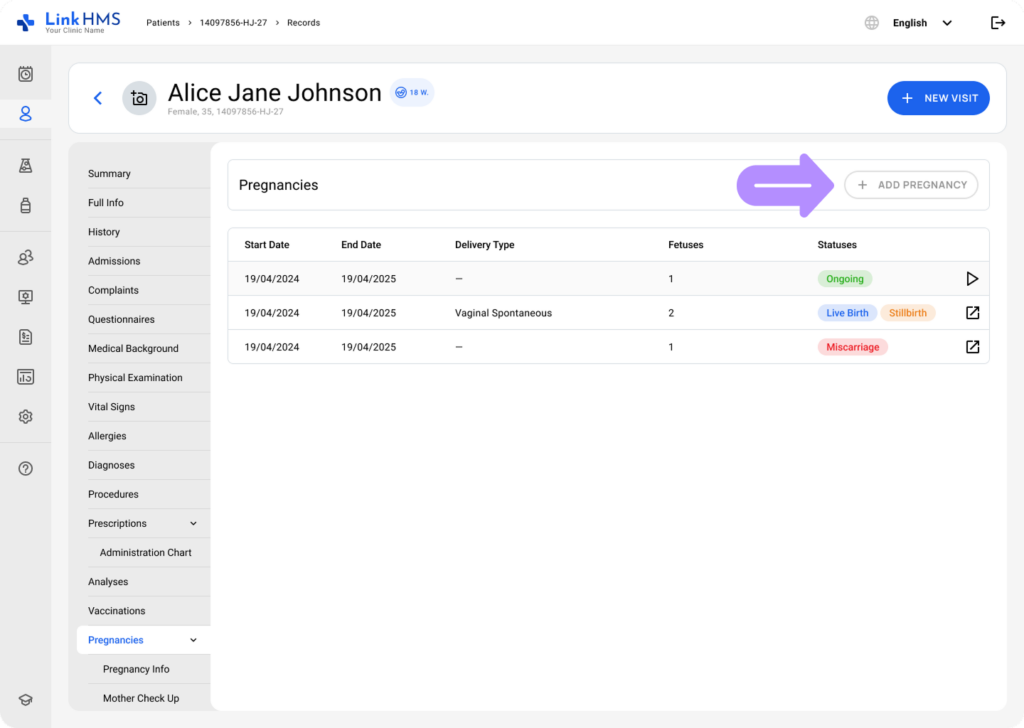
- Go to the Pregnancies tab.
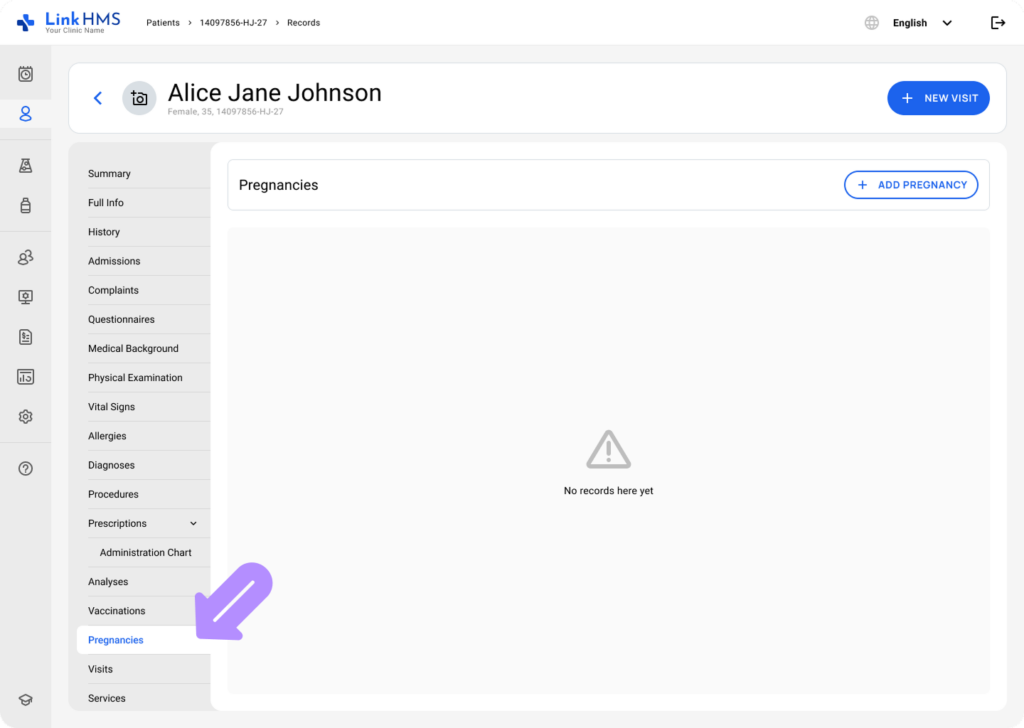
- If no previous pregnancies are recorded, the tab appears empty with the + Add Pregnancy button.
![]()
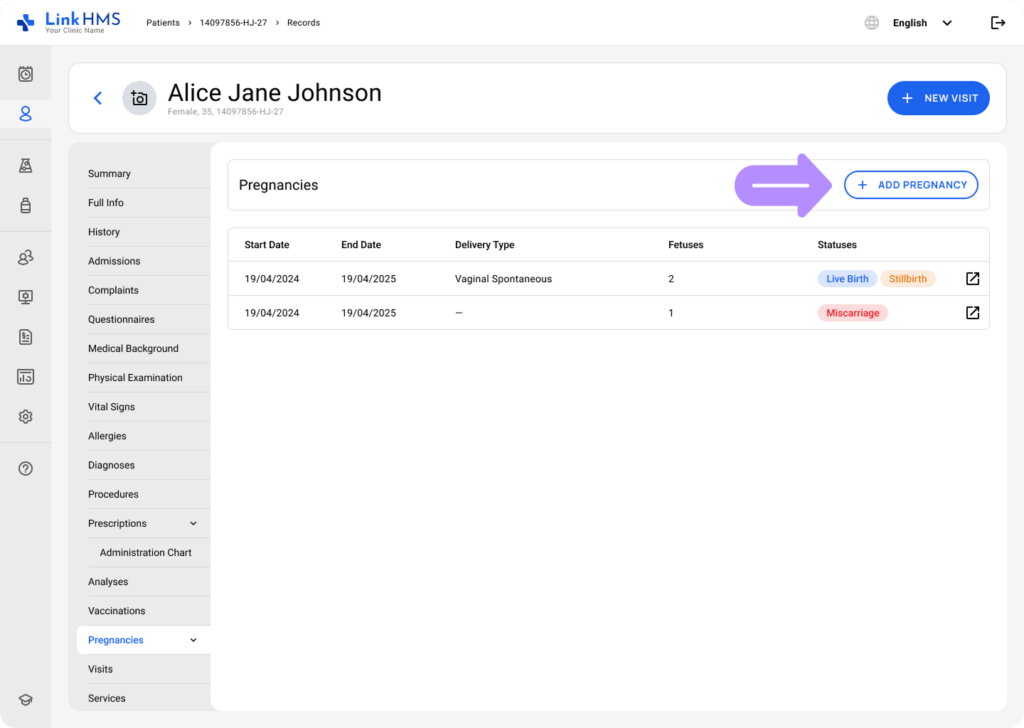
- If the patient had previous pregnancies, but none are active. You also see the pregnancy history table and can start a new record using + Add Pregnancy.
- Click the + Add Pregnancy button to add the new record.
- A pop-up window opens with pregnancy creation fields.
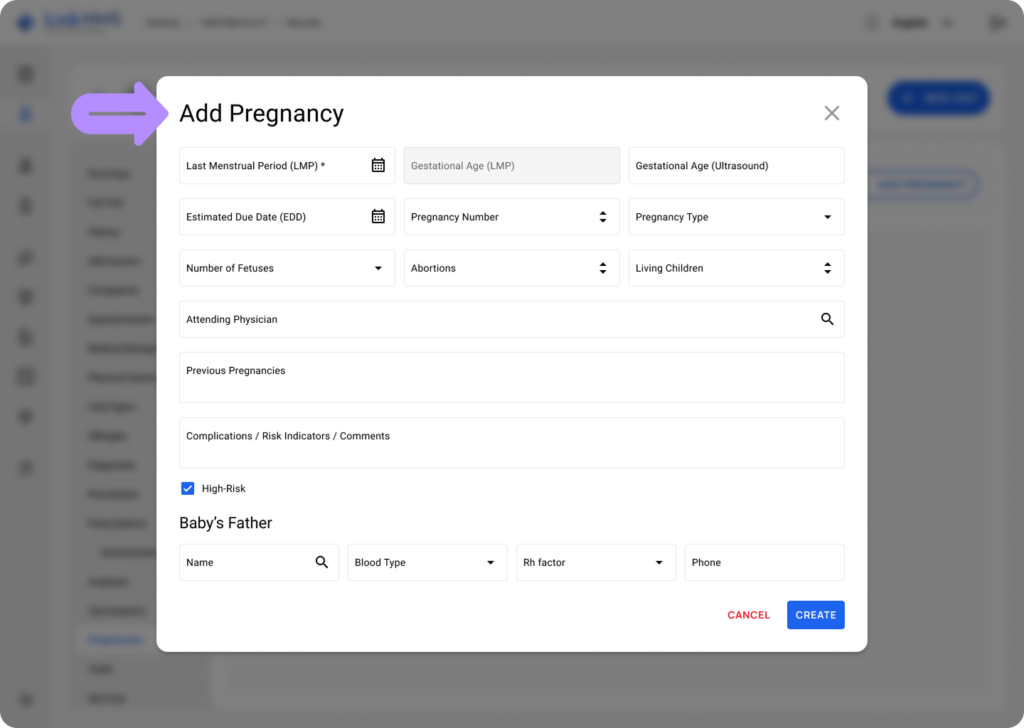
- Enter the required information and any additional details you have available.
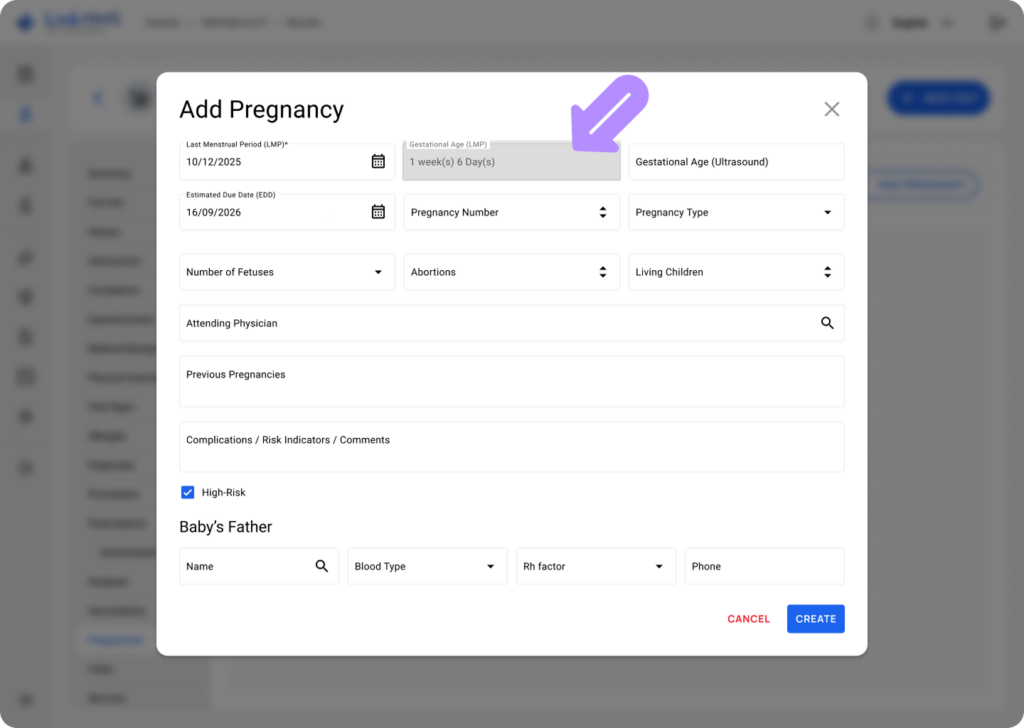
Required field – Last Menstrual Period (LMP)
Last Menstrual Period (LMP) is a mandatory field because it anchors the pregnancy timeline and is used to calculate gestational age and the due date.
- Enter the date of the last menstrual period using a date picker.
- Future dates are not allowed.
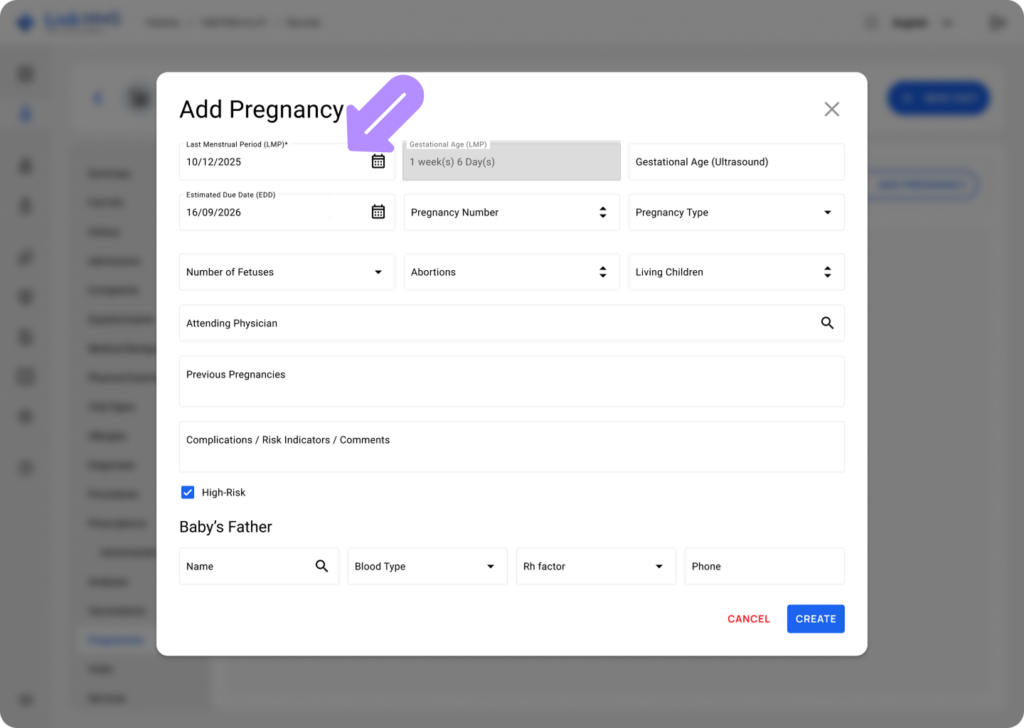
- Once added, LMP is used to calculate Gestational Age (LMP) and Estimated Due Date (EDD). These fields are filled automatically by the system based on the entered LMP.
💡Notes
If the LMP was entered incorrectly, it can be updated later from the Pregnancy Info subtab.
Optional fields
You can fill in other fields in immediately or return to update them later in the Pregnancy Info subtab.
- Gestational Age (Ultrasound) – Specify the gestational age based on ultrasound findings.
- Pregnancy Number – Select a number from the picker.
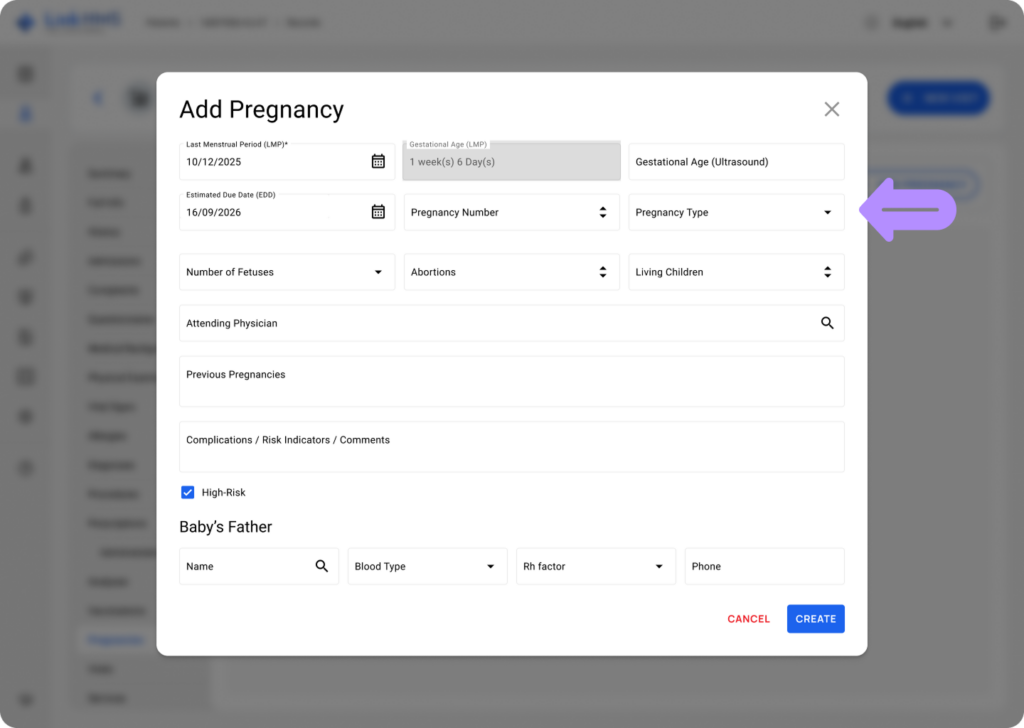
- Pregnancy Type – Choose the relevant options from the dropdown (Natural conception, With fertility medication, IVF / ICSI, Insemination (IUI), Donor egg or sperm, Other / Prefer not to say)
- Number of Fetuses – Specify the number (The Number of Fetuses value must be less than 11).
- Abortions – Select the number.
- Living Children – Choose the number that applies.
- Attending Physician – Start typing the name to search for and select the patient’s physician.
- Previous Pregnancies – Add any text notes (for example, live birth, miscarriage, stillbirth, termination, etc.)
- Complications / Risk Indicators / Comments – Use this field to note regarding complications, risk indicators, or comments.
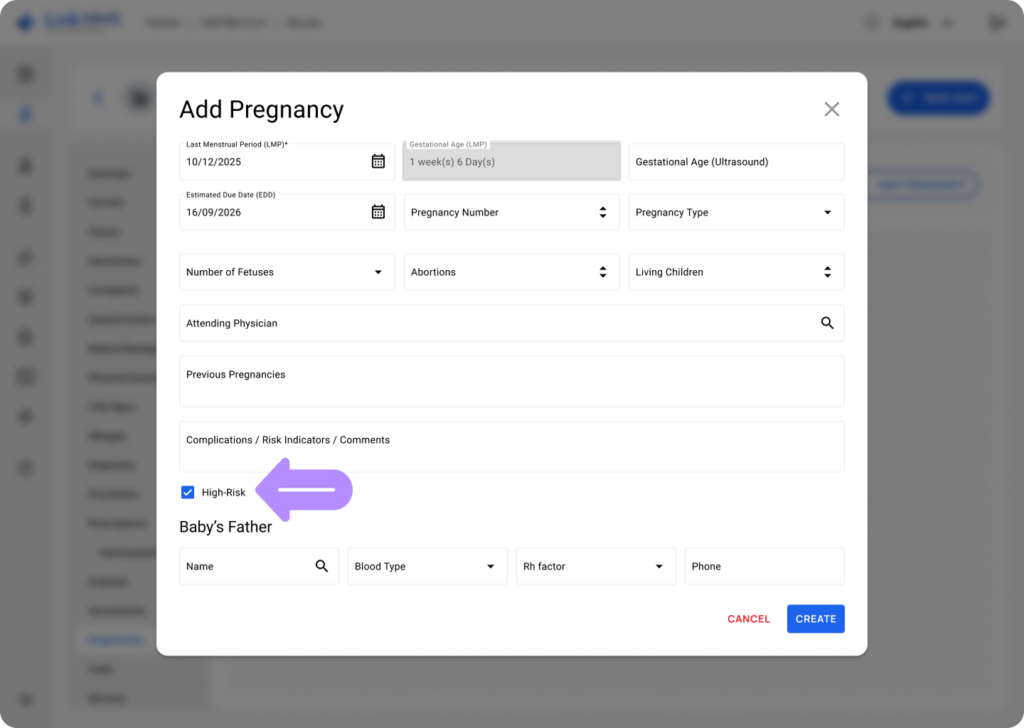
- High-Risk – Check this box to indicate a high-risk pregnancy. It is unselected by default.
Baby’s Father Details (optional)
- Name – Enter the father’s name, or search the patient list if the father is linked to an existing patient in the system. Details such as Blood Type, Rh Factor, and Phone are extracted automatically and shown as non-editable in this section. They update if the father’s patient record is updated.

If the father is not linked to an existing patient in the system, enter the following fields:
- Blood Type – Select the blood type from the dropdown options. (A, B, AB, O, Unknown)
- Rh Factor – Specify the Rh factor (Positive or Negative).
- Phone – Enter the father’s phone number.
- Once the required information is entered, select Create to save the new pregnancy record.
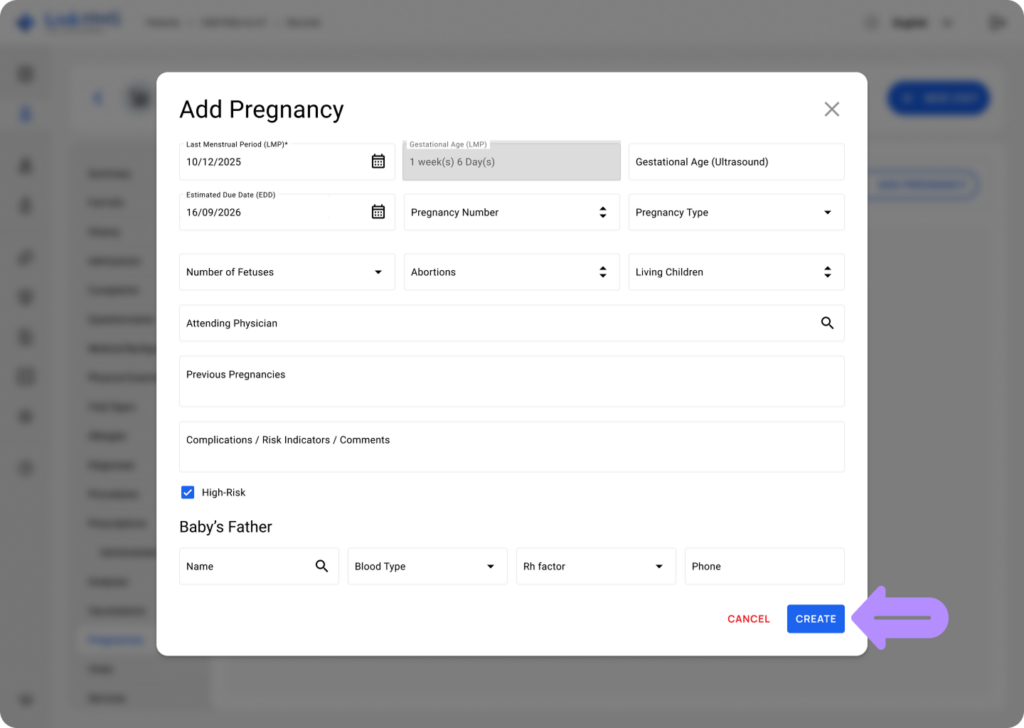
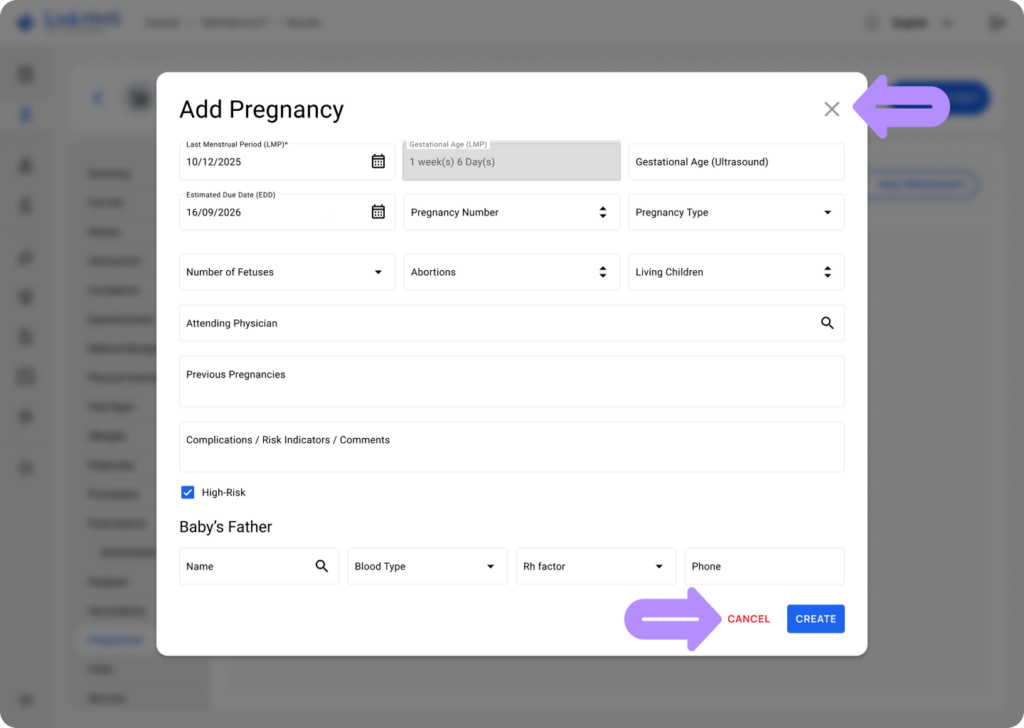
- You can also click Cancel at any time to close the pop-up without saving.
After Adding the Pregnancy
- Once the pregnancy record is created, it becomes active and shows an Ongoing status.
- The pregnancy workflow subtabs become available:
- Pregnancy Info
- Mother Check-Up
- Ultrasound
- Finalize Pregnancy
- Postnatal Care
![]()
- A pregnancy indicator also appears next to the patient’s name, showing current gestational age (for example, 18w). Gestational age updates automatically on each visit based on LMP and visit date.
![]()
- If the pregnancy passes its EDD, the indicator changes color to show it is overdue.
![]()
- Continue documenting pregnancy care inside the active pregnancy record until it is finalized. See the additional guides in the Antenatal Care Module for further details.