💡Notes
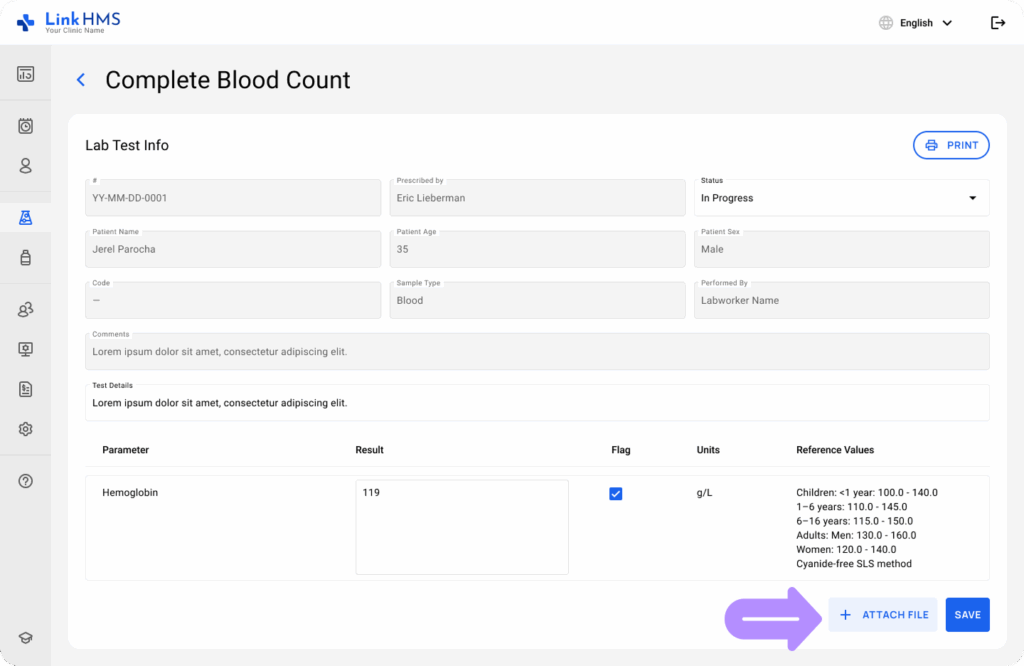
When you fill in the lab test results, you can also add an attachment to the analysis record. You either upload a file, such as scanned documents, images, or additional reports, or use the camera to take a photo.
Opening the Lab Test
- Navigate to the Orders tab and select the test for which you want to add an attachment. To quickly find a necessary test, use the search bar or apply filters. Check the instructions on how to filter and search lab test orders.
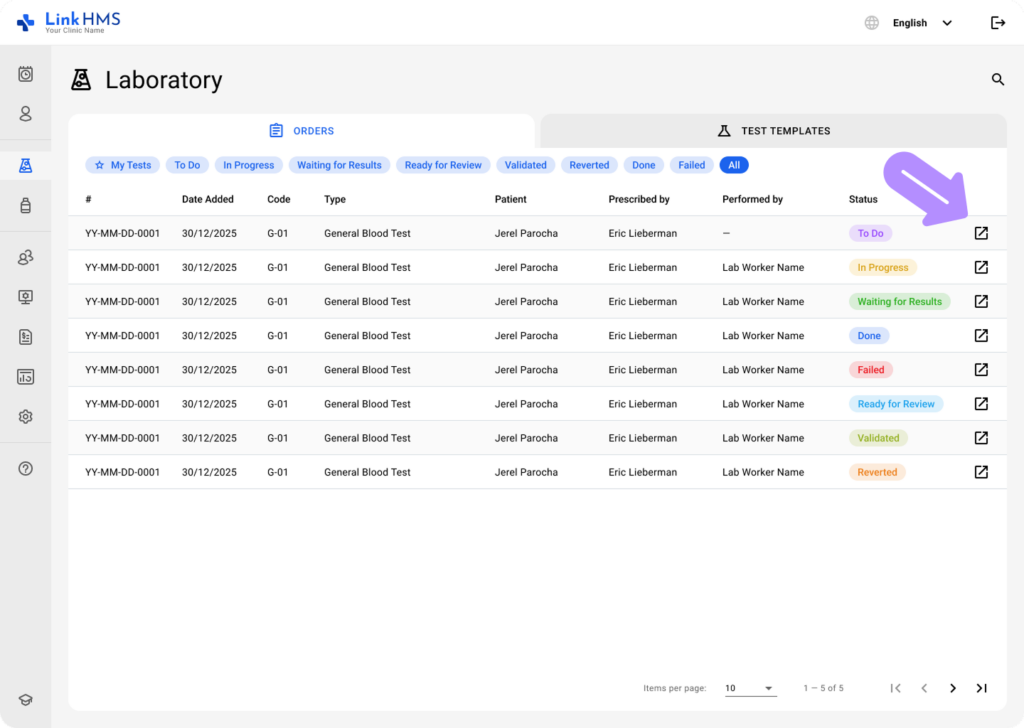
- The chosen test opens in a detailed form for further updates by the lab staff.

Adding an Attachment
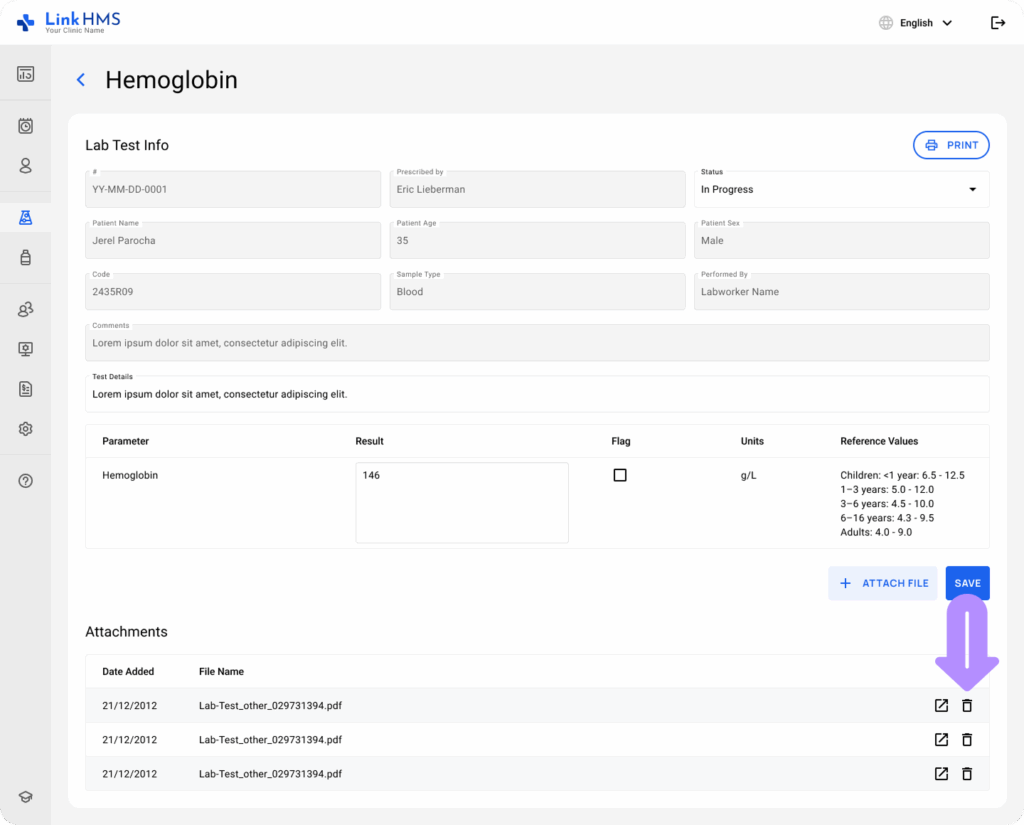
- Click the Attach File button to upload an attachment.
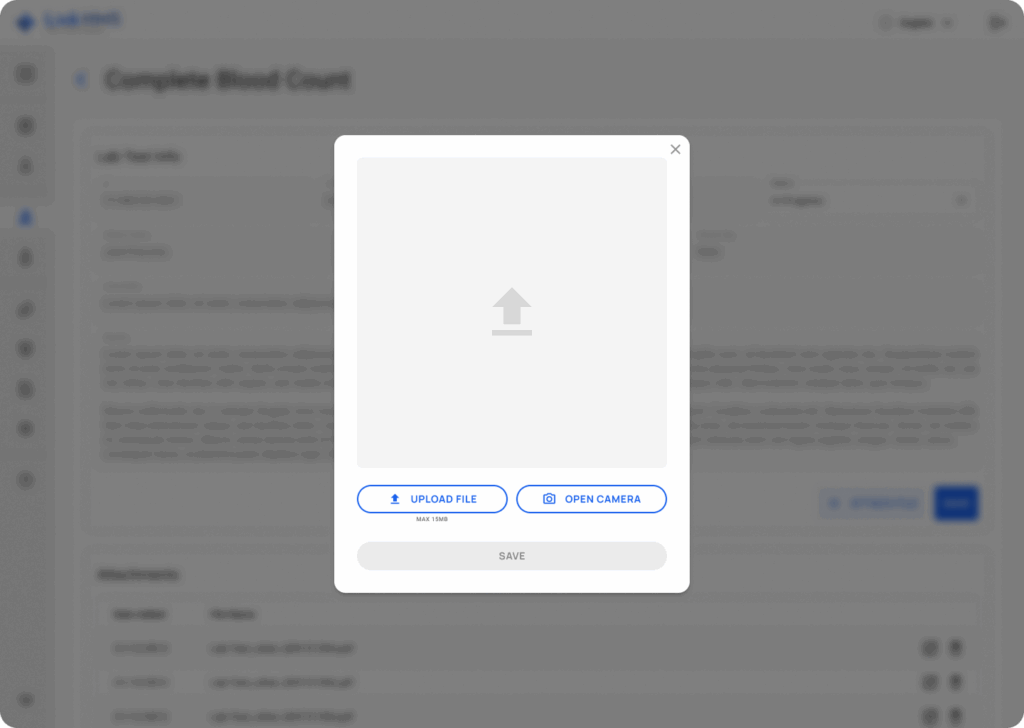
- A pop-up window appears where you can either Upload File or Open Camera to take an image. Upload necessary files, such as documents, images, and other reports, or use the camera to capture a photo of the chosen record.
Uploading a File
- Click Upload File to add the file attachment to the lab test.
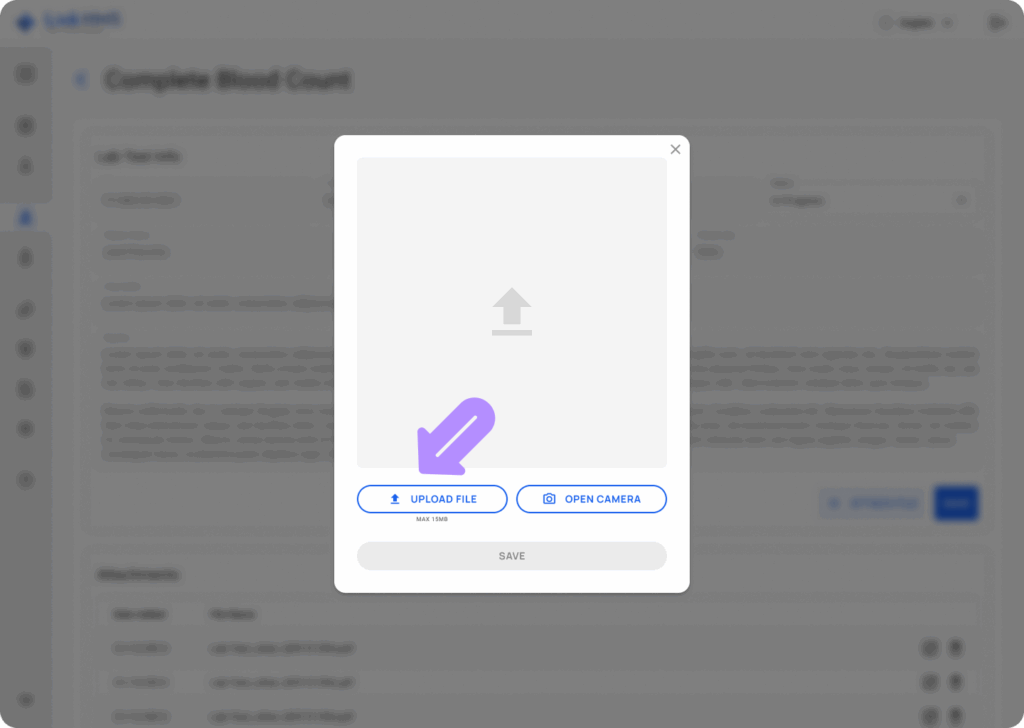
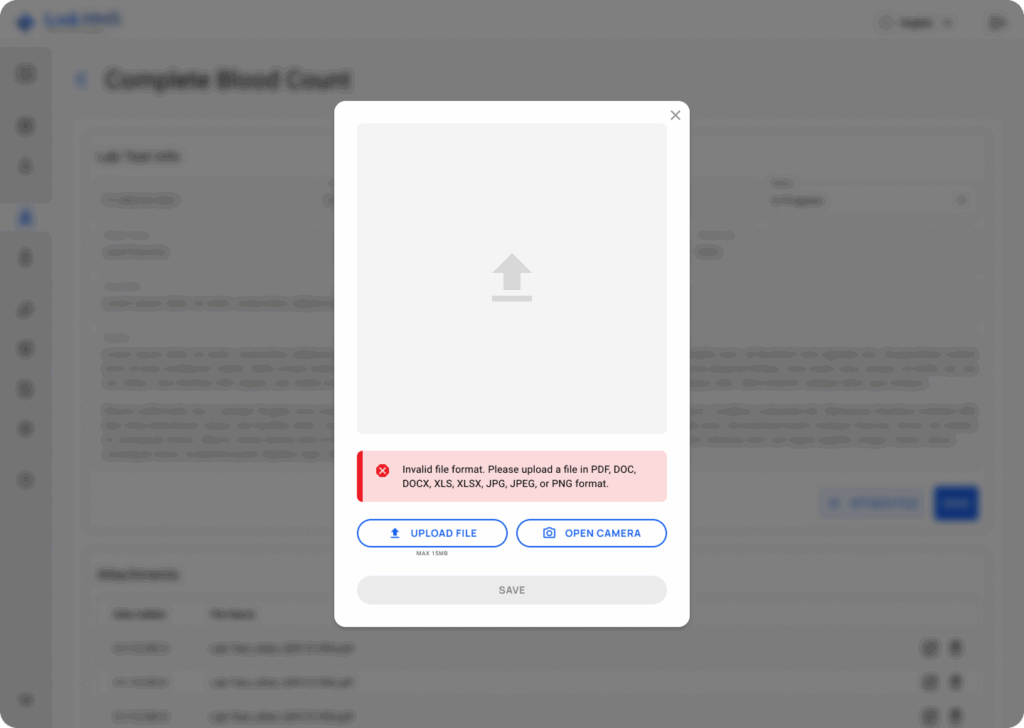
- Choose a file from your computer to upload. Make sure it meets the supported format and size requirements.
- File formats: PDF, DOC, DOCX, XLS, XLSX, JPG, JPEG, or PNG.
- Size: max 15 MB.
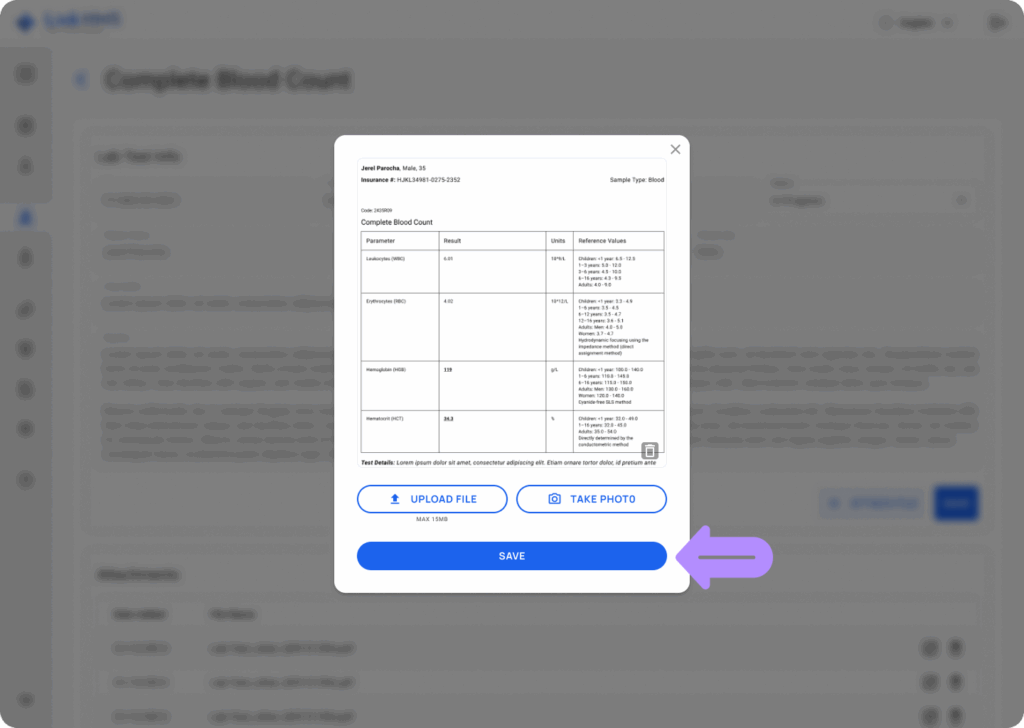
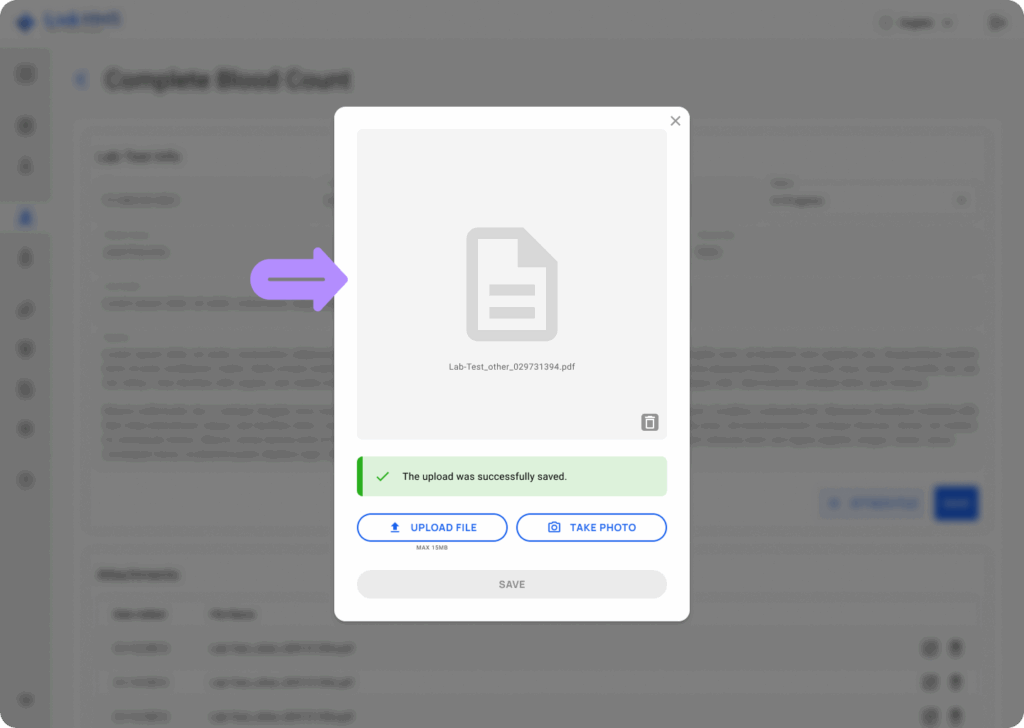
- Once the valid format file is uploaded, click the Save button to add the chosen attachment.
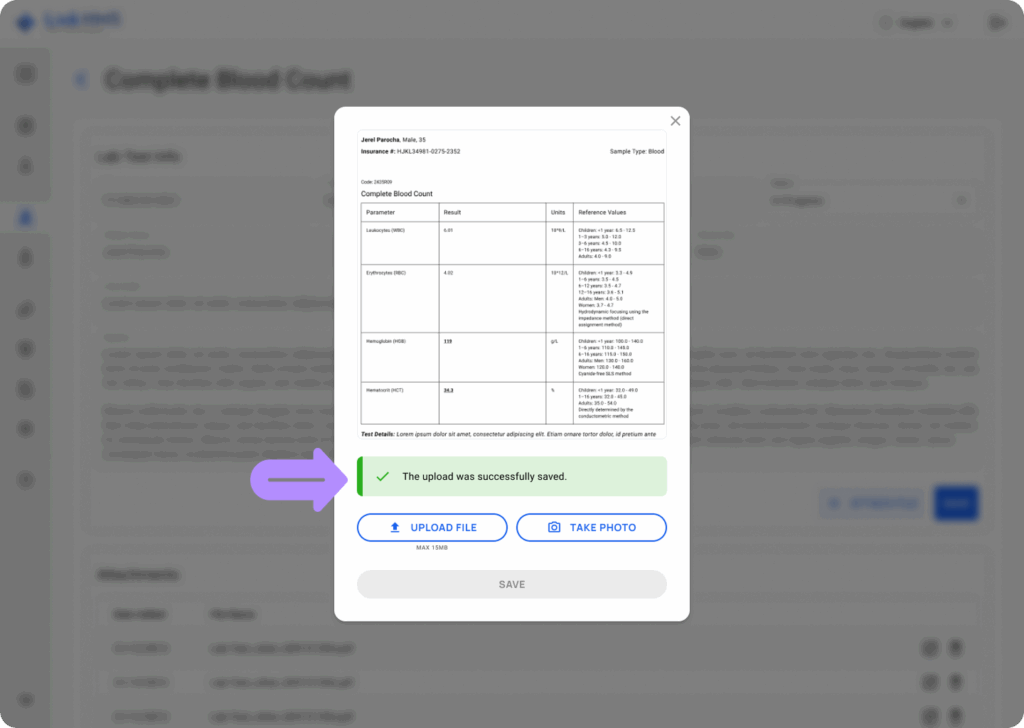
- Get the notification about the successful upload and continue adding more files.
💡Notes
File attachments in formats such as PDF, DOC, DOCX, XLS, and XLSX cannot be previewed and will only display the file name.
Opening the Camera
- Click Open Camera to capture an image of the additional test record.

- Take a necessary image using the device’s camera.
- To grant camera access, click Allow in the pop-up near your browser’s address bar.
- Adjust your device so the file is clearly visible in the live camera preview.
- Use the Take Photo button below the preview to capture an image.

- Review the image. If it’s not clear, click Take New to retake it.
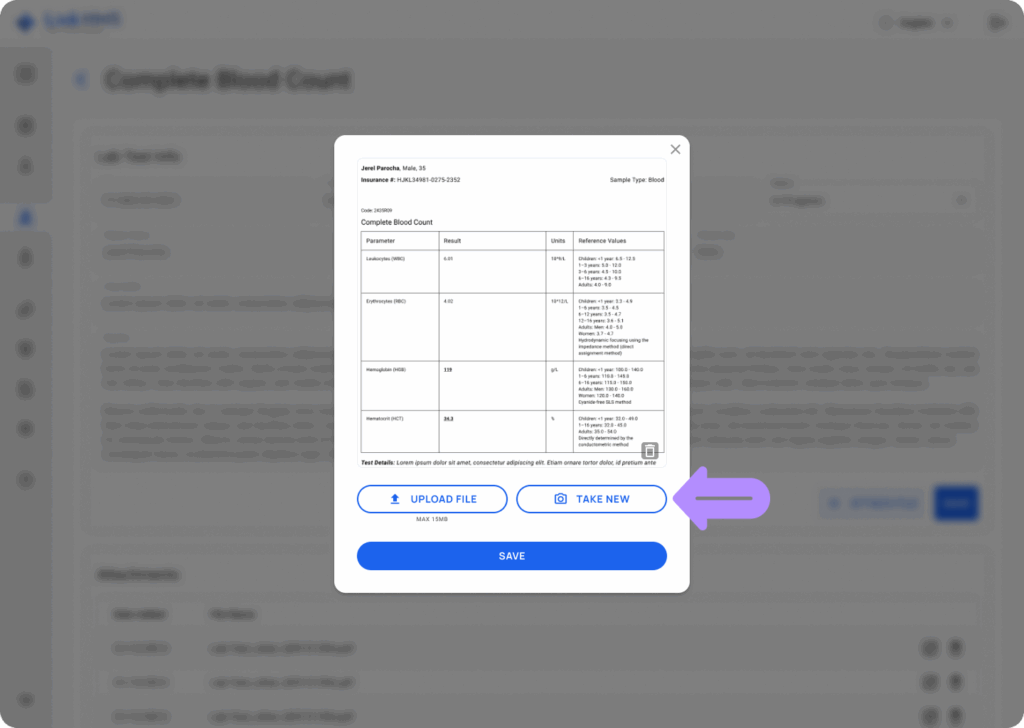
- Click the Save button to add the image as an attachment to the lab test.
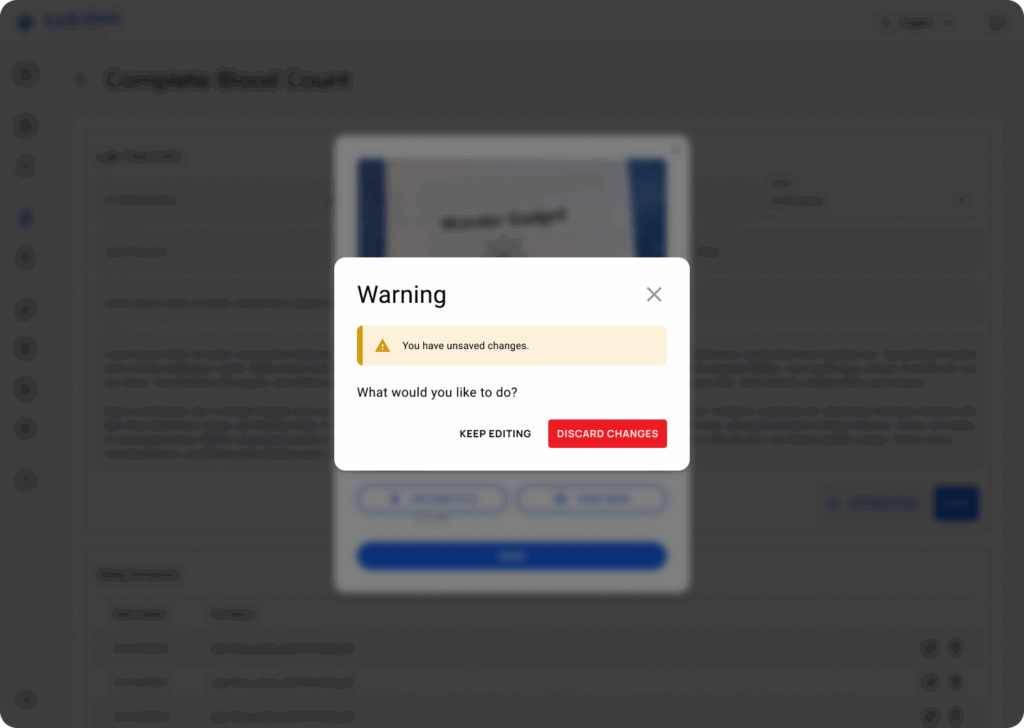
💡Notes
For unsaved changes, choose whether to discard the changes or keep editing.
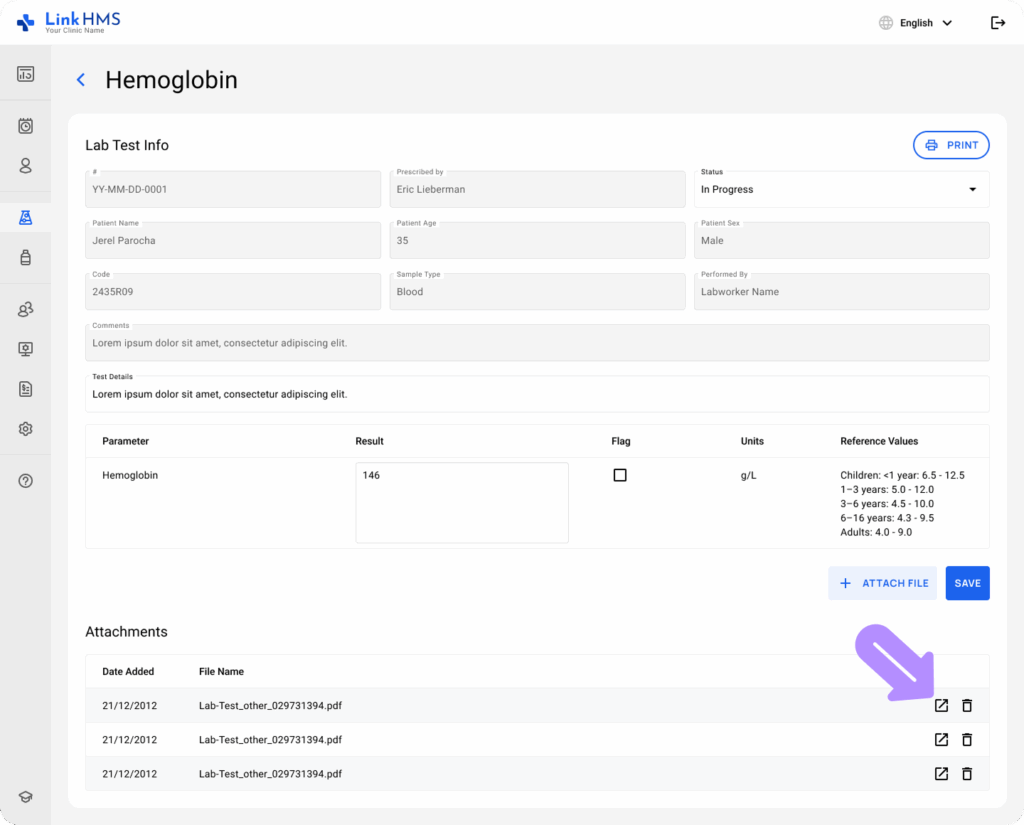
Accessing the Added Attachment
💡Notes
All added attachments appear in the lab test record, where they can be viewed and managed by lab staff, doctors, nurses, receptionists, and clinic administrators.
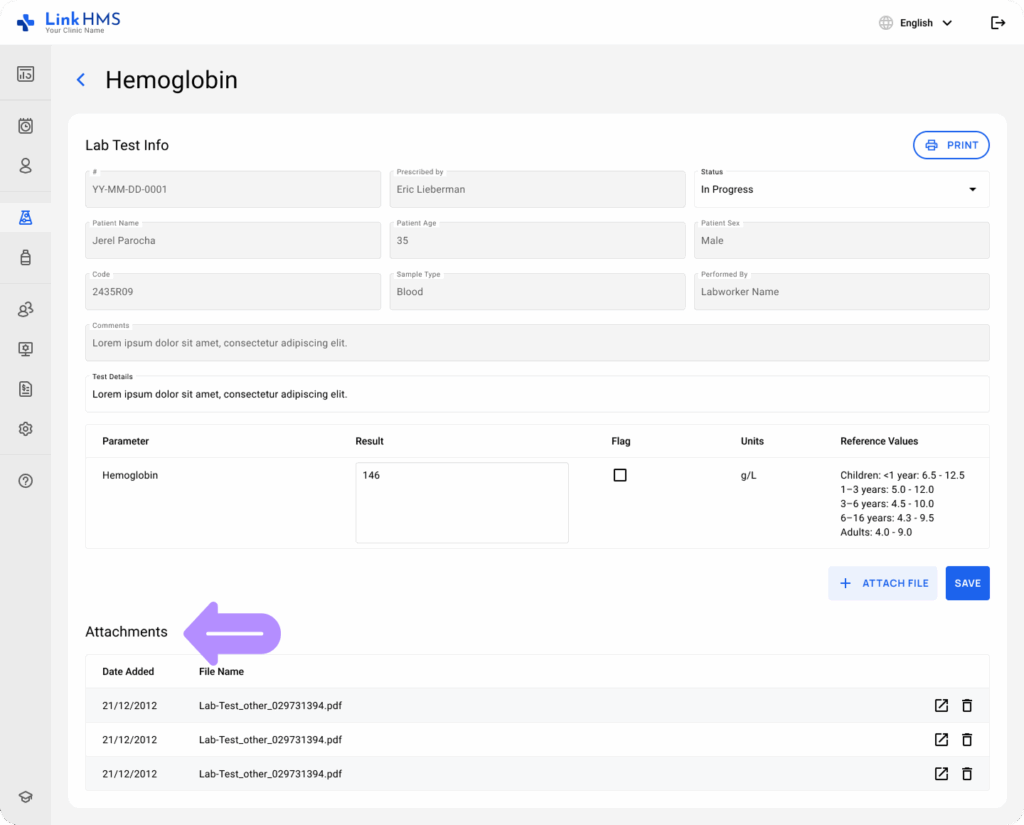
- Open the required attachment to view it in detail.
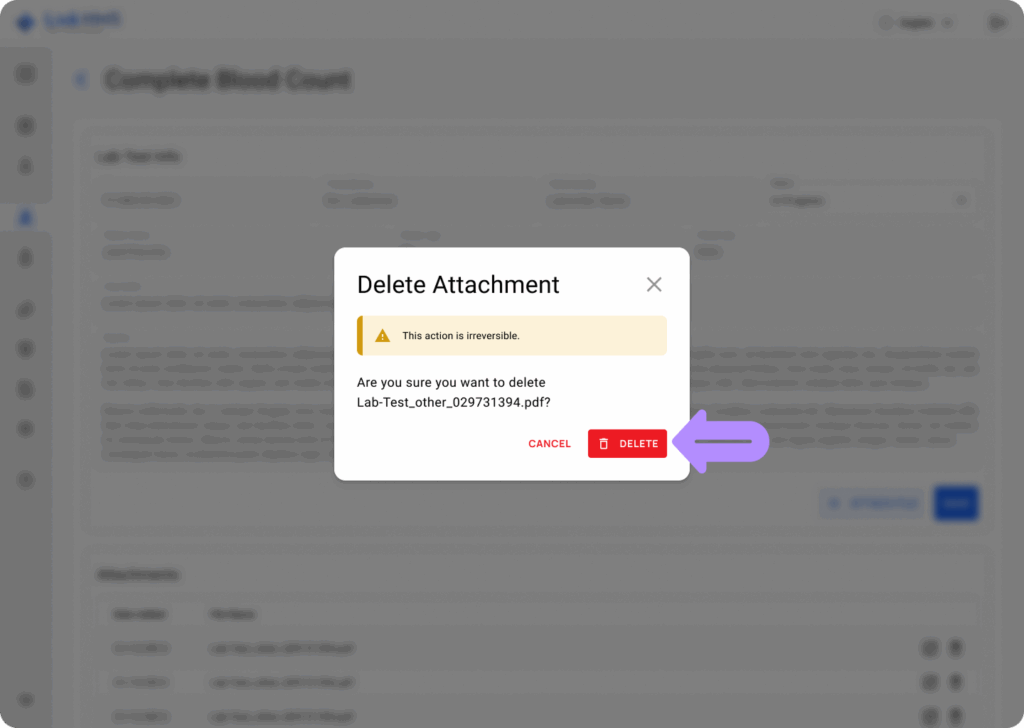
Deleting the Attachment
- If you need to delete the attachment, select it and click the Delete icon.
- This action is permanent, so confirm by clicking the Delete button.