Navigate to the Settings Tab
-
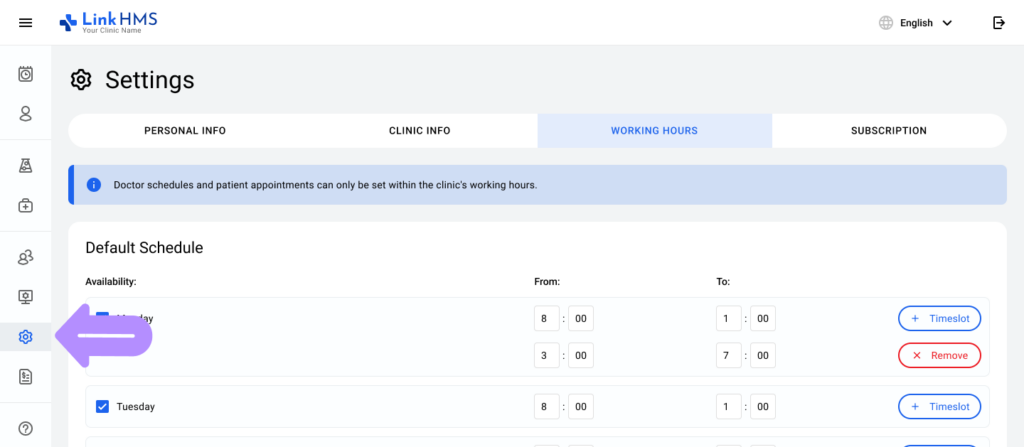
Go to the Settings tab located in the left navigation menu.
Access the Working Hours Section
-
Click on the Working Hours tab at the top of the Settings page.
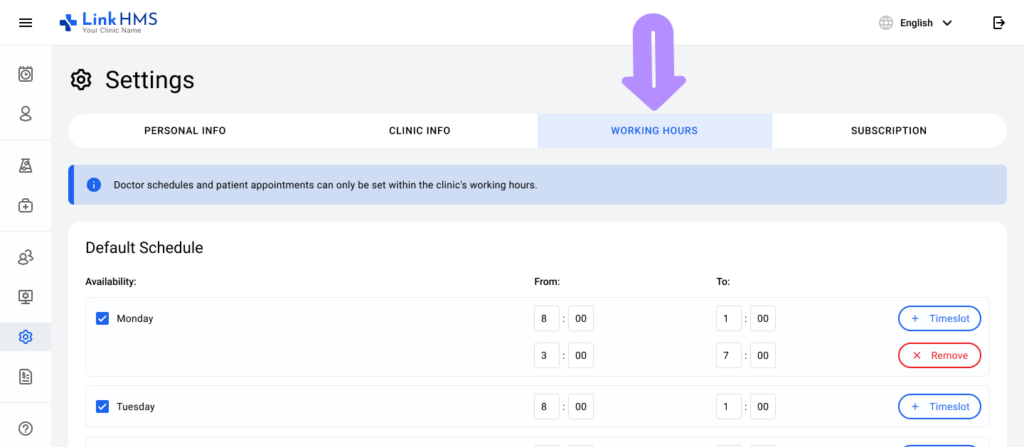
-
The Default Schedule and Set Up Specific Dates sections are available for configuration.
Configuring Default Schedule
Enable Availability for Days
-
In the Default Schedule section:
-
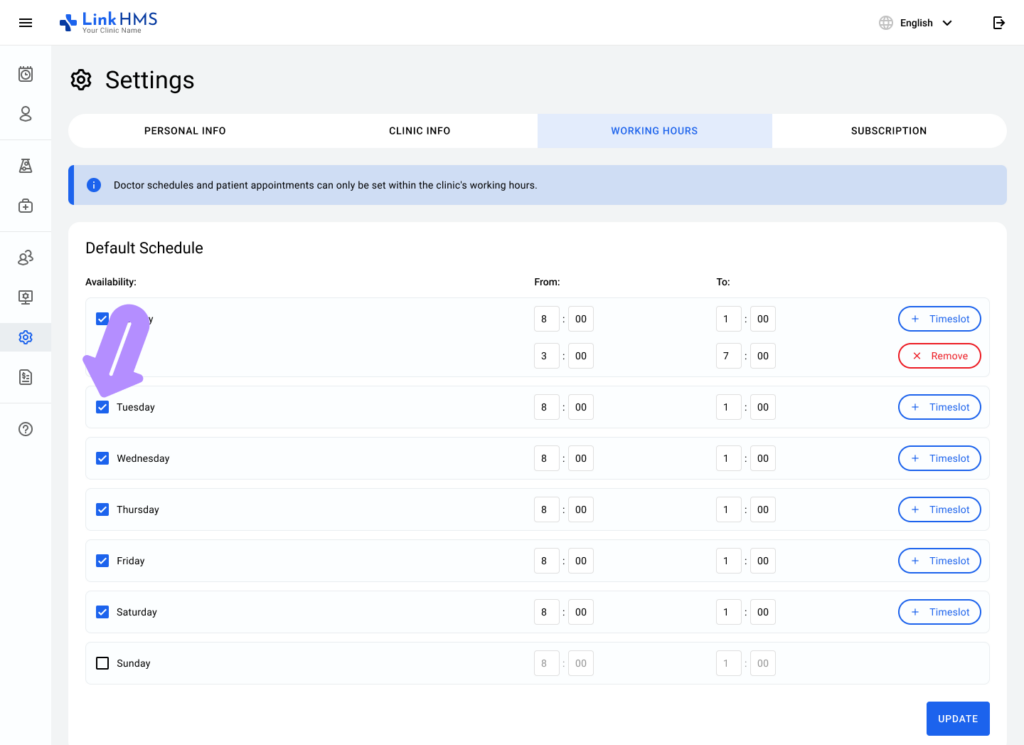
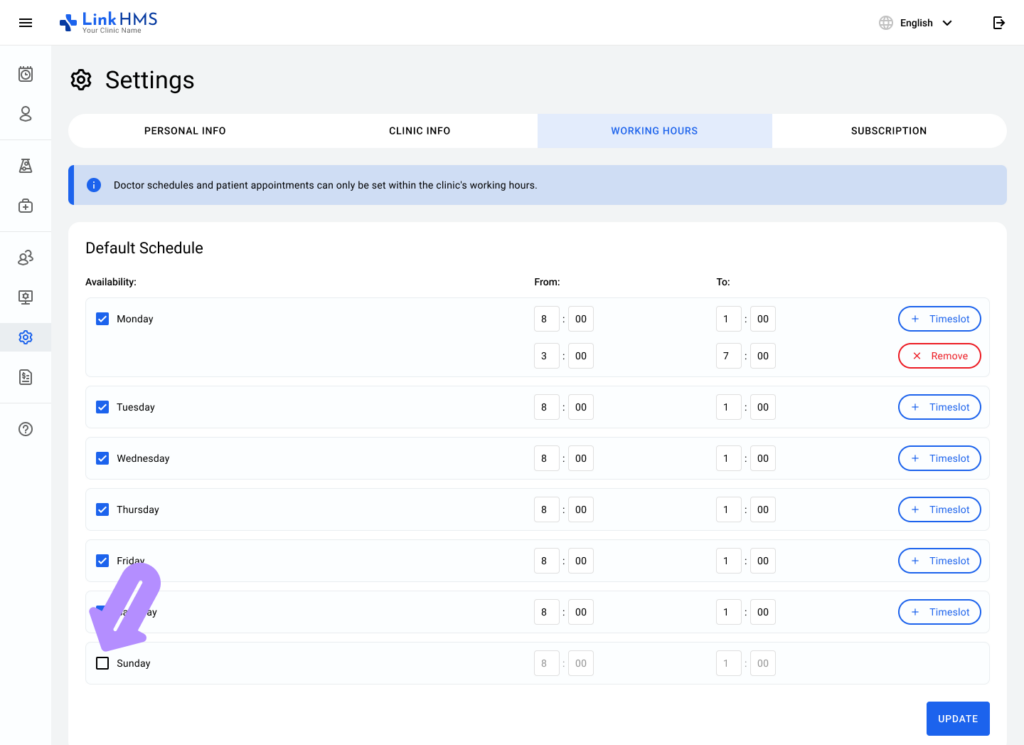
Tick the checkboxes next to the days the clinic will operate.
-
-
Uncheck any days when the clinic will remain closed.
Set Operating Hours
-
For each selected day:
-
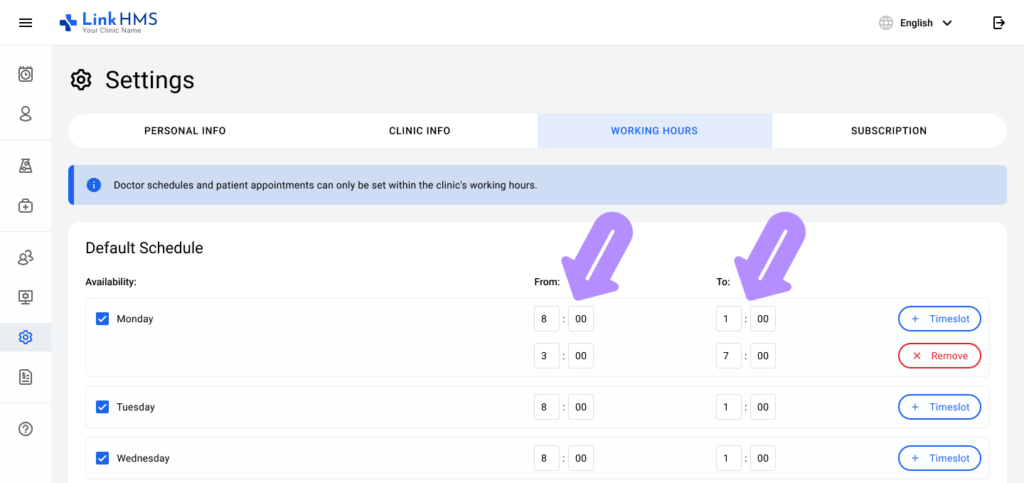
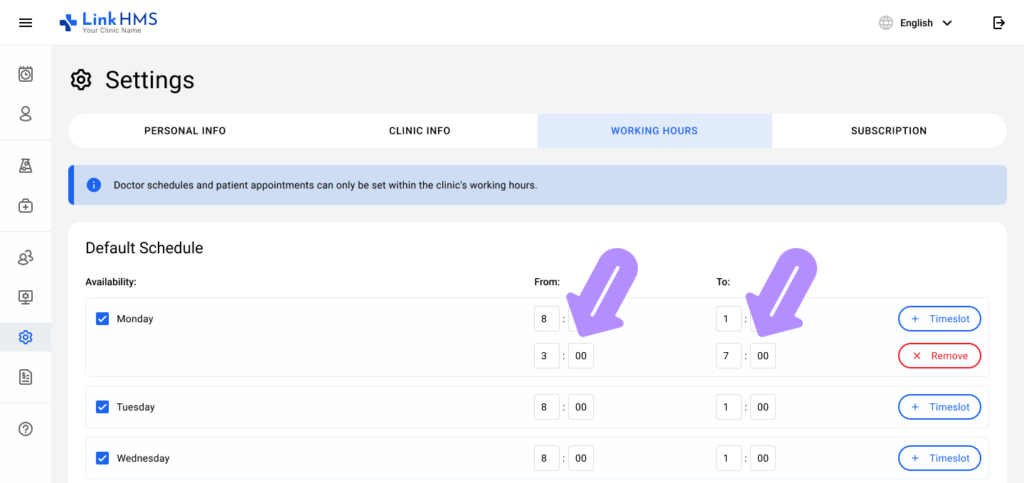
Use the From and To fields to define the operating hours.
-
Example: Monday from
07:00to19:00.
-
Add Time Slots
-
To define multiple operating sessions within the same day:
-
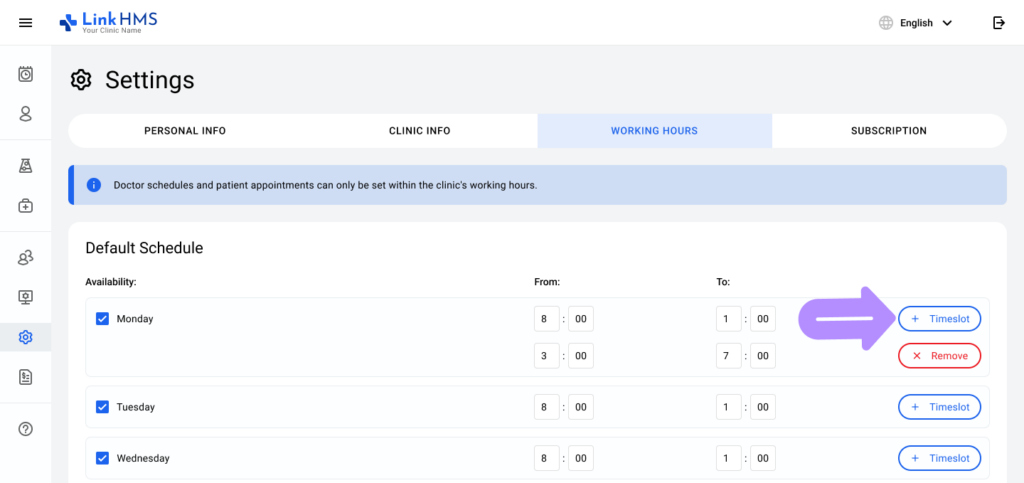
Click + Timeslot.
-
-
Set additional From and To timings.
-
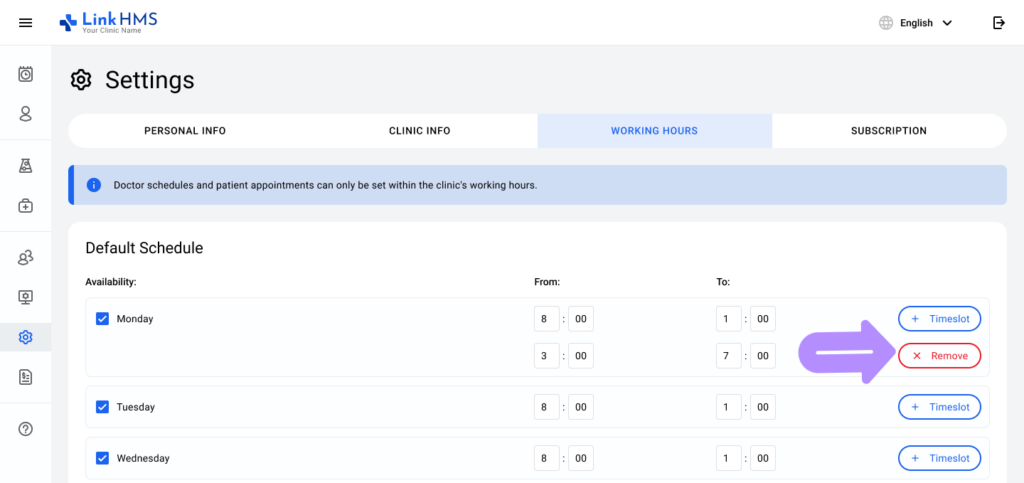
Use the Remove button to delete a specific timeslot if required.
Save the Schedule
-
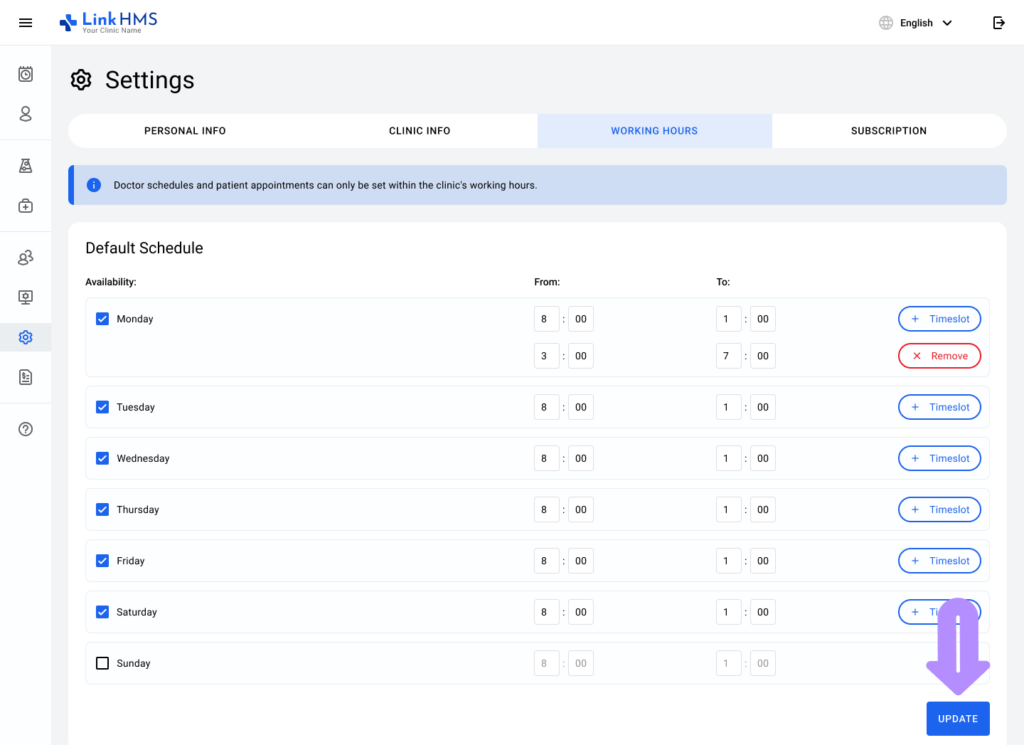
Once changes are made, click the Update button to save.
Setting Up Specific Dates
Add Custom Time Slots
-
Use the + Timeslot button to define specific operating periods within the date range.
Adding Specific Date Rules
-
Scroll to the Set Up Specific Dates section:
-
Enter the From and To dates and times.
-
Set the Availability status to Available or Unavailable.
-
Add a note if needed for reference.
Remove Custom Dates or Timeslots
-
Use the Remove button to delete unnecessary entries.
Save Changes
-
Click Update to save all modifications.
💡Notes
-
Ensure the clinic’s working hours align with staff schedules to avoid overlaps or discrepancies.
-
The configuration ensures appointments and doctor schedules are restricted to the clinic’s operating times.
By following these steps, you can effectively manage your clinic’s working hours to ensure smooth operations.
